
 Save Pin
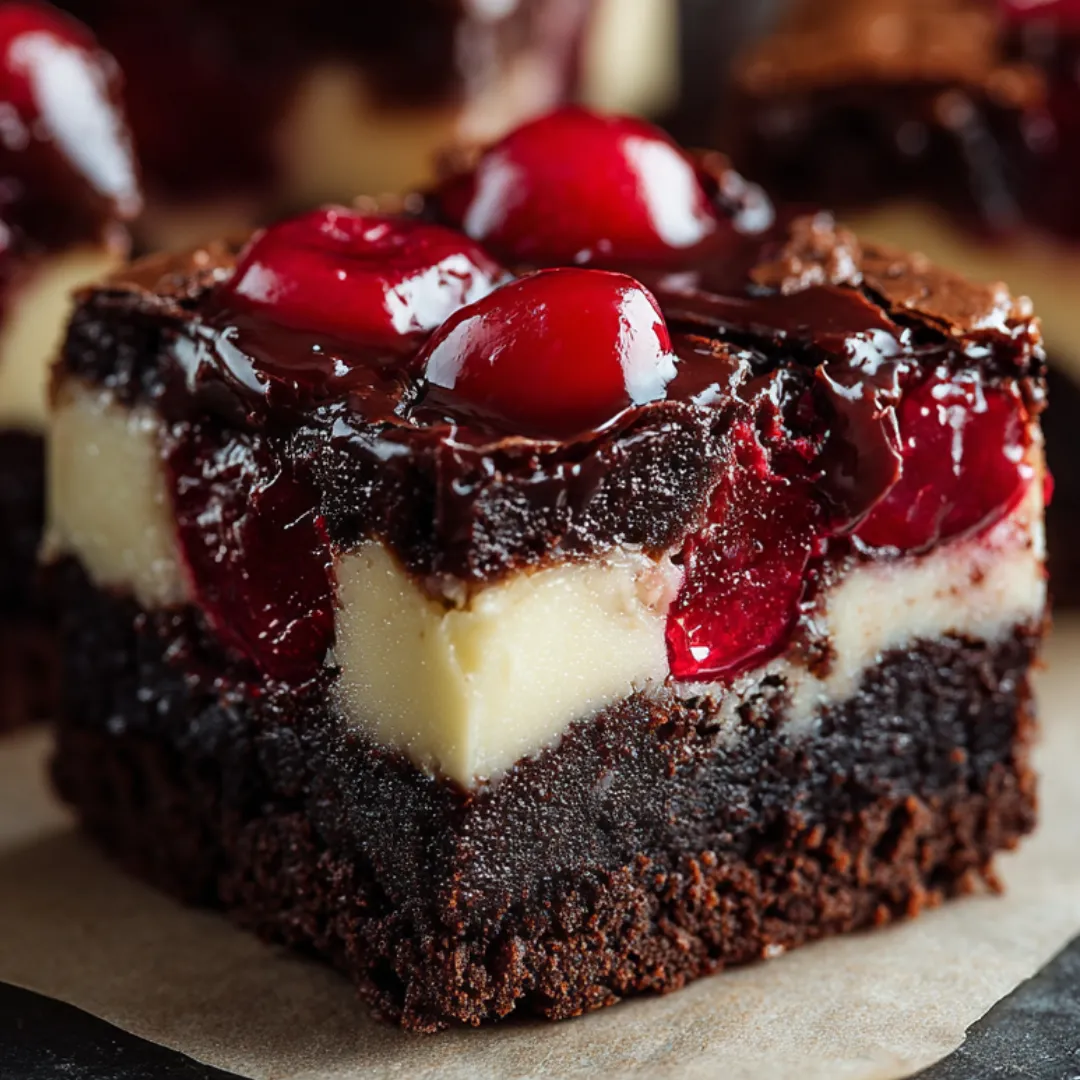
Cherry Cheesecake Brownies combine all my top dessert cravings in one tray. You’ve got fudgy chocolate on the bottom, dreamy cheesecake in the middle, and a pop of tart cherries swirling on top. They come together fast and don’t need anything fancy. Your weeknight baking just got a whole lot easier and tastier. Everyone who tries them asks for more—my kids even insist on having them at every birthday, and they disappear quick at parties.
I first baked these up because I wanted to make a batch that had both cheesecake and brownies. My family just couldn’t pick one or the other, so I mixed them up. Now we all love the mix of flavors and different textures—each bite is a new surprise.
Irresistible Ingredients
- Baking powder: gives your brownies a nice lift and keeps them soft—check the date on the can before you start
- Salt: really makes the other flavors pop, but don’t go overboard
- All-purpose flour: gives brownies their shape and helps with that soft crumb—sift if you can
- Large eggs: hold everything together and help the brownies stay gooey—the fresher, the better
- Egg: helps set the creamy cheesecake part—pull it out early so it’s not cold
- Granulated sugar: you’ll use it to sweeten both the brownies and cheesecake—fine sugar’s best for making everything smooth
- Chocolate cocoa powder, unsweetened: brings deep, rich chocolate flavor—any kind works
- Cherry pie filling: gives a sweet tart bite—spoon off the extra syrup before you use it so things don’t get soggy; whole cherries look great
- Vanilla extract: use for both layers to give a cozy flavor—real vanilla makes a difference
- Cream cheese: the cheesecake star—go for full-fat and let it warm up for perfect blending
- Unsalted butter: extra richness and a soft brownie—grab a good fresh stick for the best flavor
Easy-to-Follow Steps
- Let It Cool Down:
- Put the whole thing on a rack until totally cool. Toss it in the fridge for at least two hours before you slice. The cold helps everything firm up and cuts are cleaner.
- Bake Everything:
- Place the pan square in the oven’s middle. Bake thirty-five to forty minutes. You want edges to look firm but a toothpick should still come out a bit damp from the center.
- Marble the Cherries:
- Spoon drained cherry filling over the cheesecake layer. Drag a knife or toothpick through to swirl. Stop before you stir it too much or the layers will muddle together.
- Pour in and Spread Cheesecake Layer:
- Dollop the cheesecake mixture right over the brownie base. Smooth lightly over the top but don’t mix together—keep the layers separate.
- Mix Cheesecake Filling:
- Beat full-fat, room-temp cream cheese until smooth as can be. Add in sugar, egg, and vanilla. Blend again so it’s creamy and totally lump-free—it’ll swirl like a dream.
- Spread Brownie Out:
- Pour the finished brownie mix into your lined or greased pan. Scoop it out all the way to the edges for a nice sturdy base.
- Mix the Brownie Batter:
- Whisk melted butter with sugar in a big bowl until it’s pale and shiny. Crack in eggs and a glug of vanilla. Sift in cocoa, flour, salt, and baking powder. Mix just until blended—you don’t want to overdo it.
- Get Your Pan Ready:
- Line your pan or grease it first so nothing sticks. Kick the oven on to three-fifty Fahrenheit. That way the brownies pop out perfect and clean later.
 Save Pin
Good-to-Know Stuff
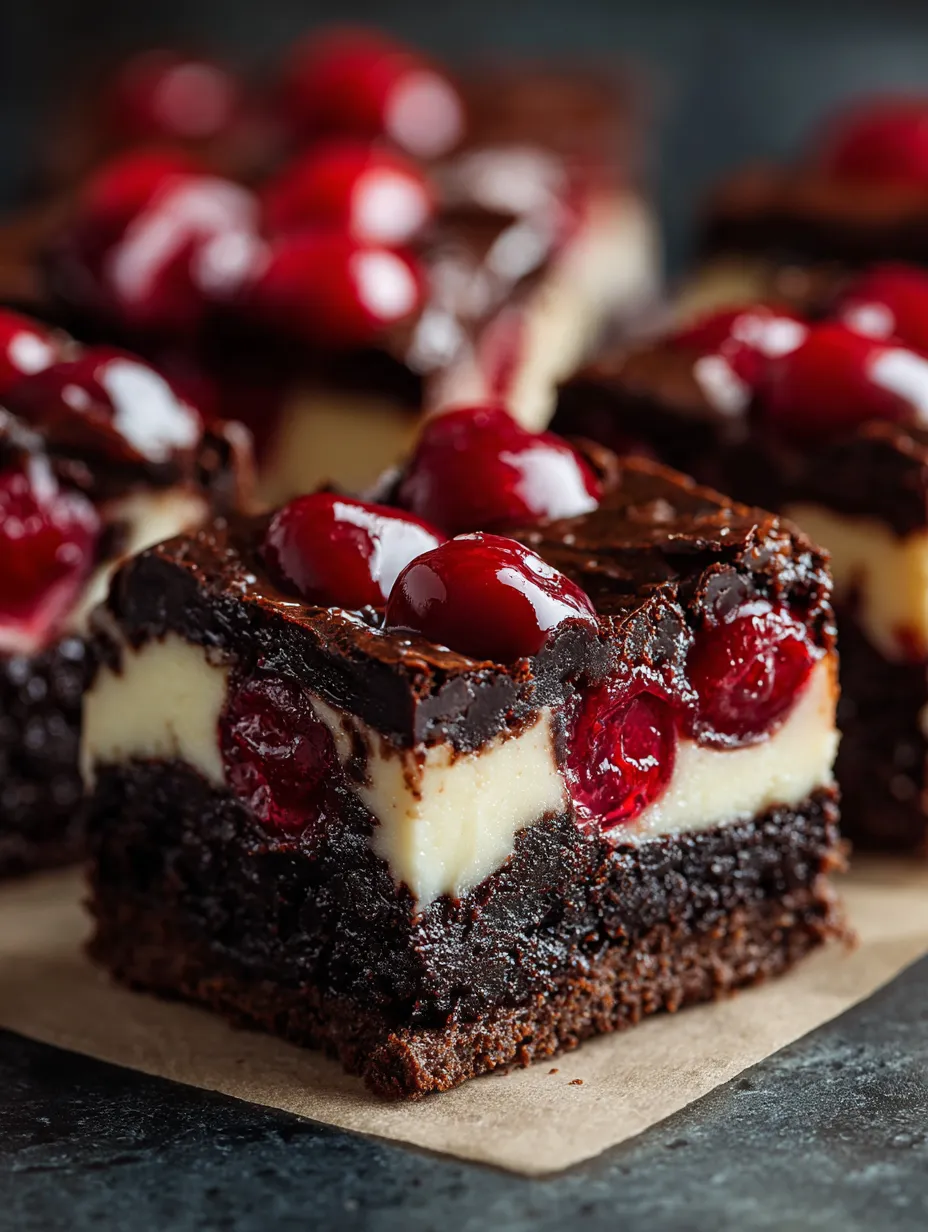
- Think triple-layered bite—creamy, chocolate, and cherry tart all at once
- Cutting the bars is a breeze after chilling
- Works great for gift boxes, parties, or special days
I always get excited for the tangy cherry pie filling. Every time I bake with it, I remember hot summer days picking buckets of cherries with my kids. There’s usually a big argument about who’s getting that last brownie too!
Handy Storage
Once they’re chilled and cut up, just pop the bars into a tight-sealing container in the fridge. They’re actually tastier the next day because the flavors settle in. If you layer them, use a bit of parchment or waxed paper between stacks so they don’t stick.
Swap Ideas
No cherry pie filling? Swap in blueberry or raspberry pie filling instead—any berry goes great with cheesecake. If you want to skip the gluten, use an all-purpose gluten-free flour and make sure your baking powder’s safe too.
 Save Pin
Serving Up Help
Keep the bars cool from the fridge and dust with powdered sugar for a nice touch. Or scoop on some whipped cream. You can even build a sundae—pop a square in a bowl with ice cream and scatter extra cherries on top. Yum.
Common Recipe Questions
- → Is it okay to swap in fresh cherries for the pie filling?
Sure thing! Just cook down some fresh cherries with sugar and a spoonful of cornstarch until it thickens, then pour that over the cheesecake layer.
- → What's the point of straining cherry pie filling?
Straining helps get rid of extra liquid so your brownies stay firm and you’ll see those pretty swirls up top instead of a runny mess.
- → How can I tell if my brownies are baked through?
You’ll know they’re set when the sides look done and a toothpick poked in the middle comes out a little gooey but not clumpy.
- → What do I do to get smooth, tidy brownie slices?
Let your brownies cool all the way, then stick them in the fridge for a couple hours. Slice with a sharp knife—it makes a big difference.
- → Is it possible to make these brownies ahead?
For sure. Pop them in the fridge once they’re cool and they’ll keep for up to 5 days. The flavor even gets better after a day or so.