
 Save Pin
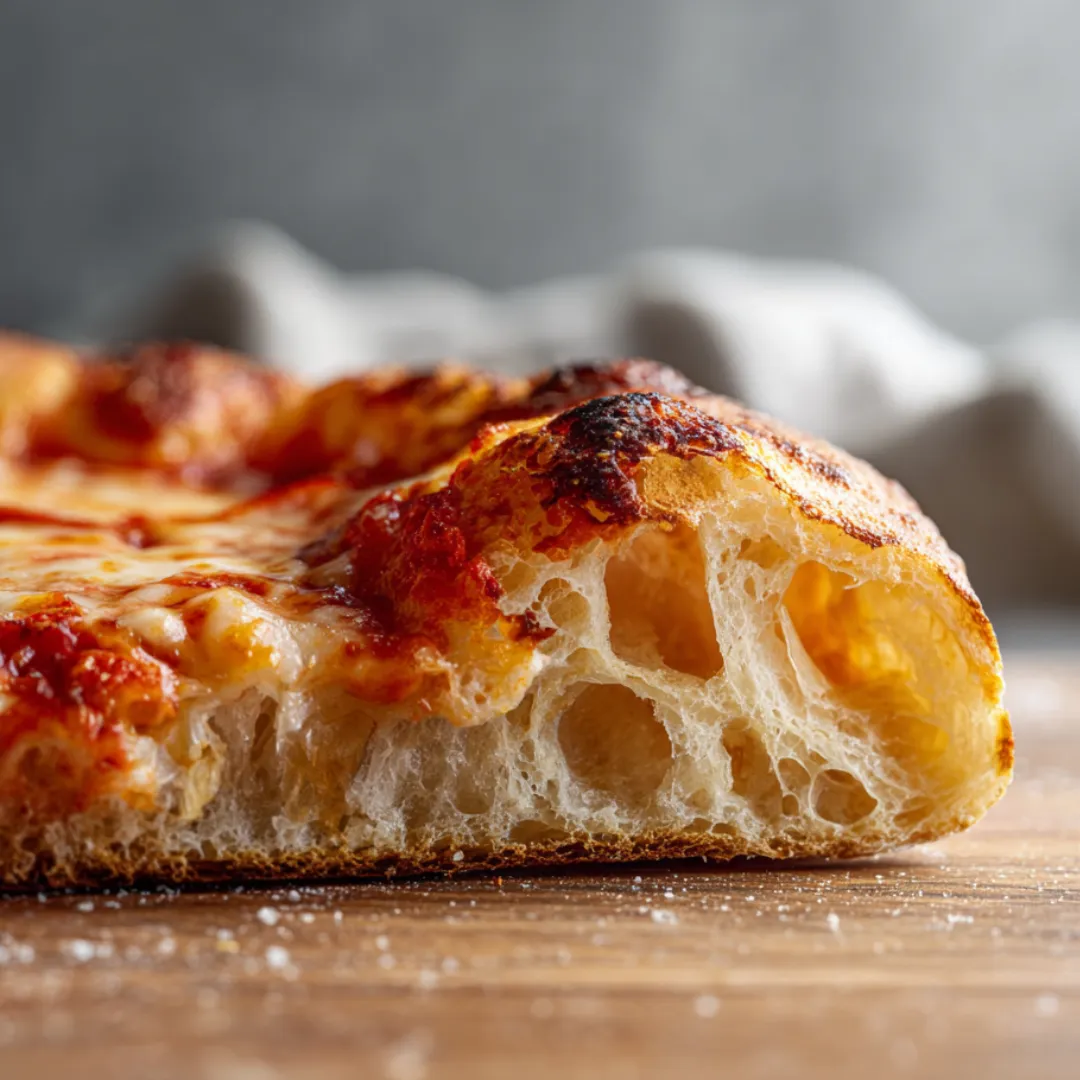
You know that bubbly, crisp crust you spot at those cool pizza joints? You can get that chewy, springy feel at home with only flour, yeast, salt, and water. Let the dough kick back with extra water so it picks up loads of flavor and huge air pockets. I first made this on a Friday night, and after friends took a bite, they always wanted a batch for themselves.
I felt clueless at first, but right after that first fold, I was into it. These days, I help friends tackle it, and now it’s pretty much a weekend thing at my place.
Superb Ingredients
- Fine salt: bumps up the taste and helps your yeast behave—stick to basic salt with nothing weird added
- Active dry yeast: helps your dough puff up and get airy—let it bubble up in water to double-check it’s good to go
- Warm water: makes your crust all bubbly—filtered is awesome if you have some
- All-purpose flour: makes the dough chewy and holds it together—grab unbleached for extra stretch if you see it
How You Do It
- Do It Again and Munch:
- Repeat everything for that extra ball or just park it for the next time. Slice that steamy pizza and eat it while it’s still hot.
- Heat and Sizzle:
- Slide your pizza straight to the blazing stone or steel. Bake five minutes, then switch on the broiler to puff up those bubbles and melt the cheese nice (should take two to four more minutes). If you’re using cast iron, let it bake fifteen or twenty minutes, then just broil near the end to toast the top.
- Create Shape and Add Stuff:
- Take your dough out and pat into floured board, letting the edges stay chunky. Stretch into a circle—about a foot across—then move to floured pizza peel. Give it a wiggle to make sure nothing’s sticking. Touch up the shape if you want. Throw on sauce and favorite toppings, but leave the edge bare.
- Crank Up Oven:
- Blast your oven and stone (or steel) as high as possible for a good forty-five minutes. Hotter is better! Don’t have a stone? Heavy baking trays or oiled up cast iron pans totally work.
- Ball Up Dough:
- Once it’s doubled, slide dough onto the floured board and cut in half. Grab one and gather the sides into the center till it’s all scrunched. Flip seam down and gently roll to make a neat ball. Do the same with the other half. Drizzle oil on a plate, pop the balls there, rub on some oil, then cover. Let them nap for an hour.
- First Big Rise and Folding:
- Cover and sit dough for an hour, then wet your hand and fold it into itself five times, turning the bowl as you go—this toughens it up. Drop into an oiled bowl seam-down, cover, and let it double for about five to six hours.
- Mix in Yeast and Salt:
- Sprinkle salt over your dough, pour in that fizzy yeast water, and use wet fingers to fold some dough over itself a few times. No need for it to look neat. Messy is cool.
- Get Yeast Frothy:
- Toss yeast into the bit of warm water you kept and let it foam so you know it’s awake. Just takes a few minutes.
- Blend and Pause:
- Combine almost all your water with every bit of flour in a big bowl—stir till you don’t see any dry spots. Cover up and let it chill for twenty minutes so flour soaks it all in. Makes it way smoother later.
 Save Pin
Watching the dough poof up and bubble never gets old for me. When it finally doubles and looks all airy, it’s like a mini celebration. Honestly, local flour makes every batch taste a little different and always awesome.
Storing Extras
Want to hold off on baking? Keep dough balls in the fridge under cover—they’re good for two days. Bring them back to room temp before you shape them. Leftover baked slices last three days chilled, and crisp up super nice reheated in a hot pan or oven.
Switch-Ups
Can’t find all-purpose? Bread flour is great—makes things even chewier. Instant yeast does the trick too, just use the same amount. Or for something new, swap about ten percent for whole wheat flour for a hint of nuttiness.
Serving Ideas
Stick with the classic—red sauce and mozzarella—or get wild with roasted veggies, caramelized onions, pepperoni, or big dollops of ricotta. Right after baking, a glug of olive oil and a pinch of flaky salt makes it extra good.
 Save Pin
Common Recipe Questions
- → Why use extra water in this dough?
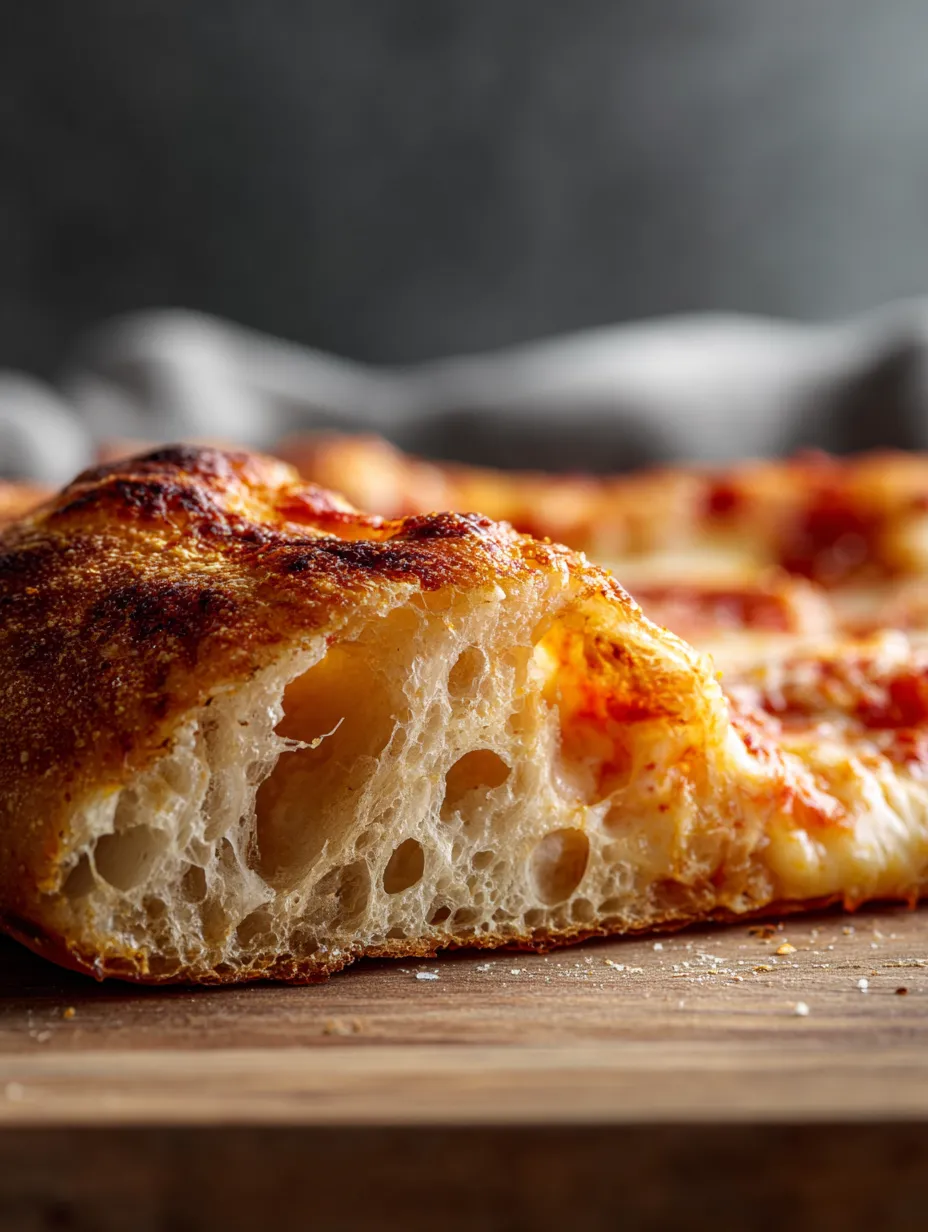
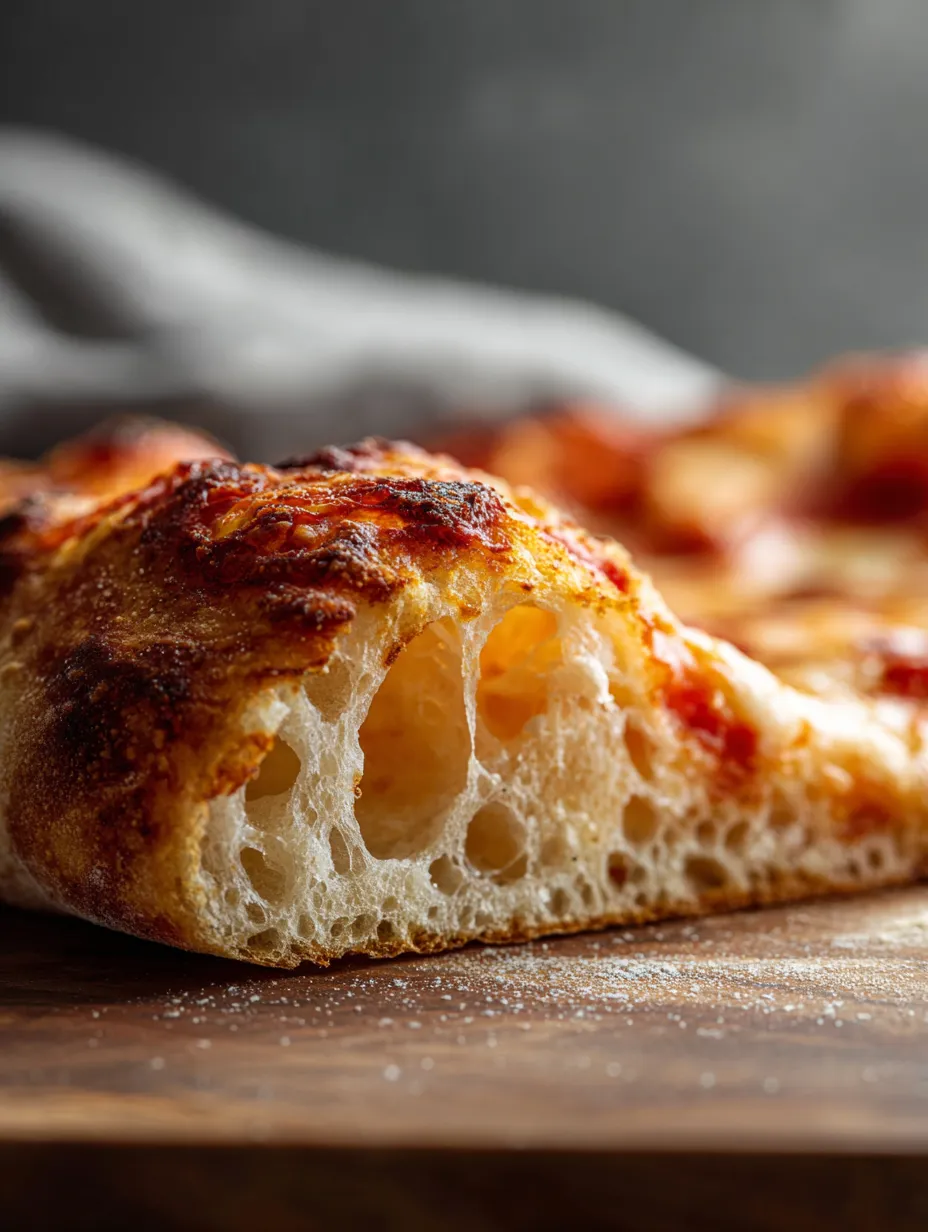
Piling in more water makes your dough super stretchy and covered in those big airy holes. The inside stays soft and really chewy.
- → How come you let the dough sit for a while?
Letting it chill in the fridge boosts the flavor way up and turns the dough light and airy, plus it’s way easier for your tummy.
- → How should I bake this airy dough?
Put the dough on a blazing hot pan, steel, or stone and then slam it in the oven—the more heat, the better for a crisp, bubbly base.
- → Where do those huge bubbles come from?
If you go easy while shaping and don't squash it down, the air sticks around and the hot oven makes those bubbles pop up tall.
- → Can you keep the dough in the fridge or freezer?
Roll your dough into a ball, park it in the fridge for two days or freeze for next time—just let it warm up before you bake it.