
 Save Pin
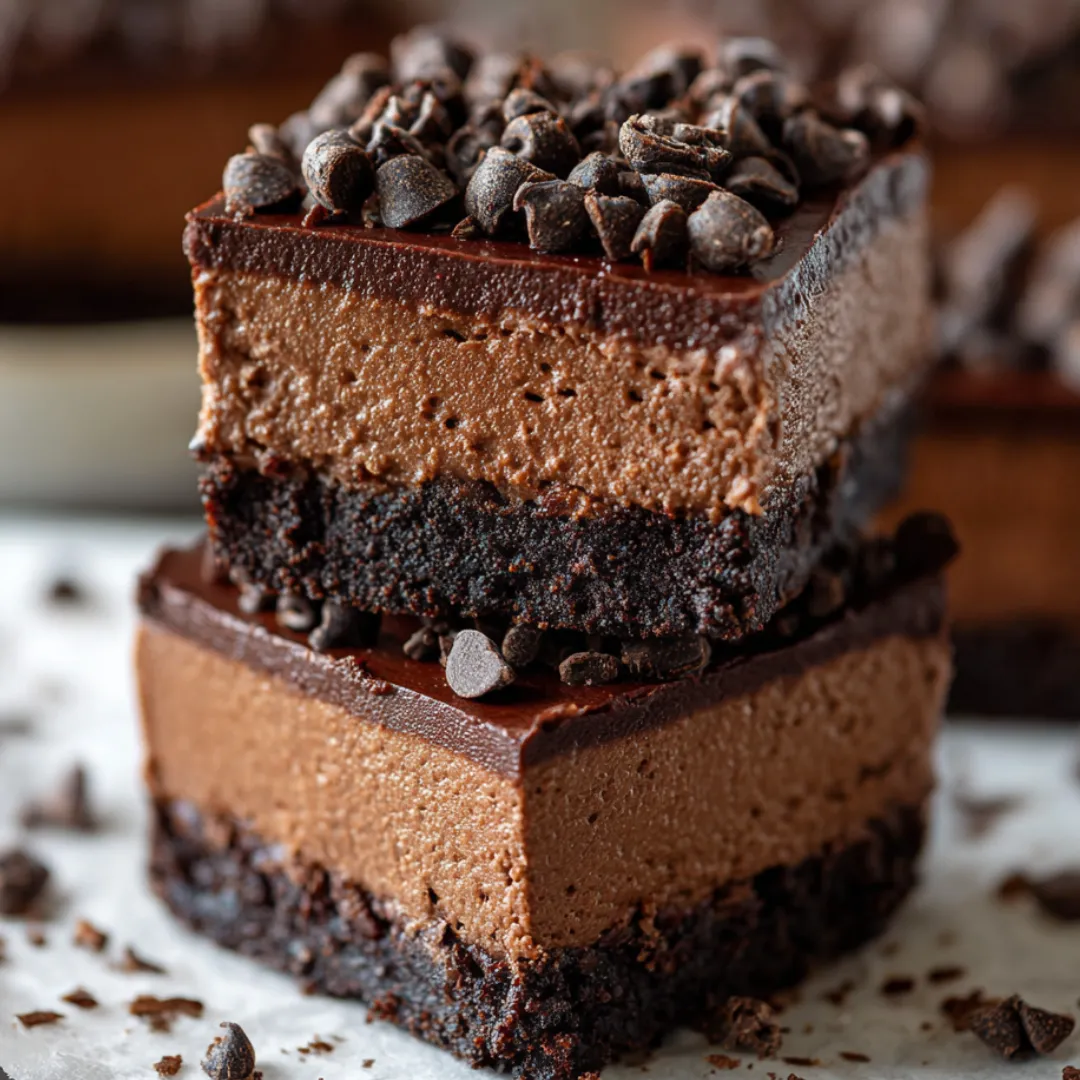
Every diehard chocolate fan’s dream come true, these Death By Chocolate No Bake Cheesecake Bars are stacked with creamy chocolate and a crispy cookie layer. No oven anywhere in sight. If you wanna wow your friends or just can’t shake those chocolate cravings, make these bars. I put this on repeat for parties and gatherings—you blink, and they’re gone!
The first time I whipped these up for a movie night with the girls, they were gone before the credits even finished rolling. That’s all it took—now I always bring these when I need a sweet crowd-pleaser that’s low effort.
Decadent Ingredients
- Mini semi-sweet chocolate chips: pile these on for that fun little crunch use a trusted brand for yum factor
- Salt: just a pinch brightens every flavor don’t skip it if you want bold chocolate taste
- Heavy whipping cream: gives your filling a light airy lift make sure the cream is fresh
- Cream cheese: makes the filling silky and rich use brick-style for the best texture
- Dark chocolate: Loads up the flavor and richness melt a kind you already love snacking on
- Baileys Irish Cream or Kahlua: optional but so fun pick either or skip for classic chocolate
- Unsalted butter: holds the crust together adds a creamy feel choose good butter for best results
- Oreo cookies: chocolate sandwich kind only look for ones that aren’t broken for a solid crust
Easy Step-by-Step
- Serve:
- Lift up the bars using the foil then slice into squares Clean your knife every few cuts for neat edges
- Chill The Bars:
- Stick the pan uncovered in the fridge for at least three hours so everything gets nice and set Cover with foil before slicing if you want to store them for later
- Assemble The Bars:
- Spoon the creamy chocolate mix on the crust and smooth it out Sprinkle mini chips all over the top
- Add Extras:
- Mix in Baileys or Kahlua if you’re feeling it and toss in some salt Taste and add a touch more if you want it saltier
- Blend The Fillings:
- Pour that shiny melted chocolate and cream combo into your whipped cream cheese. Crank up the hand mixer to high and blend until it’s ultra smooth and thick This step makes the texture dreamy
- Melt The Chocolate Mixture:
- Chop your dark chocolate and toss it with the cream in a microwave-safe bowl. Heat in thirty-second bursts and stir between, just until it’s velvety and melted—roughly a minute and a half. Don’t try to rush or you’ll burn the chocolate
- Whip The Cream Cheese:
- Beat the softened cream cheese on the highest mixer speed until it’s extra fluffy This helps the finished bars come out super silky
- Make The Crust:
- Microwave the butter with a little chocolate until just melted Stir it smooth, tip into the cookie crumbs, and pulse together until shiny and thick Transfer to your pan and press it tight and flat right into the corners You want a super-packed bottom layer
- Crush The Cookies:
- Dump the Oreos in a food processor and blitz until they’re ground up like sand Set aside for later
- Prepare The Pan:
- Grab a nine-inch square pan, line it with foil leaving extra up the sides for easy lifting. Lightly spray so nothing sticks
 Save Pin
The tiny chips on top are a surprise crunch—I once busted my kid making a trail of chocolate chips across the counter after swiping them from a bar before dinner! These bars bring pure chocolate joy every time.
How To Store
Once the bars have chilled all the way through, wrap with foil and tuck in the fridge. They slice up perfectly for at least ten days. For freezing, wrap each square in plastic, then foil, then stash in the freezer. To thaw, move them to the fridge the night before.
Swaps And Options
You can totally use another brand of chocolate sandwich cookies, or even try double chocolate varieties if you’re adventurous. Milk chocolate pulls back the richness if that’s your thing. No booze? Just leave out the Baileys or Kahlua, or sub a splash of strong coffee instead for that deep flavor.
 Save Pin
Serving Ideas
Portion them smaller than you think—they’re so rich you don’t need much. These finish off a summer cookout or birthday party just right. Want to dress them up? Top with a swirl of whipped cream and dust some cocoa over everything.
Cultural Backstory
No bake bars like this became a hit all across North America because they’re so easy to throw together. You look like a pro without breaking a sweat or heating up the kitchen. Those layered treats are now a party must-have all over town.
Common Recipe Questions
- → Can I use milk chocolate instead of dark chocolate?
Definitely! Milk chocolate works too, giving you a sweeter taste and making these bars a bit more mellow.
- → How can I prepare the crust without a food processor?
If you don't have a food processor, toss your cookies in a zip bag and smash them with a rolling pin. Works just as well when mixed with melted butter.
- → Is it necessary to use Baileys or Kahlua?
Totally optional! These bars are awesome on their own, but a splash of Baileys or Kahlua adds a little extra something if you're into it.
- → How far in advance can I make these bars?
These keep tasting fresh in the fridge for up to 10 days, so feel free to make them a week or so before your get-together.
- → Can I freeze these chocolate cheesecake bars?
You sure can! Stash them in a sealed container in the freezer for about a month. Move them to the fridge to thaw before eating.