
 Save Pin
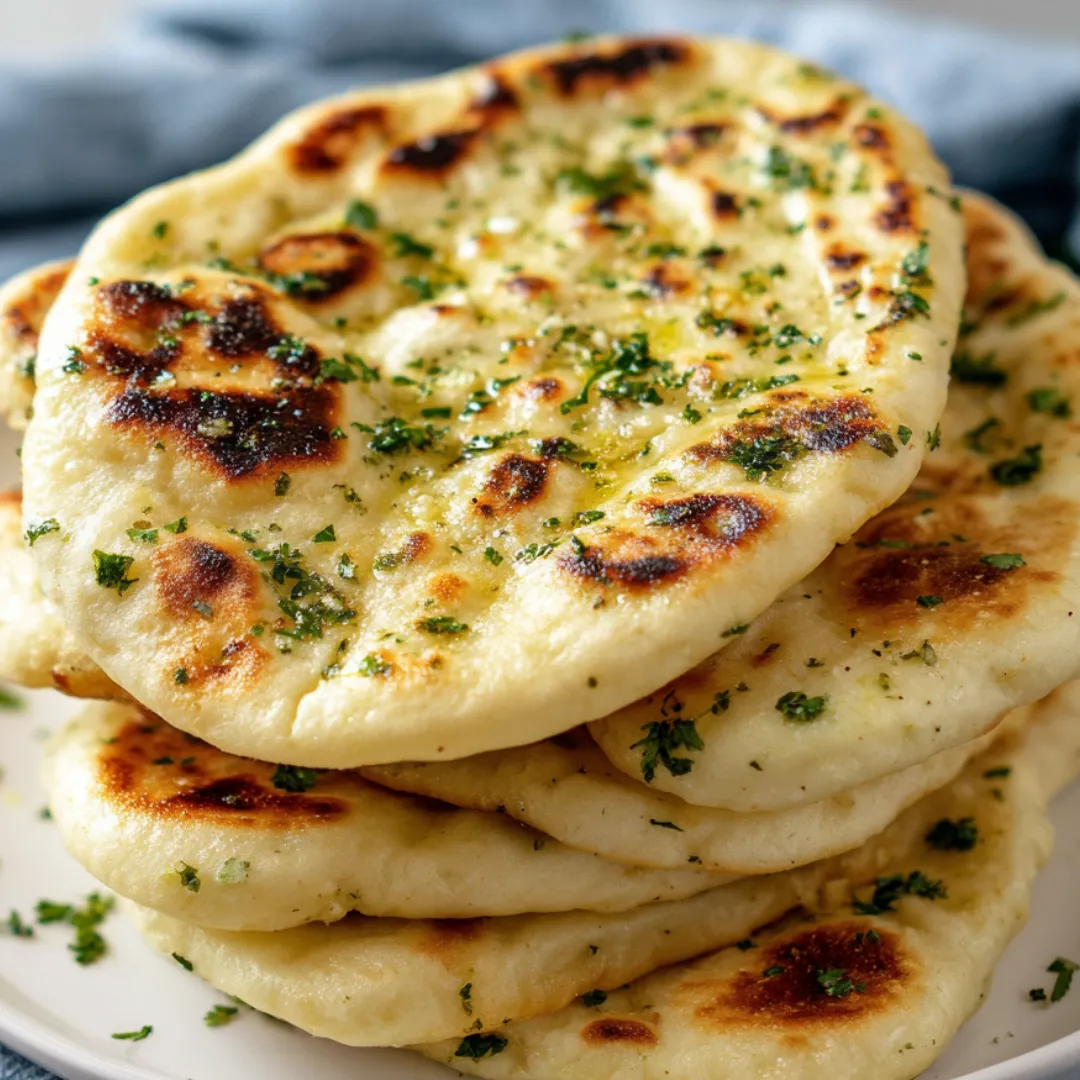
Making garlic pita at home means crazy good smells from your oven and a buttery garlic kick that can't be beat. It's easier than you think, fluffier than anything pre-bagged, and seriously full of flavor. Awesome for grabbing up dips or enjoying alongside whatever Mediterranean meal you love best.
I swear, the biggest challenge when I make these is not scarfing them down before I brush on the garlic mix. My crew gathers at the stove, just dying for that warm first bite.
Dreamy Ingredients List
- All-purpose flour: keeps pitas pillowy and holds it all together. Fresh flour is key for softness.
- Salt: balances everything and keeps the yeast happy. Fine sea salt is perfect if you’ve got it.
- Active dry yeast: gives the dough that awesome lift. Check if it’s fresh so you get a good rise.
- Milk: makes things richer and extra soft. Warm it just a bit to get your yeast going.
- Water: pulls your dough together. Use lukewarm or room temp for best results.
- Olive oil: brings in a little fruitiness and helps with that soft bite. Go for extra virgin if you want extra taste.
- Butter: turns the topping dreamy. Real-deal butter melts smooth and loads on flavor.
- Fresh garlic: every bite pops with real garlicky flavor. Freshly pressed cloves beat the jarred kind every time.
- Fresh parsley: sprinkle on for bright looks and taste. Chop it right before using to keep it extra fresh.
Easy How-To Steps
- Mix the Dry Ingredients:
- Toss flour, yeast, and salt in a big bowl. Whisk to blend. Even mixing is what helps your bread puff right.
- Combine Wet Ingredients:
- Add in milk and water (a little warm is perfect). Stir until you’ve got an uneven, shaggy dough.
- Knead in the Olive Oil:
- Pour olive oil over the dough. Knead, scraping up the sides, until it’s totally smooth and not dry at all.
- Let the Dough Rise:
- Cover tightly with plastic, then toss a towel over. Let it chill somewhere cozy for an hour—it’ll get puffy.
- Shape the Dough:
- Flour your counter a bit. Pat the dough into a round and cut into six equal wedges.
- Form Dough Balls:
- Roll each piece into a smooth ball with your hands. Tuck under a towel until you’re ready for the next move.
- Roll out the Pitas:
- Take one ball at a time, dust with a little flour, and roll it into a round, about a quarter-inch thick. Roll ‘em all and keep covered so they don’t dry out.
- Cook on the Stove:
- Heat a skillet over medium-high with a slick of olive oil. Lay down a pita, wait for bubbles (around thirty seconds), then flip to brown both sides. Takes barely any time per side.
- Keep Warm and Repeat:
- Once a pita’s done, wrap it in a clean towel so it stays soft. Knock out the rest ball by ball.
- Make Garlic Butter Topping:
- Pop butter in the microwave until melted. Stir in your chopped garlic and parsley. Brush over the warm pitas as soon as they come off the heat.
 Save Pin
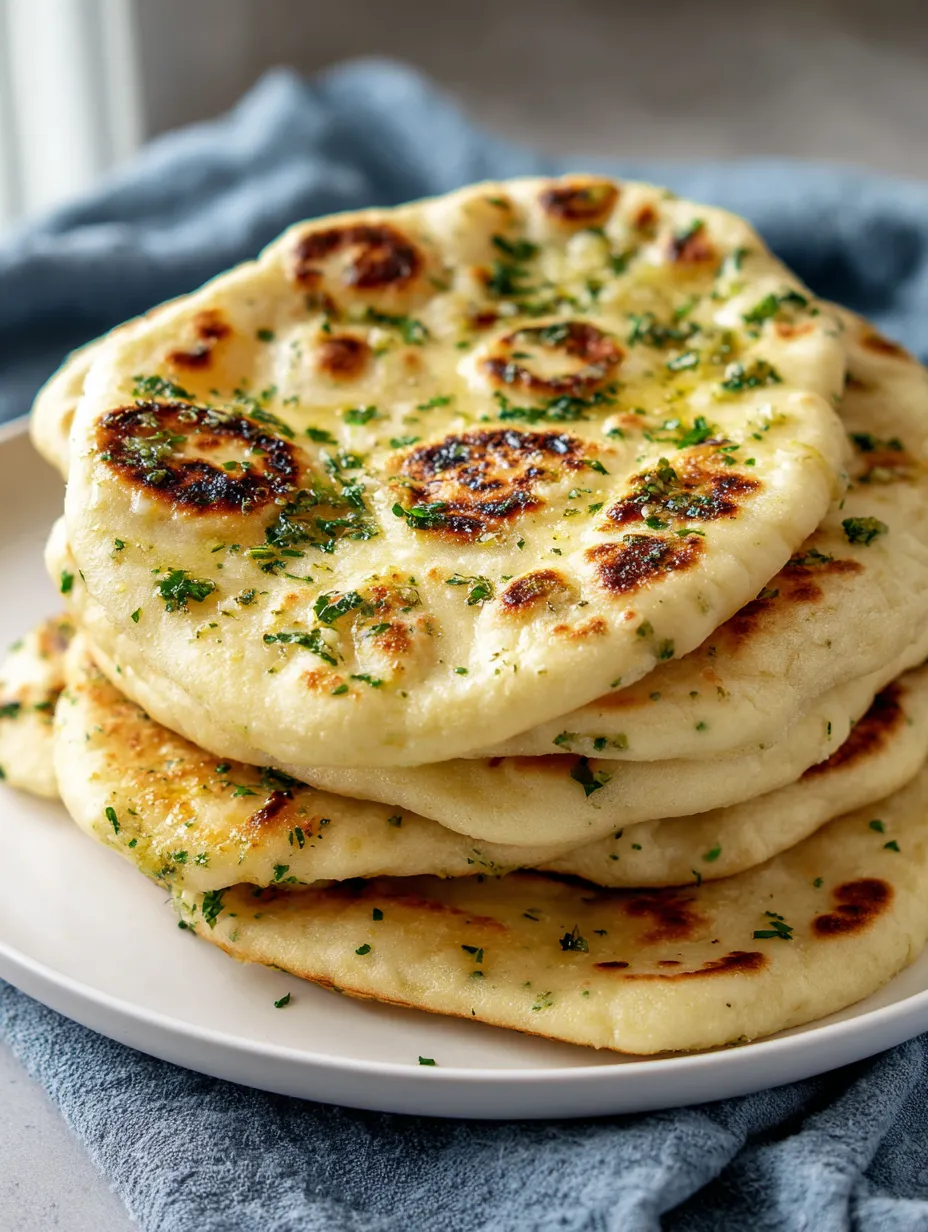
Whenever I bake these, I think of cozy family nights, everyone tearing apart fresh pitas and dipping them in garlicky hummus. I never skip the extra garlic butter. Chopping up parsley to toss over the top really makes it feel special.
How you keep it fresh
Let them cool off before sealing in a container or bag, and they’ll be good on the counter for up to three days. When you want one warm, use your toaster, microwave for a few seconds, or toss in a pan. Wanna freeze them? Stack with parchment between each, bag them up, and they’ll last two months. Just pop right into the oven at three fifty—no need to thaw first.
Switch things up
No wheat flour? Your favorite gluten free mix does the trick. For a richer taste, use some plain whole milk yogurt. Try other herbs if you’re feeling it—dill or cilantro are tasty. Keeping dairy out? Plant milk and vegan butter work awesome too.
 Save Pin
Tasty ways to eat
Keep ‘em toasty and dip into hummus, tzatziki, or baba ganoush. They’re a killer side for any soup, salad, or stew. Load them up with roast veggies or chicken to make wraps. Hosting friends? Cut into triangles and serve with all kinds of dips.
Why it sticks with me
Pitas show up at meals pretty much everywhere from the Middle East to the Mediterranean, ready for scooping, stuffing, or sharing. That garlic-herb twist? Total nod to Turkish and Greek cooking. My grandma from Greece always brushed hot bread with herb oil—and every batch brings me back.
Common Recipe Questions
- → How do I keep pita soft and fluffy?
Grab the fresh pita and wrap it in a towel as soon as it's done. The bread stays pillowy because it keeps all the steam inside.
- → What tweaks make it gluten-free?
Swap in your go-to gluten-free flour blend instead of regular flour. The end result is still super tasty.
- → Quickest way to rewarm pita?
Pop it in a toaster or use a pan to reheat, or slide it into a 350°F oven until it's warmed up.
- → Best way to store any extras?
Let your pita cool, stash it in a sealed bag, and it'll be good for three days at room temp. Freeze it to keep longer.
- → Can I try out different herbs or flavorings?
Of course! Toss in things like fresh parsley, chives, or sprinkle on some chili flakes for an extra kick in the butter.
- → Does this bread work for scooping dips?
Totally! The soft middle and garlicky herbs are perfect for dipping into hummus or tzatziki.