
 Save Pin
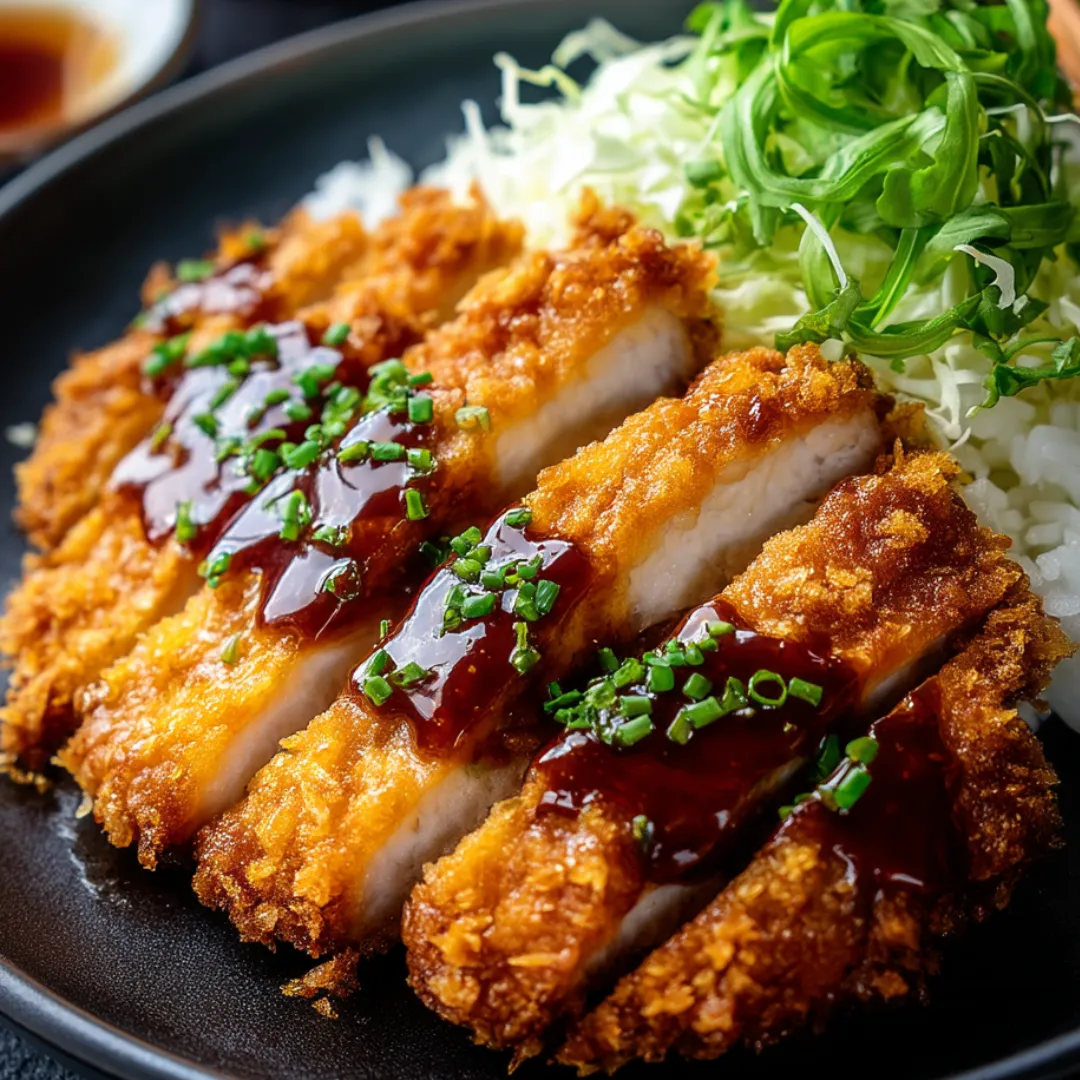
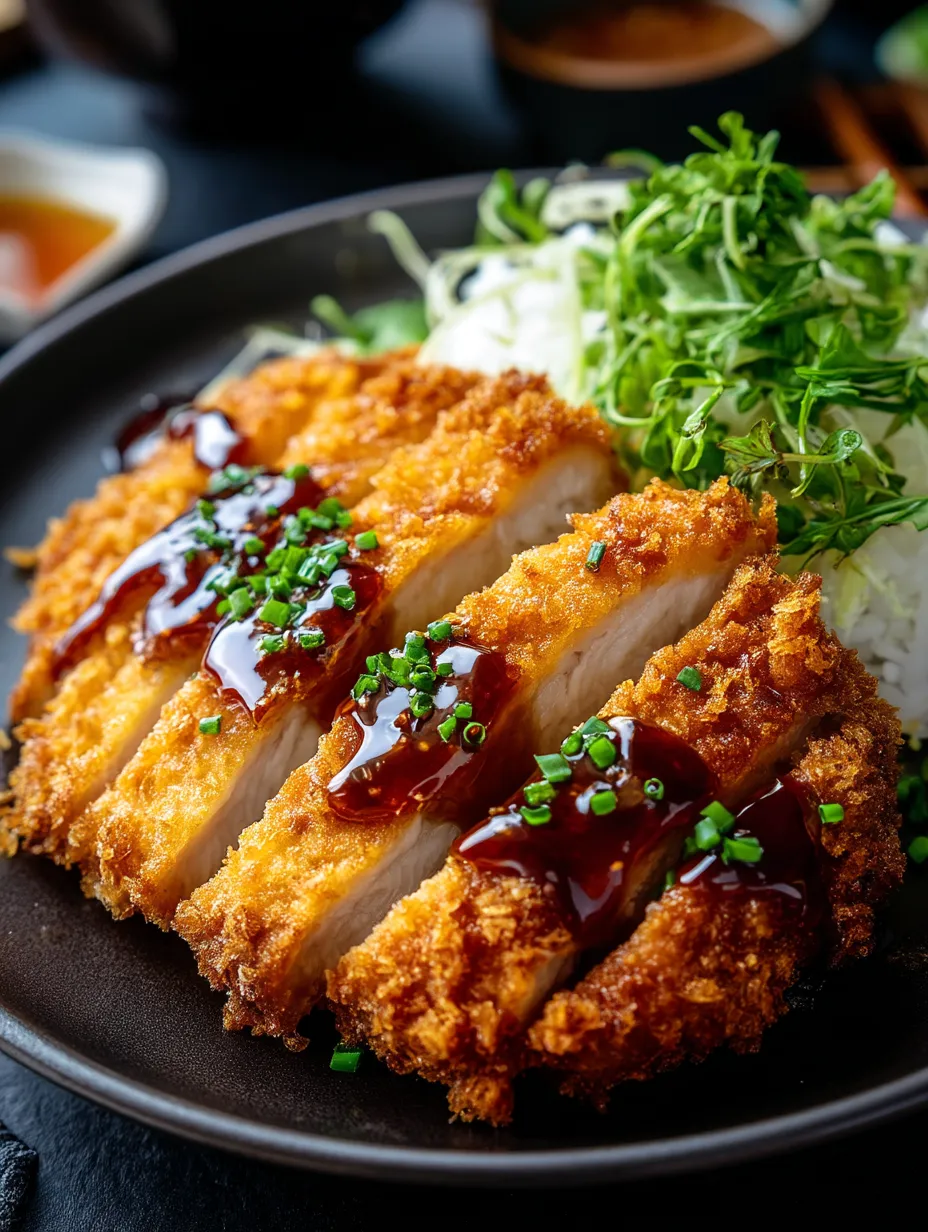
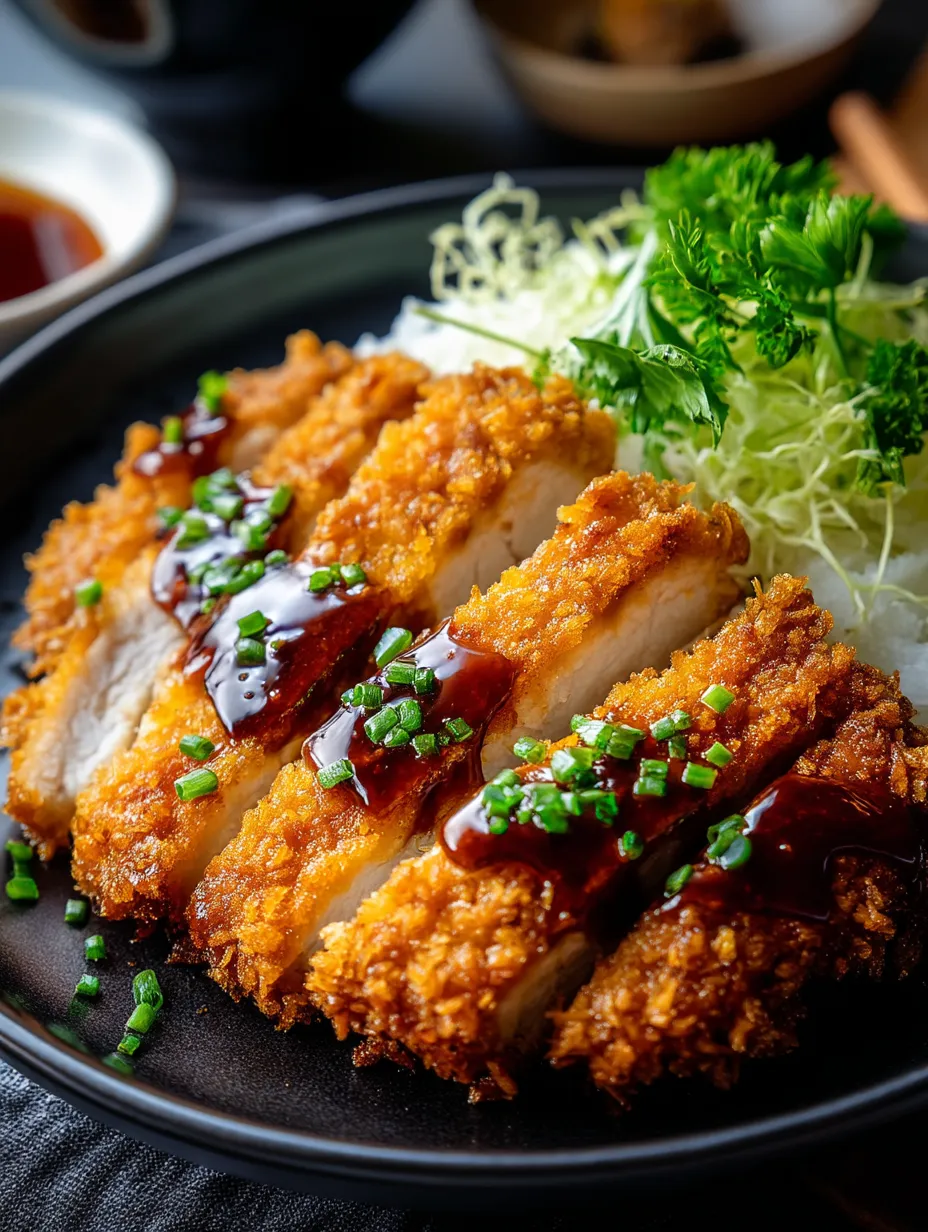
Picture biting into incredibly succulent chicken tucked inside a crunchy, golden outer layer that breaks apart with every chomp. That's what this baked chicken katsu gives you – all the wonderful crunch of the classic Japanese dish without having to deal with deep frying oil. This approach maintains all the genuine tastes while being healthier and easier to make on busy nights. The difference between the soft, juicy chicken and the crunchy panko outside creates an irresistibly delightful texture experience.
I whipped this up for my nieces and nephews last week, and they couldn't believe it wasn't deep fried! My pickiest nephew, who always scrapes breading off everything, wolfed down two full pieces and wanted to know if we'd make it again tomorrow. I loved watching my brother-in-law's shocked expression when I mentioned it was just baked in the oven – he was totally stunned and immediately asked me how to make it.
What You Need
- Boneless, skinless chicken breasts: Try to get similarly sized pieces for even cooking times; free-range chicken tends to taste juicier and more flavorful. You'll need about 1.5 pounds (4 average breasts).
- Panko breadcrumbs: They're the key to getting that amazing crunch; these airy Japanese breadcrumbs work way better than regular ones for the authentic katsu texture. Grab 1½ cups.
- Eggs: They work as the sticky layer that makes the panko stick properly; eggs from pasture-raised chickens give your coating a prettier color. You'll need 2 large ones.
- All-purpose flour: This forms the first layer that helps everything else stick nicely; you could swap in whole wheat flour for a different flavor if you want. About ¾ cup will do.
- Seasonings (garlic powder, onion powder): They add lots of flavor without taking over the chicken taste; always try to use fresh spices for the best results. 1 teaspoon of each works great.
- Sesame oil: A small amount brings a lovely nutty flavor to your breadcrumb mix; toasted sesame oil packs an even stronger punch. Just 1 tablespoon needed.
 Save Pin
Tasty Cooking Guide
- Step 1:
- Get your chicken ready – Take 4 boneless, skinless chicken breasts and sandwich them between plastic wrap or parchment sheets, then flatten to about ½-inch thick with a meat mallet or the bottom of a heavy pan. Don't make them super flat – just keep the thickness the same all over. This step makes sure everything cooks evenly and stays tender. Sprinkle both sides with ½ teaspoon salt and ¼ teaspoon black pepper, letting the flavors sink in while you get the other stuff ready.
- Step 2:
- Set up your coating area – Line up three shallow bowls to make a breading assembly line. Fill the first bowl with ¾ cup all-purpose flour mixed with a bit of salt and pepper. In the second bowl, beat 2 large eggs until they're completely mixed. For the third bowl, mix together 1½ cups panko breadcrumbs, 1 teaspoon garlic powder, 1 teaspoon onion powder, and 1 tablespoon toasted sesame oil, using your hands to rub the oil into the breadcrumbs evenly.
- Step 3:
- Coat your chicken – One piece at a time, roll the chicken in flour and shake off the extra. You want just a thin layer – too much makes things gummy. Next, dunk it in the beaten eggs, letting extra drip away. Finally, press it firmly into the panko mix, making sure crumbs stick everywhere. Give it a gentle squeeze to really stick those crumbs on tight.
- Step 4:
- Get ready to bake – Heat your oven to 400°F (200°C) and lightly oil a baking sheet or use cooking spray. For extra crispiness, put a wire rack on the baking sheet – this lets hot air flow under the chicken too. Lay out your breaded chicken pieces with space between them so they brown nicely all over.
- Step 5:
- Bake until golden – Put the chicken on the middle oven rack and bake for 20-25 minutes until the coating turns a rich golden brown and the chicken reaches 165°F (75°C) inside. Want it super crispy? Turn on the broiler for the last 2 minutes, but watch it closely so it doesn't burn.
- Step 6:
- Let it sit briefly – Give the chicken katsu about 3-5 minutes to rest before cutting into it. This short break lets all the juices spread back through the meat, keeping everything moist. Use a sharp knife to cut the katsu into strips against the grain. Put it on plates with your sides and serve right away while it's still super crispy.
- Step 7:
- Add sauce and serve – Pour some tonkatsu sauce over the top or put ½ cup on the side for dipping. Add some lemon wedges and sprinkle 2 tablespoons of sliced green onions on top for fresh color that cuts through the richness of the dish.
Japanese cooking has always grabbed my attention with how much care goes into even basic dishes. The first time I tried katsu at a tiny place in Kyoto, I couldn't believe how something so basic could taste so amazing. My dad usually stays away from anything fried, but he fell in love with this baked version right away – he loves how it gives all the texture without feeling too heavy after eating it. Now we make it every Sunday, and everyone builds their own katsu bowls with whatever toppings they like.
Great Side Dish Ideas
What makes chicken katsu so wonderful isn't just how good it tastes but how many ways you can serve it. Japanese restaurants typically pair it with finely shaved cabbage and hot rice, but why stop there? Try it with a simple cucumber salad tossed in rice vinegar and some sesame seeds for a cool contrast to the hot, crispy chicken.
When you want a full meal without much extra work, turn your katsu into the popular Japanese comfort food "katsudon" by quickly cooking it with beaten eggs, sliced onions, and a sweet-salty sauce, then pouring it all over a bowl of rice. The eggs create a soft layer that brings all the flavors together while still keeping some of that awesome crunch.
 Save Pin
Create Your Own Tonkatsu Sauce
Store-bought sauce works fine, but nothing beats the fresh, rich taste of homemade. Mix ¼ cup ketchup, 2 tablespoons Worcestershire sauce, 1 tablespoon soy sauce, 1 tablespoon brown sugar (adds richness, not just sweetness), and 1 teaspoon Dijon mustard. To make it more authentic, add a tiny bit of allspice and a splash of rice vinegar. You can keep this sauce in the fridge for up to two weeks, and it actually gets better after sitting for a day or two.
Japanese Serving Ideas
In Japan, how food looks matters just as much as its taste. Try serving your katsu with a bit of style – cut it into neat strips and arrange them slightly overlapping like a fan shape. Put a small pile of thinly sliced cabbage next to it, and serve the sauce in a separate small bowl instead of pouring it on top. This keeps everything crispy and lets people add as much or little sauce as they want.
I've cooked this baked chicken katsu countless times over the years, and it never fails to wow everyone at my table. There's something really special about cutting through that crunchy outside layer to find juicy chicken inside. What I truly love is how this dish feels both everyday and special at once – simple enough for a regular weeknight but fancy enough when you have friends over. If you're just starting to try Japanese cooking, this is a fantastic first recipe that gives you authentic flavors using cooking methods you probably already know. Honestly, once you master this oven-baked version, you won't even think about the traditional fried one anymore.
Common Recipe Questions
- → Can I use chicken thighs instead of breasts?
- Absolutely! Skinless, boneless thighs make a juicier katsu option. Just hammer them to even thickness and add about 5 extra minutes to your cooking time.
- → How do I keep the breading from falling off?
- Make sure to dry the chicken completely first, push the panko into the meat firmly, and let your coated chicken sit for 5-10 minutes before it goes in the oven to help everything stick together.
- → What sides go well with chicken katsu?
- Common Japanese pairings include rice, shredded cabbage, miso soup, and pickled veggies. It's also great with a simple cucumber salad or some quick stir-fried greens.
- → Can I make this gluten-free?
- Sure thing, just swap in gluten-free flour and gluten-free panko breadcrumbs from your local store. Don't forget to check your tonkatsu sauce ingredients too.
- → How do I reheat leftovers to keep them crispy?
- Skip the microwave and warm them in a 350°F oven for 10-15 minutes. This trick brings back some of the crunch that would otherwise get soggy.