
 Save Pin
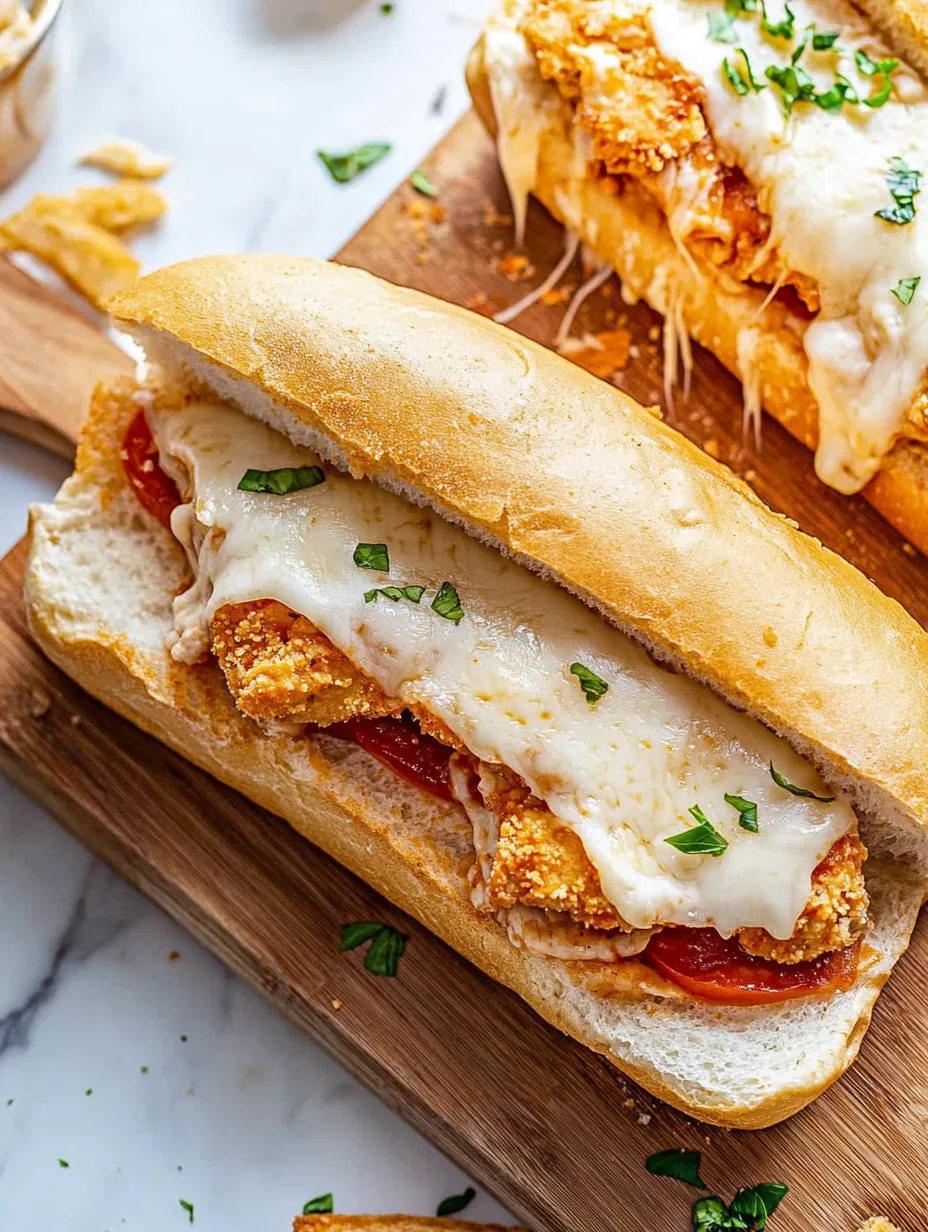
This filling chicken parm sub turns an Italian favorite into a portable delight that works great for low-key dinners or watching sports with friends. The mix of crunchy chicken, zesty sauce, and gooey cheese tucked into a soft bun makes for a comforting meal that's easy to whip up.
I threw these subs together one stormy afternoon when we wanted something warm but different. Everyone fought over the last bite because of how the cheese stretched and pulled, and now my family asks for them almost every weekend.
What You'll Need
- Boneless skinless chicken breasts: your main protein try to find ones with similar thickness or flatten them yourself for even cooking
- All purpose flour: forms the foundation of your coating and helps the sauce stick better
- Large eggs: work as the crucial binding agent that makes the crumbs stick to your chicken
- Panko breadcrumbs: give an amazing crunch that regular breadcrumbs just can't match
- Garlic and onion powder: add flavor to your coating without the risk of burning like fresh versions would
- Italian seasoning: brings those familiar herb flavors that work so well with the sauce
- Quality sub rolls: need to be tough enough to handle all the fillings fresh bakery ones work wonders
- Marinara sauce: forms the base flavor go for a thicker one to keep your bread from getting mushy
- Mozzarella cheese: gives you that awesome stretchy pull when fresh slices beat pre-shredded any day
- Parmesan cheese: adds that rich salty kick try to grab real Parmigiano if you can afford it
How To Make It
- Get Your Chicken Ready:
- Sprinkle salt and pepper all over your chicken breasts. Take a meat pounder and smack them between plastic wrap until they're about a quarter inch thick. This helps them cook fast and fit nicely in your rolls.
- Set Up Your Coating Area:
- Put three shallow bowls next to each other. The first gets flour with a bit of salt and pepper. The second needs eggs whisked until smooth. Mix your panko with the garlic powder, onion powder and Italian seasoning in the third bowl.
- Coat Your Chicken:
- Roll each piece first in the flour and tap off the extra. Dunk it in the egg mixture and let the drips fall off. Last, press it into your breadcrumb mix so it's totally covered. Put it aside on a plate for 5 minutes so the coating sticks better.
- Cook Them Up:
- Get your olive oil hot in a big pan but don't let it smoke. Drop your coated chicken in carefully, cooking a few pieces at a time so they don't crowd each other. Give them 4 minutes on each side until they turn golden and hit 165°F inside. Put them on paper towels to soak up extra oil.
- Build Your Subs:
- Cut your rolls most of the way through lengthwise. Spread some sauce on the bottom half of each one. Put a chicken piece on each roll, folding if needed to make it fit. Spoon more sauce over each piece of chicken.
- Get That Cheese Going:
- Put two pieces of mozzarella on top of each chicken piece, letting them overlap a little. Scatter Parmesan all over the mozzarella. Put your subs on a baking tray and stick them in the hot oven for 5-10 minutes until the cheese melts completely and the rolls get golden edges.
- Finishing Touch:
- Take them out and sprinkle with fresh parsley. Serve them right away with extra warm sauce for dipping. The mix of crunchy outside, juicy chicken and melty cheese makes every bite amazing.
 Save Pin
Good To Know
- Great for planning ahead as the chicken can be prepped and cooked one day early
- Packs about 50g of protein in each serving so it'll keep you full longer
- Works with many diet tweaks through simple swaps
- Fancy enough for company yet doable for kitchen newbies
What I love most about this dish is how the crunchy chicken coating plays against the melty cheese. I made these when my brother came back home after being gone for years, and I could tell by his face after one bite that good food really can bring family closer together.
 Save Pin
Prep Ahead Tips
These chicken parm subs are super handy because you can work ahead. The chicken pieces can be made up to two days before and kept in the fridge. When you're ready to eat, just warm the chicken in a 350°F oven for about 10 minutes to crisp it up before building your subs. This makes them so handy for parties or busy nights when you're short on time.
Ways To Switch It Up
You can easily change this recipe based on what you like or have in your kitchen. Want some heat? Toss red pepper flakes in your sauce or add some pepperoncini. Don't eat meat? Swap the chicken for eggplant slices using the same method but cook them a bit less time.
You can play with different cheeses too. Mozzarella gives that classic pull, but provolone has more punch. If you're really into cheese, try mixing several kinds or even putting a layer of smooth ricotta under the mozzarella for an extra rich treat.
What To Serve With It
These hefty subs work fine on their own, but if you want something on the side, go for lighter options that don't steal the show. A simple peppery arugula salad with lemon juice and olive oil cuts through the richness nicely.
For a bigger meal, add some garlic parm fries or a cup of Italian wedding soup. At gatherings, try cutting the subs into smaller bites that are easier to eat while chatting. These go great with a glass of Chianti or a cold lager to balance the bold flavors.
Common Recipe Questions
- → How do I keep the chicken crispy?
Cook your chicken in hot olive oil until it turns golden. Don't forget to toast your sub rolls before you put everything together. This stops the bread from getting soggy when you add the tomato sauce.
- → Can I use a different cheese?
Sure thing, you can swap mozzarella for provolone or mix up your favorite cheeses to create your own special flavor.
- → Can these subs be made ahead?
You can bread and fry the chicken earlier, then warm it up in your oven when you're ready. Just put the subs together and bake them right before you want to eat them so they taste their best.
- → What's the best way to pound chicken evenly?
Grab a meat mallet and tap the chicken until it's about ¼-inch thick. Put the chicken between two pieces of plastic wrap so you don't make a mess.
- → Can I air fry the chicken?
You bet, just air fry your breaded chicken at 375°F for around 15-18 minutes, and flip it halfway. Give it a light spray with oil to make it nice and crispy.