
 Save Pin
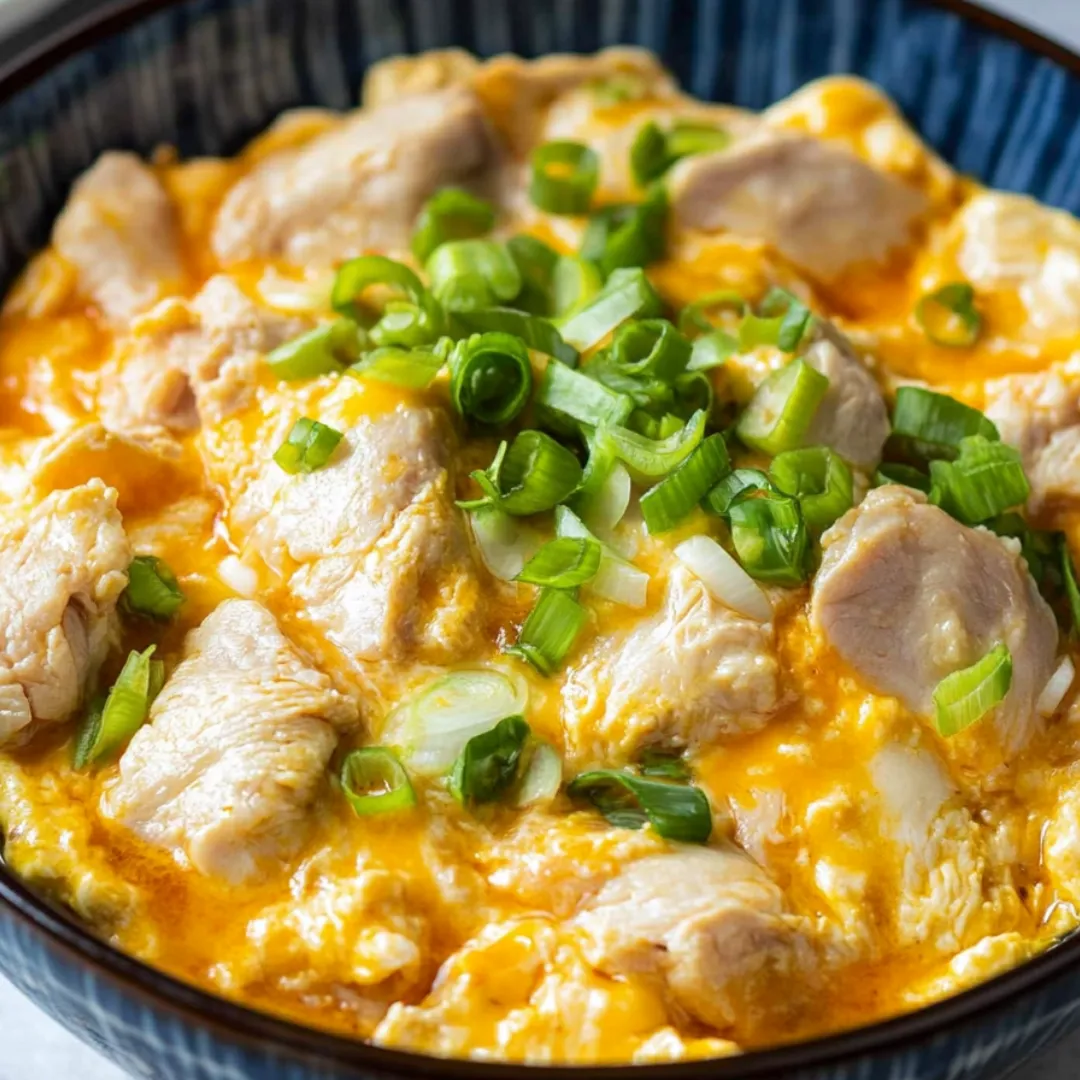
This filling oyakodon has been my trusted dinner fix for so many nights over the years. The dish's name basically means "parent-and-child bowl" in Japanese, which points to the chicken and eggs combo that makes it so darn cozy and fulfilling.
I stumbled onto oyakodon during a crazy busy week when I needed something quick but still yummy. These days it's my comfort food go-to whenever I want something heartwarming but can't be bothered with fancy cooking steps.
Ingredients
- Chicken thighs: They don't dry out like breast meat does and pack more flavor too
- Eggs: Just barely mixed to create that amazing silky texture oyakodon is known for
- Dashi or chicken stock: Creates the tasty liquid base for everything
- Onions: Get all nice and sweet as they cook in the broth
- Mirin: Adds that natural sweetness and makes the sauce taste deeper
- Soy sauce: Brings that must-have savory kick to the mix
- Sake: Makes the chicken super soft and brings out all the flavors
- Sugar: Works with the salty stuff to nail that classic taste
- Green onions: Adds a pop of color and fresh taste against the rich stuff
- Cooked rice: Short grain Japanese rice works best for the real deal
Step-by-Step Instructions
- Marinate the Chicken:
- Cut chicken thighs into small 1-inch chunks so they cook fast and evenly. Toss them in a bowl with sake. This doesn't just add taste but also works to soften the meat while you handle the other stuff. The sake breaks down the meat proteins, making your chicken extra tender.
- Prepare the Eggs:
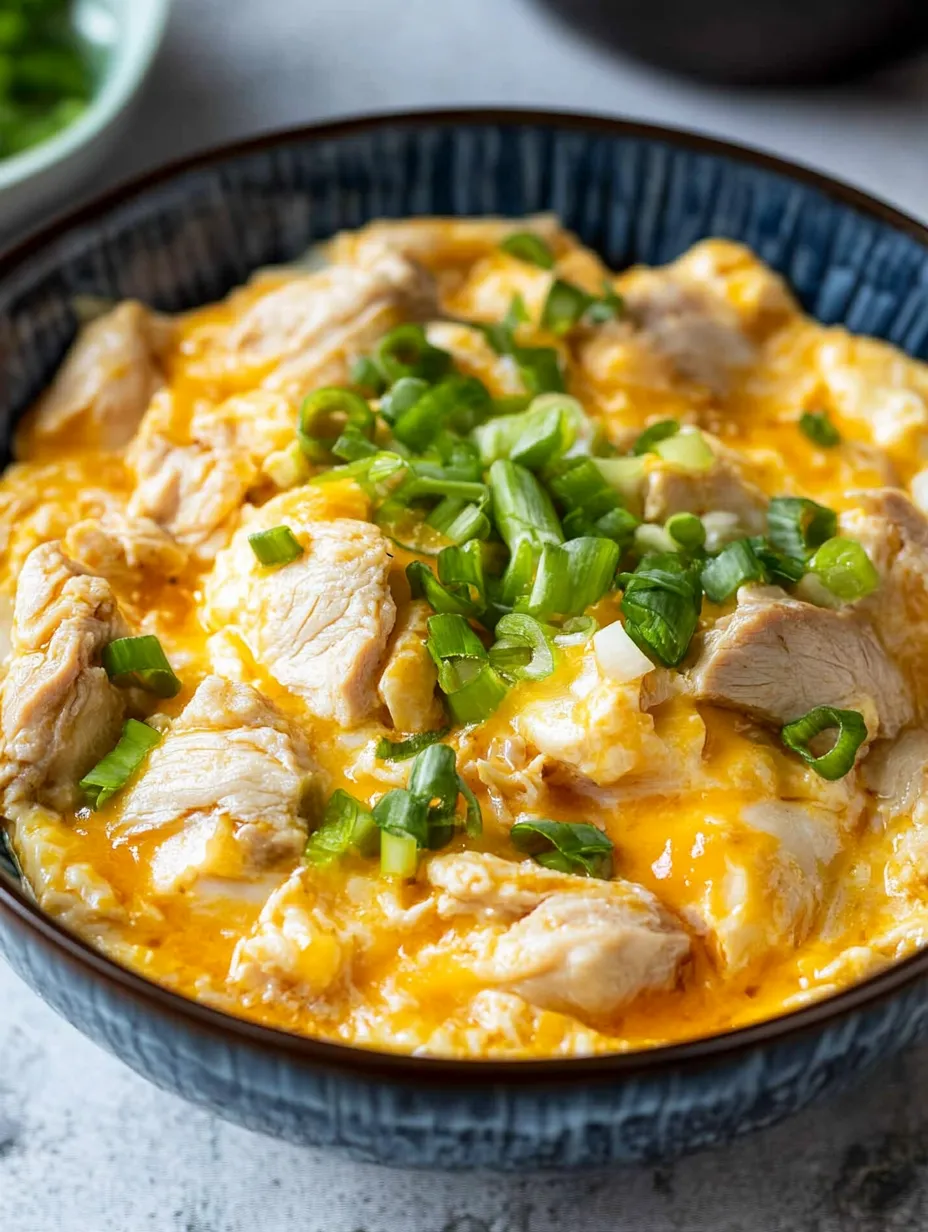
- Break two big eggs into a bowl and mix them just a little bit, about two-thirds of the way. You want some streaks of yolk and white still visible, not completely mixed. This creates awesome texture differences in your finished dish, with some parts custardy and others more defined. This partial mixing trick is key for the real deal texture.
- Create the Broth Base:
- Take a small pan about 7 inches wide and mix chicken stock or dashi with soy sauce, mirin and sugar over medium heat. Keep stirring until the sugar's totally gone. This makes the sweet-savory base that'll flavor everything else. The smaller pan isn't random - it gives just the right depth for cooking everything properly.
- Cook the Onions:
- Throw your thin-sliced onions into the bubbling broth, making sure they're spread out nice and even. Let them get a bit soft for about a minute. They'll keep cooking with the chicken later. The onions soak up all the tasty broth while making the sauce sweeter too.
- Cook the Chicken:
- Spread your sake-soaked chicken pieces across the pan in one layer so they cook the same. Don't touch them for 2 minutes, then flip each piece over. The chicken should be nearly done by now but will finish up when the eggs go in.
- Add the Eggs:
- Pour your partially beaten eggs in a circle over everything in the pan. Let them sit for about 2 minutes until they're mostly set but still a little runny here and there. If you want fully cooked eggs, just put a lid on for another minute. Pouring in a circle gets the eggs spread out evenly.
- Assemble the Bowl:
- While the eggs cook, get your bowl ready with hot, fresh rice spread across the bottom. Pack the rice a bit but don't squish it down too hard so the yummy sauce can soak in.
- Serve Immediately:
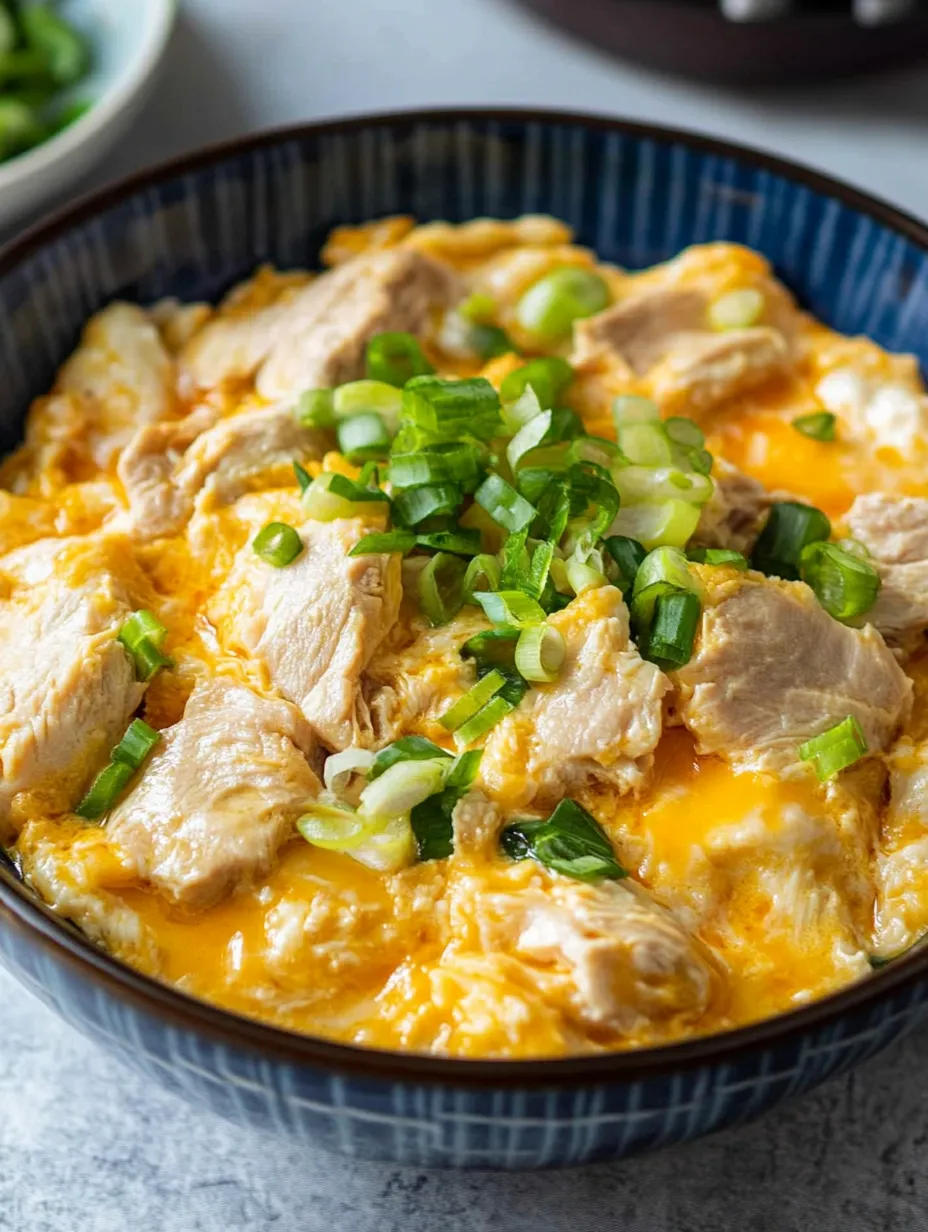
- Use a spatula to carefully slide everything - chicken, eggs, and all that tasty broth - right onto the waiting rice. Sprinkle with chopped green onions. Eat it right away while the eggs are still soft and the sauce can soak into your rice.
 Save Pin
My favorite thing about making oyakodon is watching those eggs slowly change from runny to soft, silky curds. My neighbor from Japan first showed me how to make this and really stressed that the eggs shouldn't ever be cooked all the way through. That silky egg texture is what makes this dish so loved in Japan, and now at my place too.
The Cultural Significance
Oyakodon has a special meaning in Japanese food culture. The name "oyako" means parent and child, talking about the chicken and egg together in one dish. This kind of naming shows how Japanese cooking often has deeper meaning. In Japan, people think of oyakodon as the ultimate comfort food, and you'll find it in homes and special restaurants. The dish got started during the Meiji era and caught on as a fast, filling meal for hungry workers.
Ingredient Substitutions
Can't find sake? Dry sherry or Chinese rice wine work great and they'll still make your chicken tender. Don't want to use alcohol? Just add another spoon of broth with a tiny bit of rice vinegar. Chicken breasts can work instead of thighs, but cook them a little less so they don't get dry. Going veggie? Firm tofu chunks actually work really well and soak up all that tasty broth. If you don't have dashi, use chicken or veggie stock with a small piece of kombu seaweed for that extra flavor kick.
Perfect Rice Preparation
Great oyakodon starts with properly cooked rice. Wash Japanese short grain rice several times until the water looks clear to get rid of extra starch. After it's cooked, don't open the lid for 10 minutes so it can steam some more. Then fluff it up. This makes rice that's just right for soaking up the broth without turning mushy. Each grain should be soft but still keep its shape with a tiny bit of firmness. Cold rice won't soak up the sauce right, so always put oyakodon on hot, fresh rice.
Serving Suggestions
Oyakodon usually stands on its own as a complete meal, but you can add some light sides if you want. A small bowl of miso soup goes really well with it. Quick pickled cucumbers can refresh your taste buds between bites. For something light and fresh, try a simple green salad with rice vinegar and sesame oil dressing. During hot months, a cold glass of mugicha (barley tea) tastes great with the warm, rich flavors of oyakodon.
 Save Pin
Common Recipe Questions
- → What is Oyakodon?
Oyakodon stands as a beloved Japanese rice bowl featuring chicken and eggs cooked in a sweet-savory broth, often enjoyed as a quick comfort food.
- → How long does it take to make?
You can whip up Oyakodon in just 15 minutes, making it an ideal choice when you need food on the table fast.
- → What ingredients do I need for Oyakodon?
You'll want chicken thighs, eggs, some dashi or chicken stock, soy sauce, mirin, a bit of sugar, onions, and cooked rice for serving.
- → Can I substitute any ingredients?
Sure thing, you can swap green onions for parsley, and tweak the amounts of soy sauce and sugar to match what you like.
- → How should I store leftovers?
Keep any extras in a sealed container in your fridge for up to 4 days. Warm it up in your microwave or in a pan on the stove.