
 Save Pin
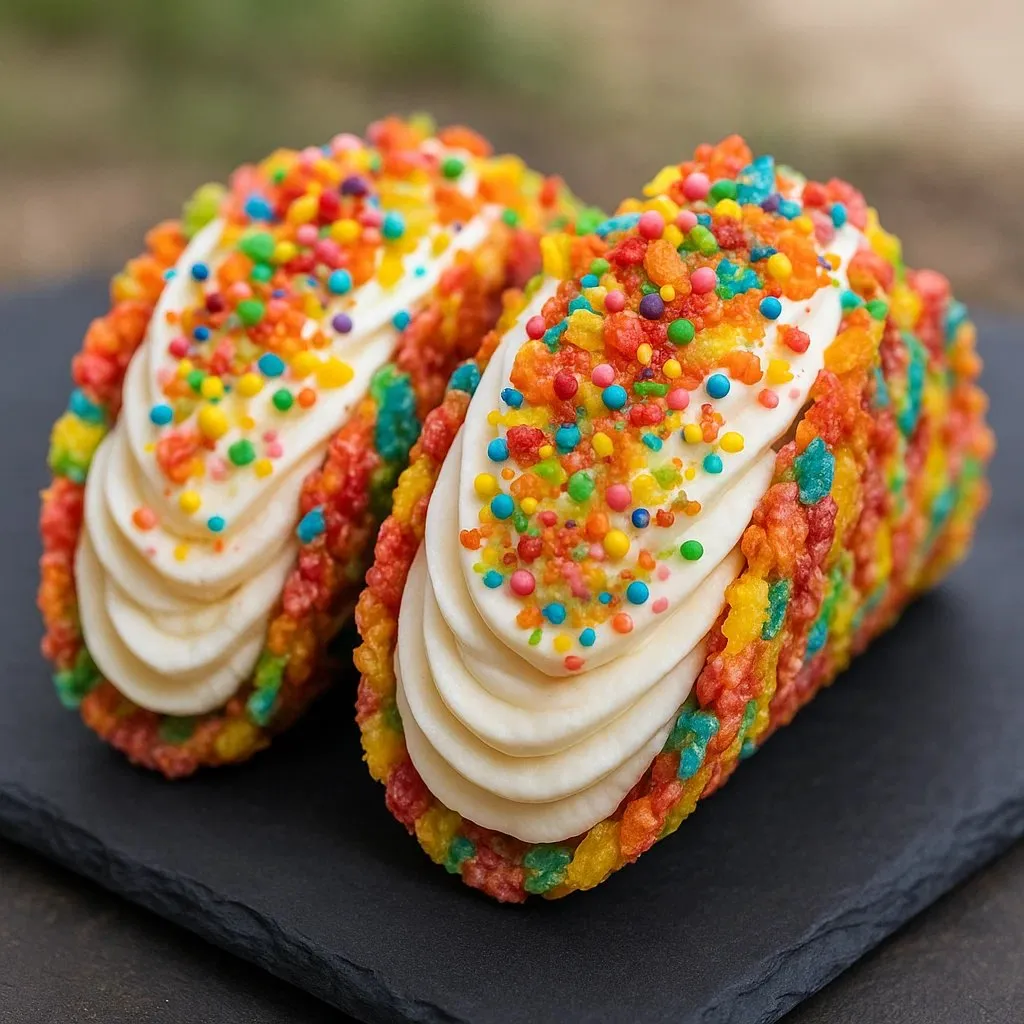
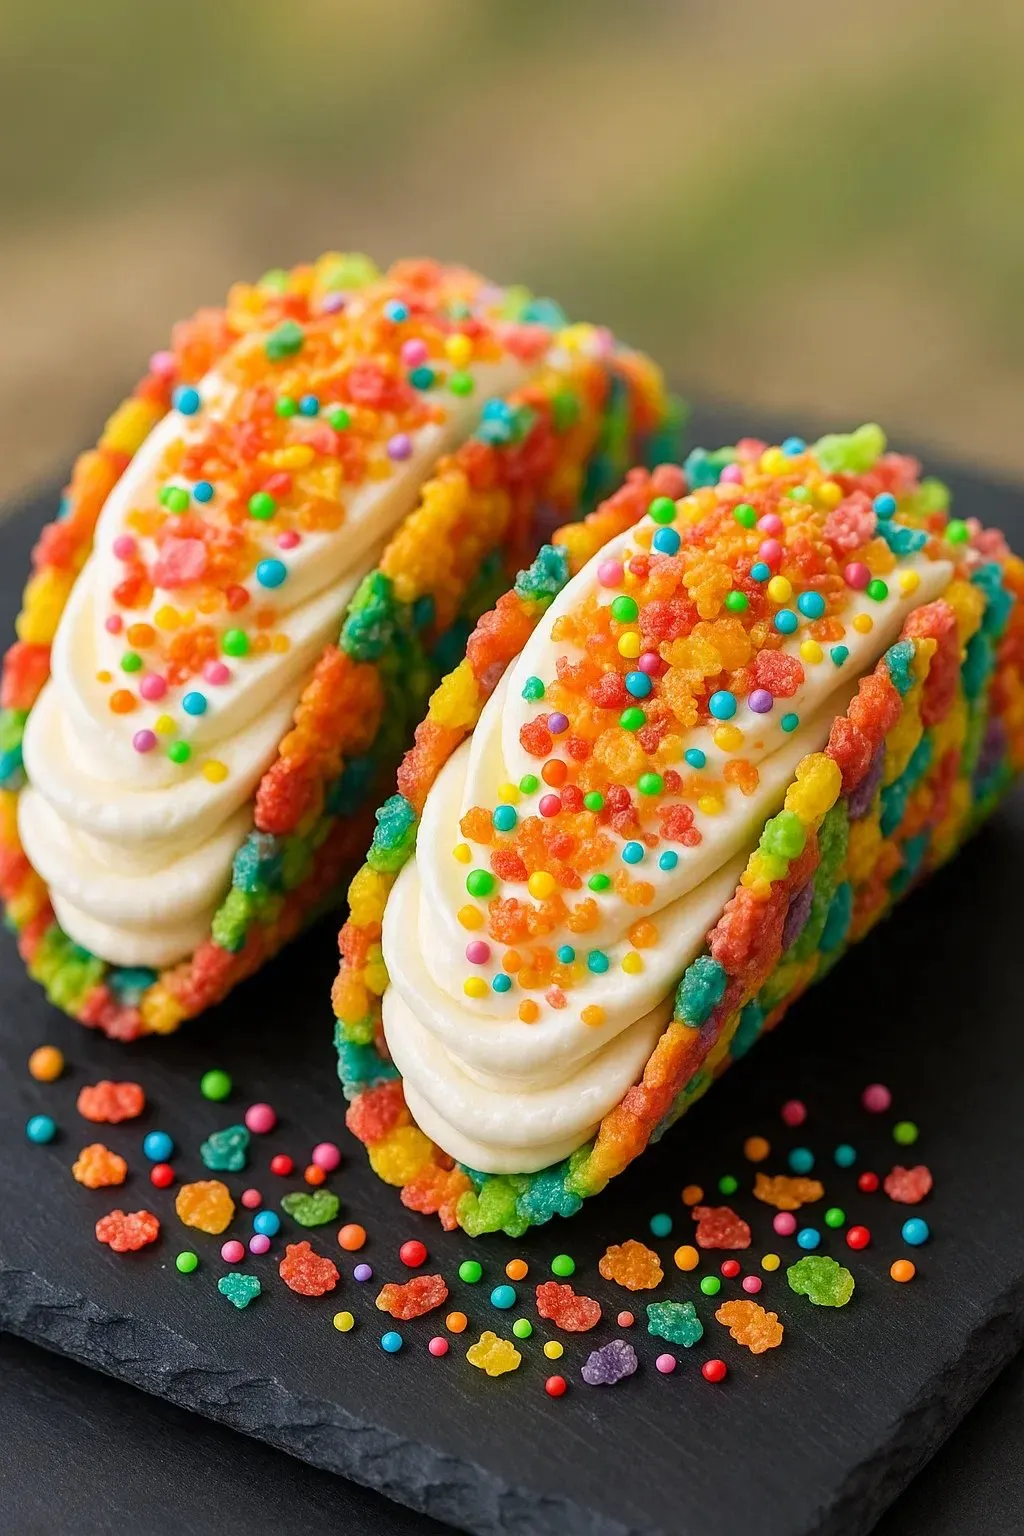
Crispy cereal shells with bursts of fruit flavor hold a dreamy, fluffy cheesecake middle and get showered with more crunchy colorful cereal on top. These Fruity Pebbles Cheesecake Tacos mix the fun of childhood breakfast with a smooth dessert bite. Bringing them to parties or movie nights always gets people chatting and grinning. And making them is half the fun!
Every time I put these together, my family ends up giggling and picking their own toppings. When we took them to a picnic the first time, nobody believed the shells were actually made from cereal.
Ingredients
- Fruity cereal: Pick a kind that won’t go soggy and brings lots of color. I like to use the whole, brightest pieces for a pop.
- Unsalted butter: Holds all the cereal together and adds a little richness. High-quality butter tastes best here.
- Cream cheese: This is your main base for the cheesecake. Let it sit out to soften so it blends easier.
- Powdered sugar: Blends right in for sweetness. Sift it if you don’t want any lumps in there.
- Pure vanilla extract: Just a splash brings out the filling’s flavor. Go for pure if you can.
- Whipped cream: This keeps the filling light and fluffy—freshly whipped holds up the best.
- Extra fruity cereal: Set some aside to sprinkle on top at the end for a little crunch and color boost.
Easy Step-by-Step
- Add Garnish and Serve:
- Top your filled tacos with leftover fruity cereal for some extra crunch. Enjoy them right away for the crispiest shells—or stash in the fridge for a firmer bite.
- Fill the Shells:
- Once chilled, take your shells out and spoon or pipe in big clouds of cheesecake filling.
- Create the Creamy Texture:
- Very gently, use a spatula to fold the whipped cream into your cream cheese mixture. Try not to squish the air out.
- Sweeten the Filling:
- Mix in your vanilla extract and powdered sugar a bit at a time. Blend it smoothly so every bite tastes the same.
- Prepare the Filling:
- Grab the softened cream cheese and beat it until it’s fluffy and lump-free. This gives your filling some lift.
- Shape the Shells:
- Press your cereal/butter mash into taco forms or muffin tins. Use your fingers or a spoon to really pack it in so your shells stay sturdy. Chill for at least half an hour to set.
- Make the Shells:
- Mix the fruity cereal with melted butter. Stir until every bit is coated and shiny, so your shells hold up nicely once chilled.
 Save Pin
Stuff You Gotta Know
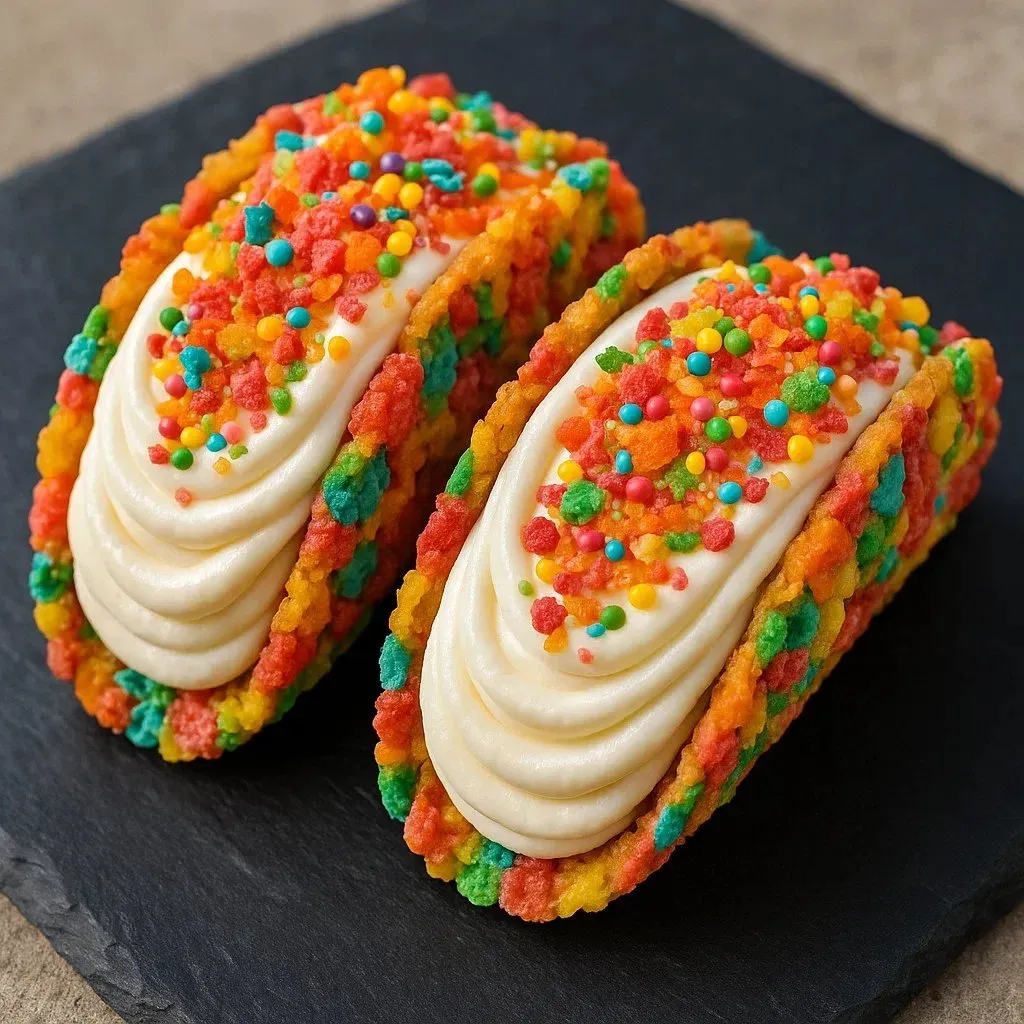
The best part is totally the cereal shell. It somehow stays crispy even after you fill it up—which really does feel like magic. Takes me back to all those nights sneaking handfuls of cereal from the box and dreaming up wild sweet combos.
How To Keep It Fresh
They’re at their crunchiest the day you make them, but you can keep extras in the fridge for about a day. The shells get softer if they wait around too long, so for planning ahead, just prep the shells and stash the filling in separate bowls. Put it all together right before you eat!
Try These Swaps
No fruity cereal handy? Any crispy, colorful sweet cereal will work in a pinch. Want it less sweet? Use unsweetened whipped cream in the middle, or swap in tangy Greek yogurt for an extra kick.
 Save Pin
Fun Ways to Serve
Put them out on a mixed dessert tray for birthdays or celebrations. They really pop next to a scoop of sherbet or a tall glass of milk. Sometimes I make tiny versions so the kids have their own special treat.
How This Treat Showed Up
There are so many versions of cheesecake out there, but using cereal for the shell feels super current. I first saw these at a local fair and fell in love with the idea. People always go wild for the blend of breakfast and sweet treat in one bite!
Common Recipe Questions
- → Can I use a different cereal for the shells?
Absolutely! Swap in any crispy, colorful cereal you love to shake up the flavors and textures.
- → How do I get the shells to hold their shape?
Just press the cereal firmly into your molds and give them a good chill—that way, they keep their taco form.
- → Is the filling best served chilled?
You’ll want to keep that cream cheese filling cold so it stays fluffy, sturdy, and extra tasty.
- → How far ahead can I prepare them?
You can prep the shells and whip the filling a day or so early, but wait to fill them until it’s almost time to eat so they stay crunchy.
- → Are there gluten-free options?
Grab a gluten-free cereal for the shell and double-check your ingredients to fit gluten-free needs.
- → What tools are recommended?
Bust out a mixing bowl, a hand mixer, a spatula, and taco molds or muffin pans for easy building.