
 Save Pin
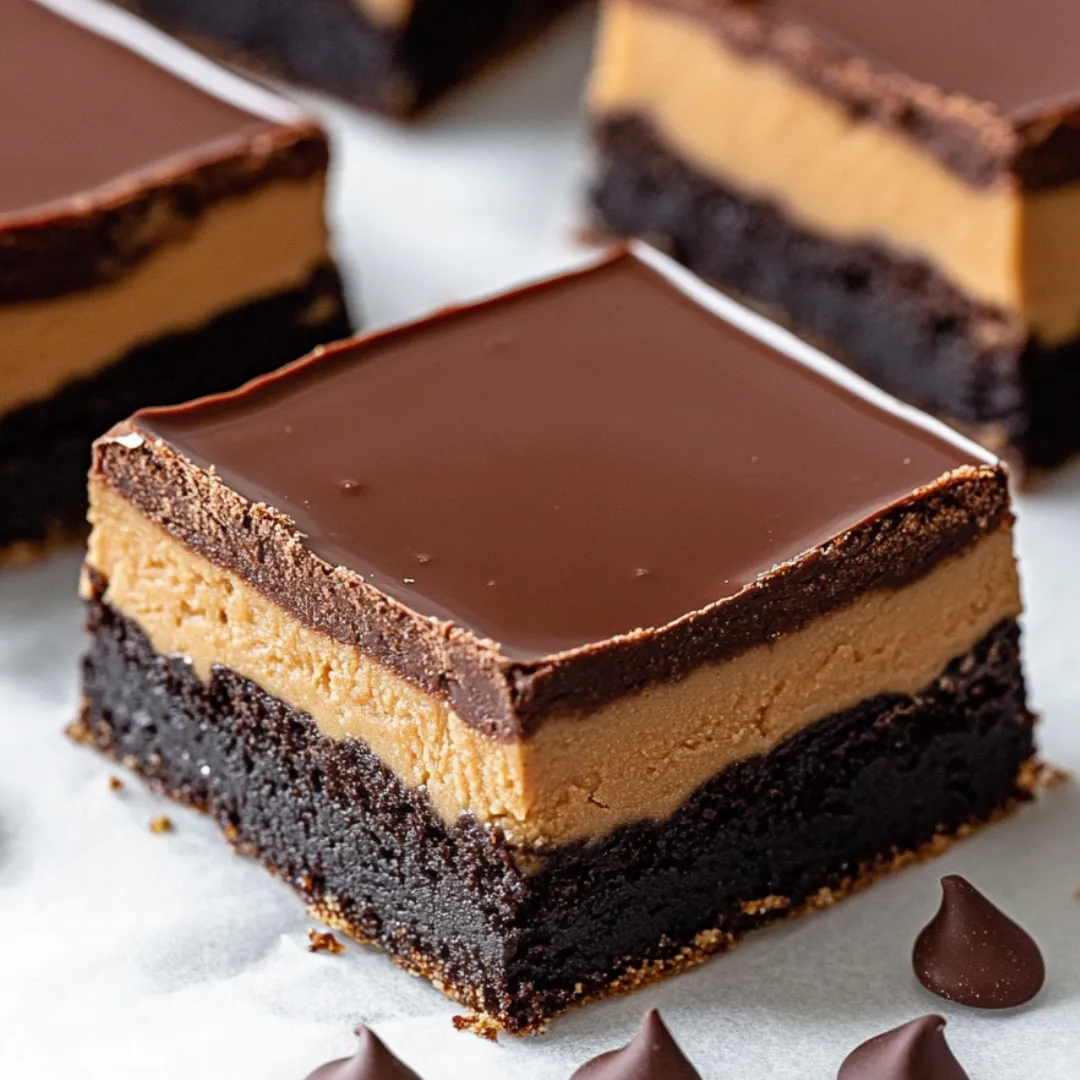
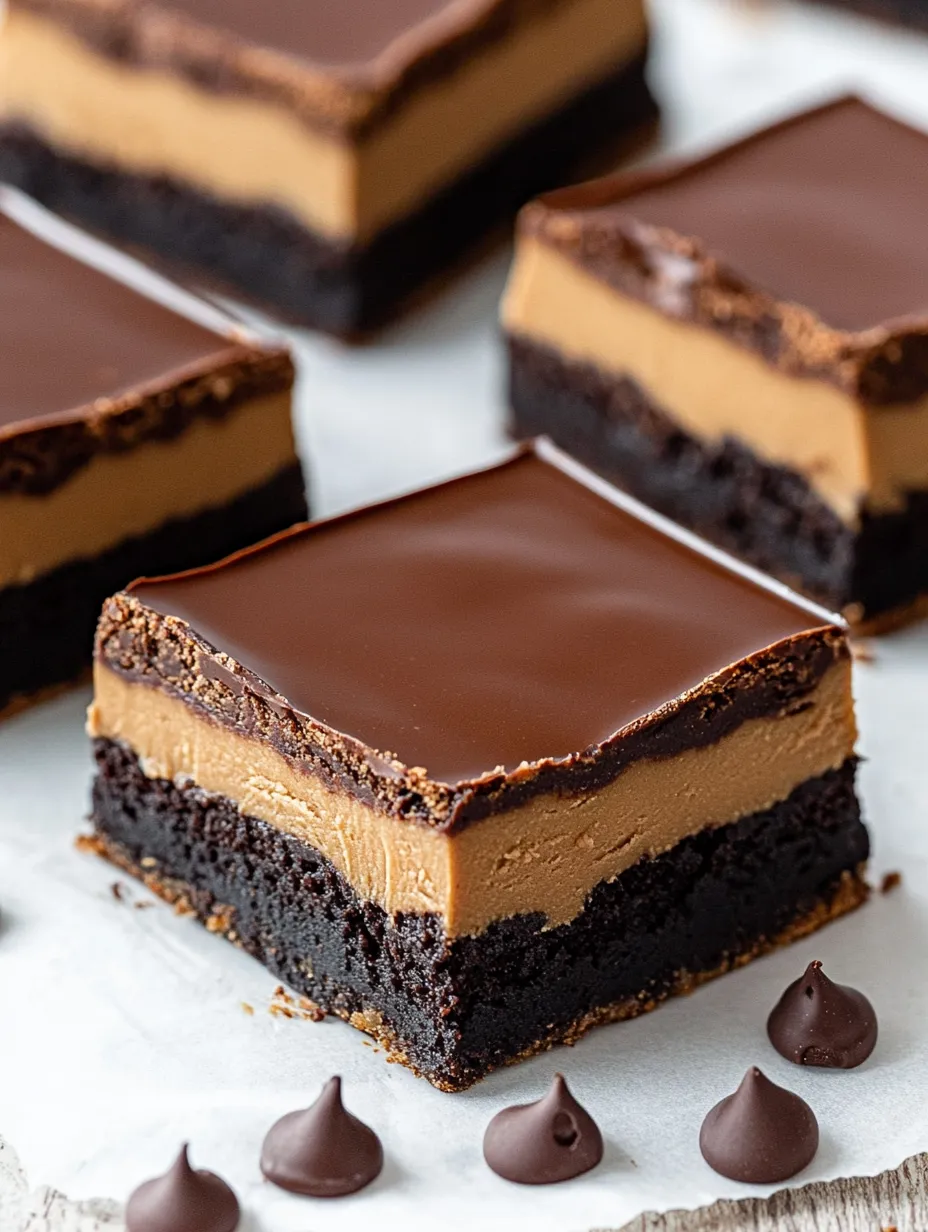
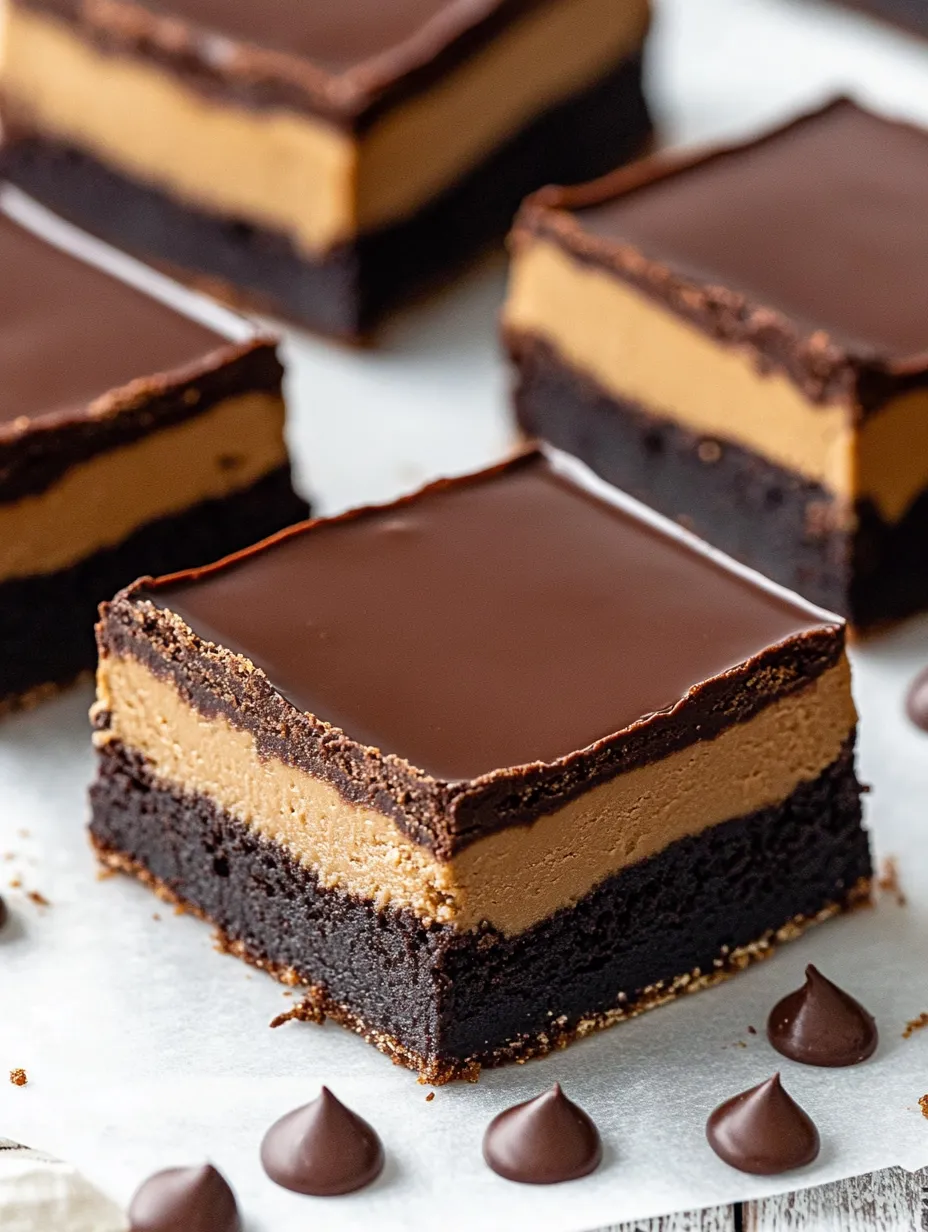
Imagine gooey chocolate bars with the best of both worlds—think Buckeye candies but as thick, fudgy brownies. These little squares start with a chocolatey base, get a smooth peanut butter middle, then finish with glossy ganache on top. They're a home run for anyone with a sweet craving.
I made these for a friend’s cookie swap, and they vanished—way quicker than anything else there. Now, my family always asks for them, so I’ve learned to double up so I can have extras stashed away at home.
Dreamy Ingredients
- Unsalted butter: Makes the brownie layer extra moist
- Semi-sweet chocolate chips: Melt into chocolatey pockets that aren’t overly sugary
- Granulated sugar: Cuts any bitterness from the cocoa
- Large eggs: Give the brownies richness and help them set up
- Pure vanilla extract: Gives the chocolate a flavor boost
- Unsweetened cocoa powder: Packs a deep chocolate flavor
- All-purpose flour: Holds everything together but keeps the brownies soft
- Kosher salt: Brings out all the good flavors
- Baking powder: Lifts things up just enough but doesn’t turn them cake-like
Peanut Butter Middle
- Melted unsalted butter: Makes it easy to stir and spread
- Creamy peanut butter: The key to the buckeye layer—go for regular brands for best results
- Pure vanilla extract: Levels out the sweetness
- Powdered sugar: Makes it thick and classic like buckeye candy
Shiny Ganache Finish
- Dark chocolate chips: For top-notch flavor and a shiny finish
- Heavy whipping cream: Makes the ganache super smooth and creamy
Super Simple Steps
- Chill and Finish:
- Move the pan to the fridge and let things cool for a coupe of hours until the ganache is set and firm. Slice straight from the fridge to get neat squares every time.
- Make the Ganache:
- Put heavy cream and chocolate chips in a microwave-safe bowl. Nuke for a minute, then stir until smooth and creamy. The heat from the cream will help melt the rest of the chocolate as you mix.
- Spread Peanut Butter Layer:
- Drop spoonfuls of the peanut butter blend on the warm brownie (just outta the oven). Spread gently with your fingers, being careful so the base doesn’t break.
- Mix Up Peanut Butter Filling:
- While the brownies bake, stir together melted butter, peanut butter, vanilla, and powdered sugar til nice and thick—think of the inside of buckeye candies.
- Bake Brownies:
- Scoop the batter into your lined pan, smooth out the top, and bake 23 to 25 minutes. You want the center just set, not dry—poke a toothpick in and if a little sticky crumb comes out, you're golden.
- Add Dry Stuff:
- Gently fold in flour, cocoa, baking powder, and salt. Stop mixing as soon as it comes together. Overmixing makes for tough brownies, and nobody wants that.
- Add the Wet Stuff:
- Stir in eggs one at a time, mixing between each. Finish with the vanilla so the flavor goes everywhere.
- Melt Butter and Chocolate:
- Start by melting butter in a pot over low heat. Take it off the heat, toss in the chocolate and sugar, and stir like crazy until smooth and glossy.
- Line the Pan:
- Heat up your oven to 350°F, and put parchment into your baking dish so the paper hangs over the sides. That way, you can pull out the brownies with no sticky mess later.
 Save Pin
The peanut butter center takes these brownies to another level. I tried using natural peanut butter once and ended up with a runny, gooey mess that wouldn't hold together. Stick with brands like Skippy or Jif so your middle slices crisp and firm, just how it should be.
Keeping It Fresh
Pop them in an airtight container and set them in the fridge—they’ll last up to five days and get tastier as the flavors blend together. Want to keep them longer? Slice them first, tuck into the freezer, and they're good for three months. When you're ready, thaw them in the fridge overnight.
Mix It Up
Make these bars just how you like. Use crunchy peanut butter for extra bite. Try sprinkling some flaky sea salt on the ganache for salty-sweet goodness. Add a little espresso powder to the brownie stuff if you want deeper chocolate taste, no coffee flavor. Or swap out for dark cocoa for a bold, rich vibe.
How to Serve It
These bars are awesome by themselves, but try pairing them with vanilla ice cream or a tall glass of milk. If you want to dress things up, dust your plate with cocoa powder, set a bar on top, then spoon on whipped cream and add a raspberry—it'll look just as good as any fancy dessert at a restaurant.
 Save Pin
Buckeye Bar Origins
Why Buckeye? The candies come from Ohio and look like the nut from their state tree. Classic buckeyes are peanut butter balls dipped in chocolate, with a bit of peanut butter peeking through like the real nut. Here, you get that mashup of flavors in simple bars you can slice, but with that same fun tradition.
Common Recipe Questions
- → Is natural peanut butter okay for the middle layer?
Natural peanut butter likes to separate and can mess with the creamy texture. Regular creamy peanut butter works better here.
- → How should I keep Buckeye Brownies fresh?
Tuck them into a tight container and stash in your fridge for five days. Need them to last longer? Pop them in the freezer for up to three months.
- → Can I whip up ganache without heavy cream?
You sure can swap in milk or half-and-half if you don't have heavy cream, but the ganache won't turn out quite as thick and rich.
- → Is it important to chill before slicing?
Yep, chilling helps all the layers firm up so you get nice, clean bars when you cut them.
- → Can milk chocolate be used for the ganache layer?
Milk chocolate works fine but it'll make the ganache a bit sweeter. Just use what you like best.