
 Save Pin
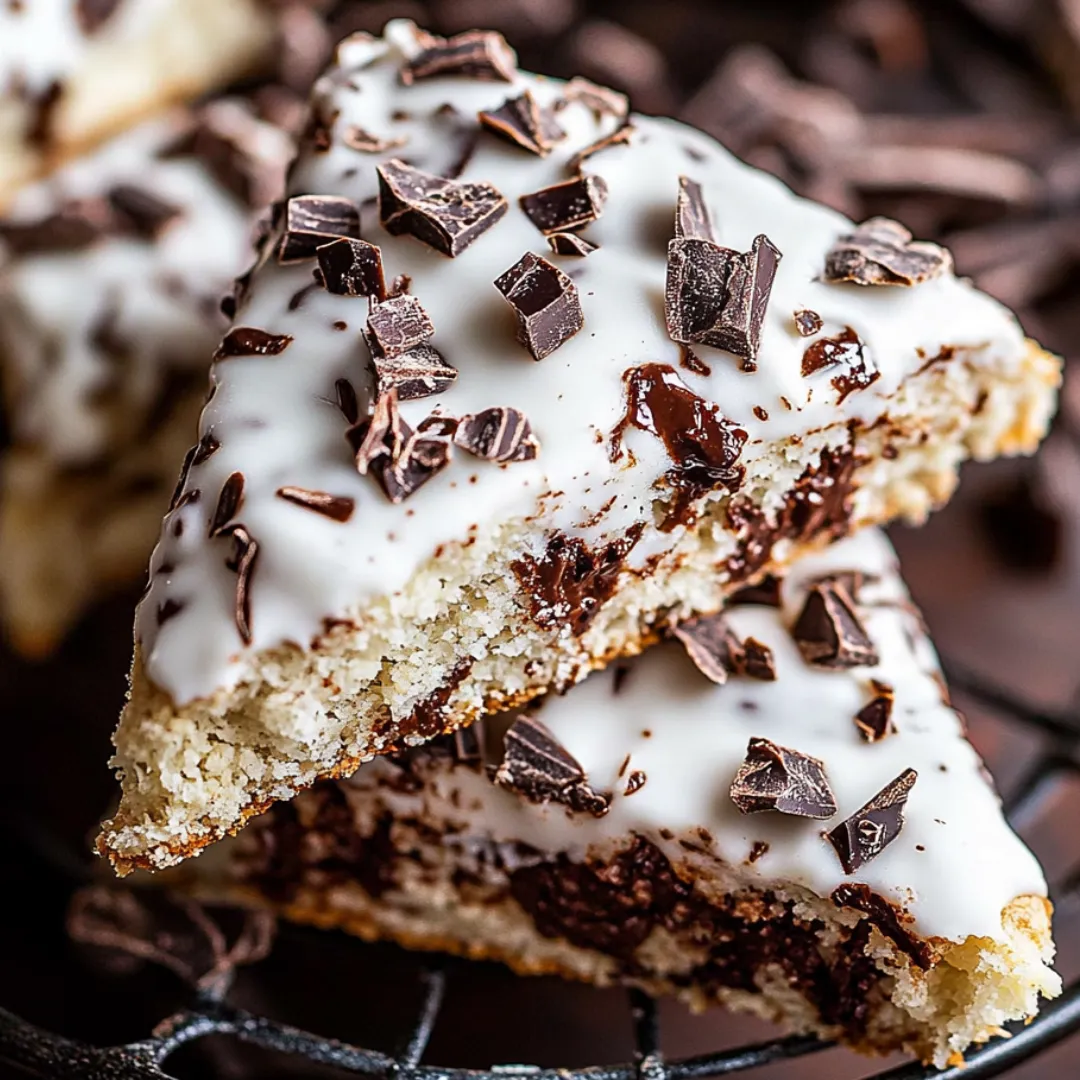
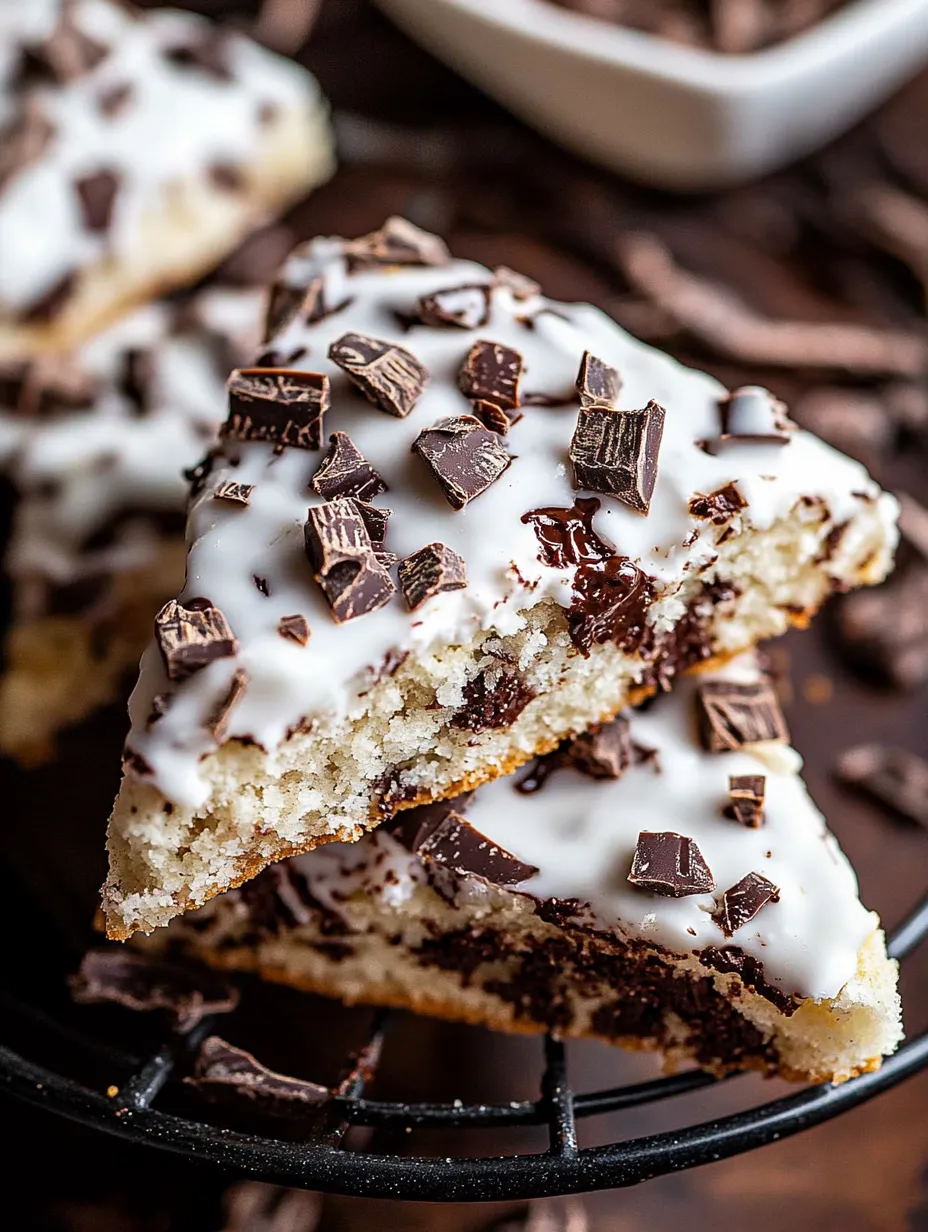
This dark chocolate and coconut scone transforms everyday baking basics into something you'd swear came from an upscale bakery. Each bite takes you straight to your favorite coffee shop, with gooey dark chocolate bits perfectly nestled in coconut-packed dough—it's that magical mix of fancy yet familiar that'll have you coming back for more.
I whipped these up for my kid's birthday brunch once and they vanished before anything else on the table. They've now turned into our go-to Sunday morning treat whenever we want breakfast that feels a bit fancier than the usual stuff.
Ingredients
- All purpose flour: Gives these tender scones their perfect base structure
- Sweetened coconut flakes: Add crunch and boost that tropical taste
- Dark chocolate: Creates little pockets of melted goodness in every bite
- Coconut cream: Keeps everything moist while pumping up the coconut flavor
- Coconut extract: Boosts the tropical taste without going overboard
- Vanilla extract: Adds some cozy flavor that balances out the coconut
- Cold butter: The secret to getting those flaky layers we all want
- Powdered sugar: Makes that glossy topping that hardens just right
Step-by-Step Instructions
- Prepare Your Station:
- Get your oven hot at 400°F and put parchment on your baking sheet. This hot temp is what gives you that golden outside while keeping things soft inside. Getting everything ready now means you won't be scrambling later.
- Create Coconut Flour Base:
- Throw most of your coconut flakes in a food processor and buzz until they're fine like sand. This spreads coconut flavor through every single bite of your scones.
- Mix Dry Ingredients:
- Throw your coconut mixture in with regular flour, sugar, baking powder, and salt. This is your scone foundation. Make sure you mix it really well so there aren't any clumps and everything's evenly spread out.
- Prepare Chocolate:
- Cut up your chocolate into different sizes from big chunks to tiny bits. Having different sizes means some pieces will totally melt while others stay as yummy chocolate pockets throughout your scones.
- Incorporate Butter:
- Mix those cold butter cubes into your dry stuff until it looks like rough sand. Don't skip this part—it's what makes those flaky bits happen. Work fast so the butter stays cold since that creates steam when baking.
- Form Your Dough:
- Pour in your wet ingredients and stir just enough to mix it all. Your dough should be a bit dry but stick together if you press it. Don't mix too much or you'll end up with tough scones—gentle is the way to go.
- Shape and Cut:
- Push the dough into an 8inch circle about 1inch thick and slice it into eight triangles. Getting the thickness right matters—too thin and they'll burn, too thick and the middle stays doughy.
- Bake to Perfection:
- Put them on your baking sheet and cook until you see golden edges. They're done when the outside feels set but they still give a little when you press the middle.
 Save Pin
I really love using fancy dark chocolate with at least 70% cacao in these scones. My grandma always told me that when chocolate is the star, buy the best you can. The first time I used premium chocolate in this recipe, my hubby said they beat anything from our neighborhood bakery.
Make Ahead Options
You can get these ready the night before and stick them in the fridge unbaked. Just follow the steps through cutting them into shapes, put them on a baking sheet, cover with plastic, and chill overnight. Next morning, heat up your oven and bake them fresh—just add a few extra minutes to the cooking time. The cold butter in the chilled dough actually makes them even flakier when baked.
The Secret to Perfect Scones
Getting that amazing scone texture comes down to how you handle your dough. Cold stuff and minimal mixing are super important. I always pop my butter in the freezer about 15 minutes before cutting it up. Work fast when mixing in the butter so your hands don't warm it too much. Those tiny cold butter bits create steam while baking, and that's what gives you those awesome flaky layers that make scones so good.
 Save Pin
Serving Suggestions
These scones taste great by themselves, but you can make them even better with some tasty pairings. Try them with coffee that has a splash of coconut cream to match the tropical flavors. For a bigger brunch spread, serve them with fresh fruit and a spoonful of lightly sweetened coconut whipped cream. During Christmas time, I like to put these on a fancy tiered plate with other small treats for an afternoon tea party. It always wows my guests but doesn't keep me stuck in the kitchen forever.
Coconut Selection Tips
The coconut products you pick really change how these taste in the end. Try to find coconut cream where coconut is listed first and doesn't have tons of extra stuff in it. For the coconut flakes, I usually go with the sweetened kind since they get a bit caramelized during baking, but you can use the unsweetened ones if you want your scones less sweet. Toast some of your coconut flakes for the top to add extra flavor and give a nice golden color next to the white icing.
Common Recipe Questions
- → How do I make sure my scones turn out soft?
Keep your butter cold and don't mix the dough too much. Gentle handling is the key to getting that soft, flaky bite.
- → Can I use something else instead of dark chocolate?
Sure, milk or white chocolate works too, but dark chocolate really brings out the coconut's sweetness better.
- → What's the best way to keep these scones fresh?
Put them in a container that seals tight at room temp for 2 days or stick them in the freezer for up to 3 months.
- → Can I make these without dairy?
You bet. Just swap the butter for a plant option and make sure your chocolate doesn't have milk in it.
- → Is it okay to make these less sweet?
Totally fine. Just cut back on sugar in the scone mix to match how sweet you want them.
- → What kind of coconut cream should I buy?
Go for the full-fat stuff. It gives the best taste and feel in both your dough and your icing.