
 Save Pin
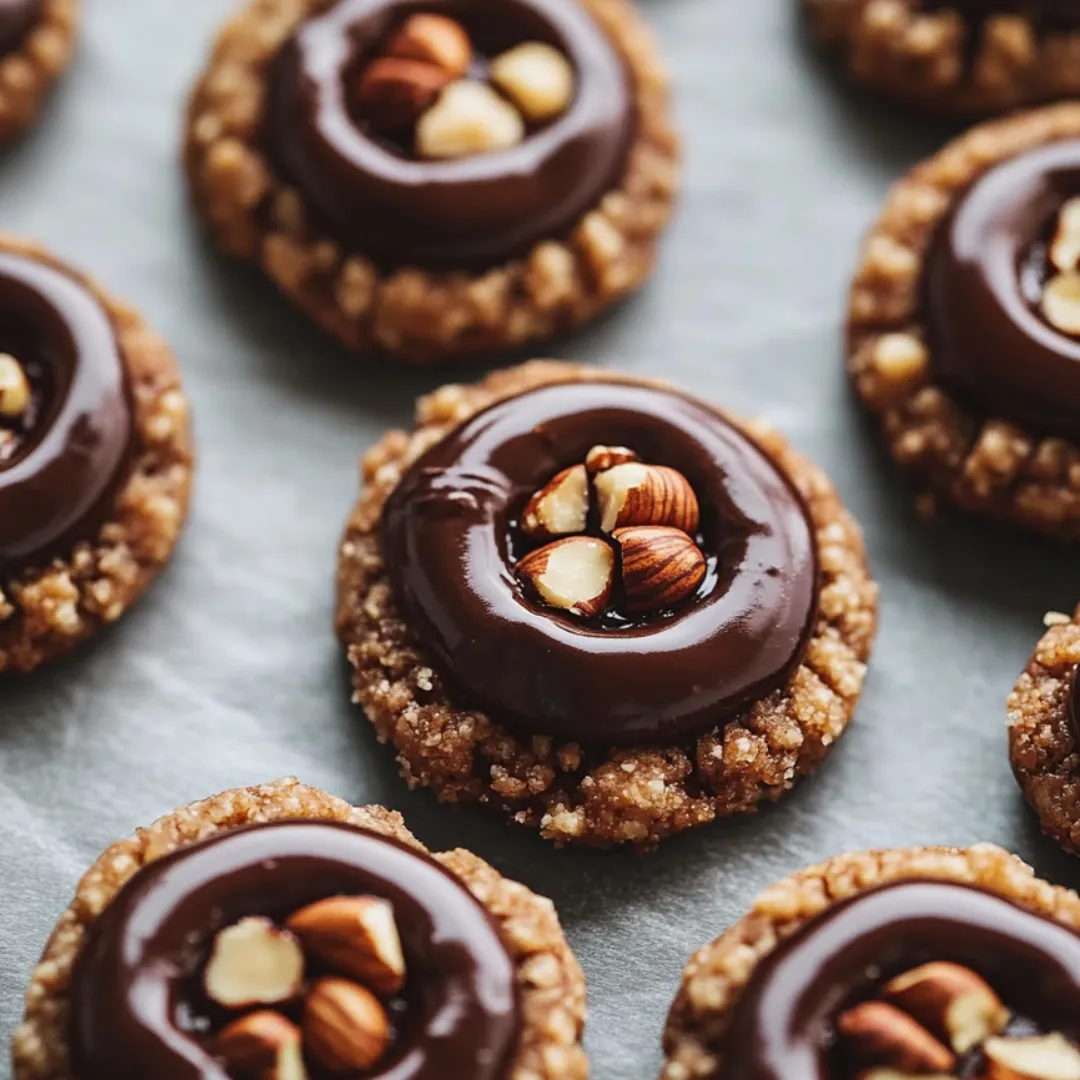
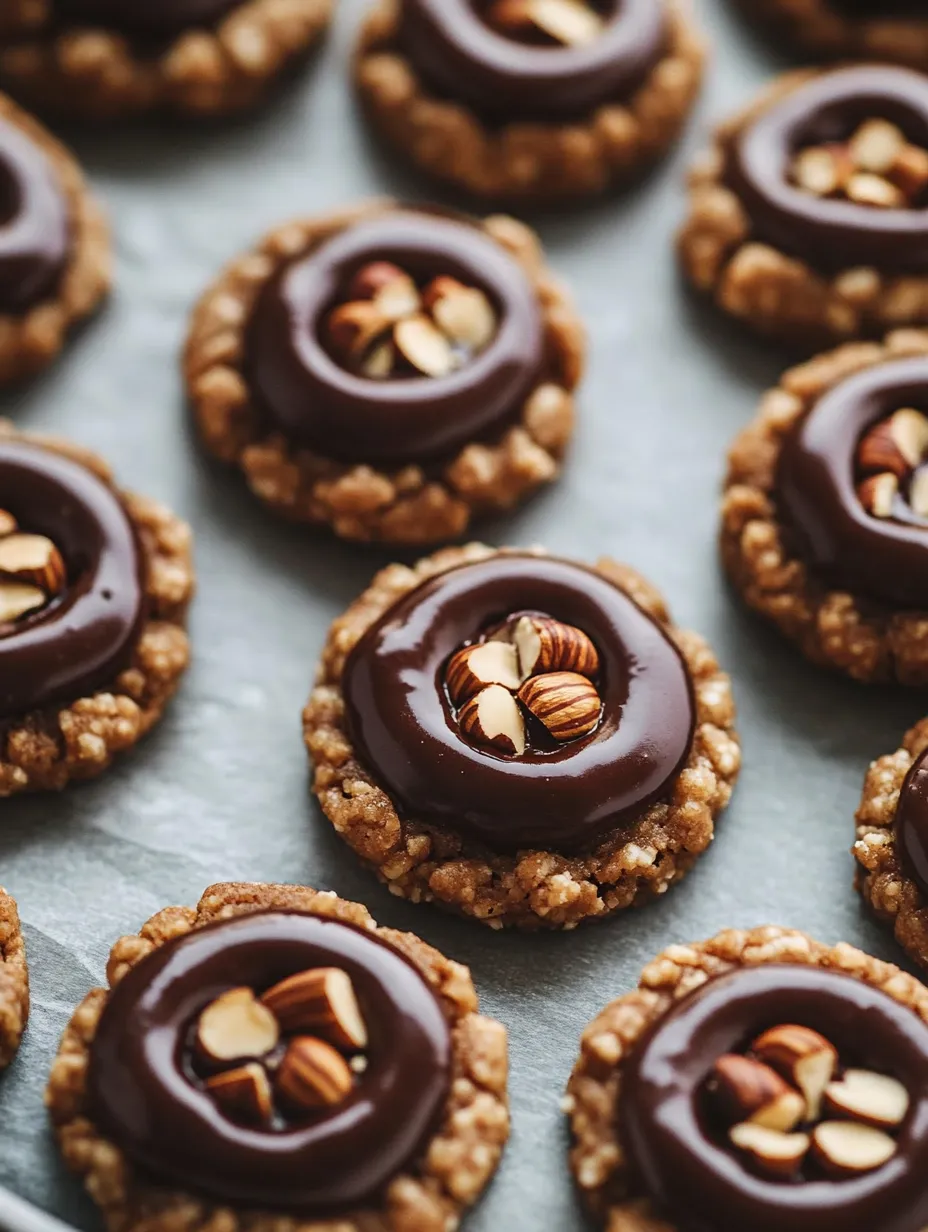
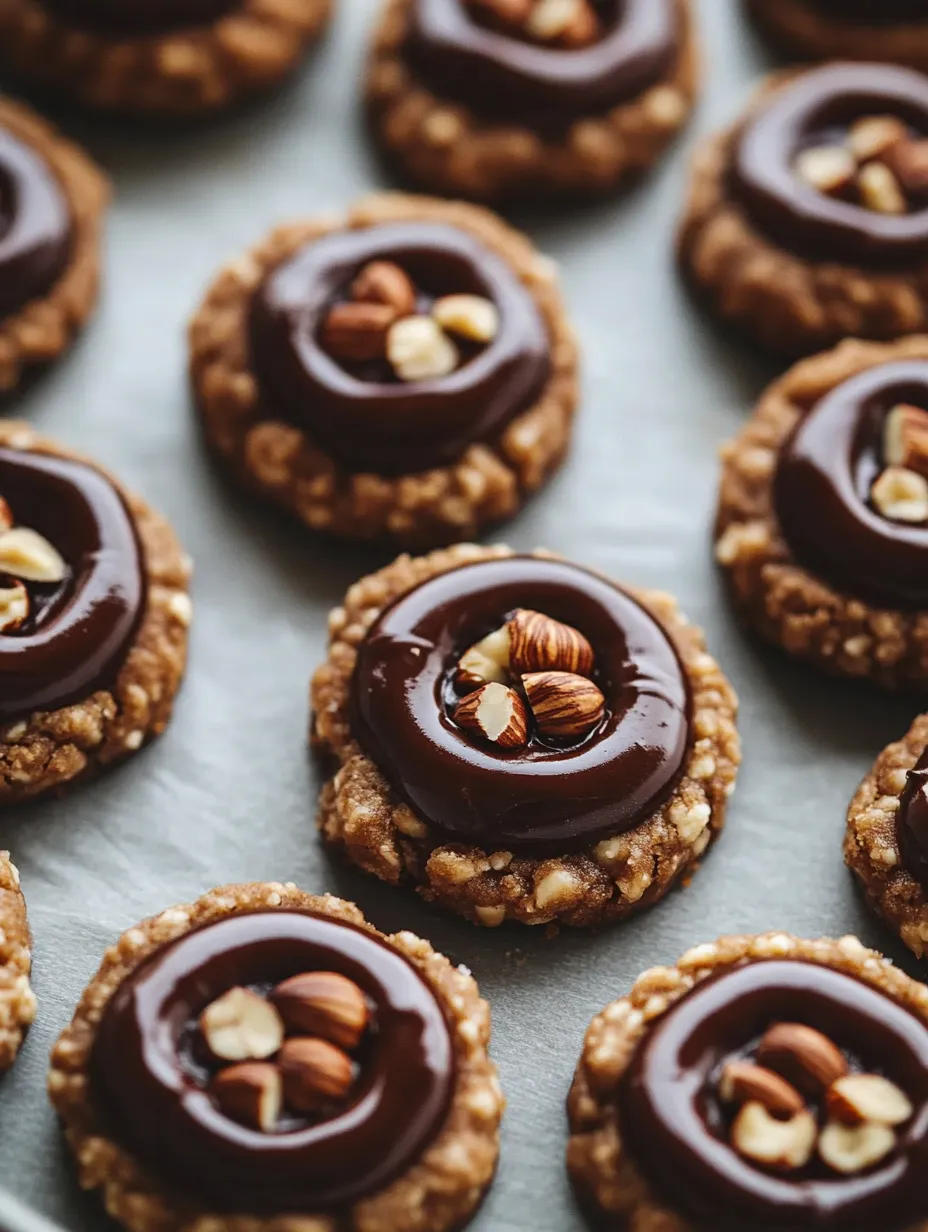
Bite into these rich chocolate hazelnut thumbprints and you’ll get a buttery crunch with nutty goodness in every bite. The first batch I took to a party was wiped out before dinner even hit the table. Now I whip these up for any get-together or just when I feel like a sweet weekend snack at home
My daughter and I first made these together, and the thumbprint part turned into a fun winter baking tradition. We look forward to smooshing cookies every year
Dreamy Ingredients
- Whole hazelnuts for the top: these add a fancy look and a nice nutty bite when you serve them up at parties
- Chocolate hazelnut spread: super creamy, fills the cookies just right, Nutella’s a classic choice but grab whichever you like best
- Hazelnuts: chopped and rolled on for crunch, toasting them first makes your whole kitchen smell amazing
- Salt: turns up all the flavors, and you can even sprinkle with flaky salt at the end for extra punch
- Cocoa powder: deep chocolatey flavor—Dutch process gives top color and richness
- All purpose flour: builds the dough, so measure by scooping and leveling so you get it just right
- Vanilla extract: brings warmth and aroma, real vanilla makes everything smell like home
- Granulated sugar: makes these cookies sweet and gives a golden surface, go with fine sugar for best results
- Unsalted butter: creates that rich tender bite, deep yellow butter = best taste
Simple Step-by-Step
- Let Them Cool and Enjoy:
- Once baked, keep cookies on the baking sheets for about five minutes, then move them to a wire rack. Let them go totally cool before you pile them up or stash them—this way the centers stay perfect
- Drop on Chocolate Fillings:
- When the cookies are warm, poke the centers again if they’ve puffed. Spoon on chocolate hazelnut spread (about a teaspoon), and if you want, stick a whole hazelnut right in the middle for crunch and looks
- Baking Them Up:
- Pop your trays in the oven you preheated. Bake twelve to fourteen minutes until puffed, set, and not shiny in the middle. They should be soft when you touch them
- Thumbprint Time:
- Use your thumb (or the back of a spoon) and press a deep dip in each cookie ball, not quite all the way through—just enough to hold your filling
- Roll, Coat, and Shape:
- Grab bits of dough and roll them into one-inch balls. Cover the balls in finely chopped hazelnuts and press so the nuts stick. Arrange them on the baking trays, leaving some room between each
- Add Dry Stuff In:
- Slowly stir your dry bowl into the butter-sugar mix. Blend until you get a smooth dough—stop as soon as you see it come together so you can roll it easily and it’s not sticky
- Mix Dry Ingredients:
- Whisk up flour, cocoa powder, and salt in a separate bowl until smooth—no clumpy salt or cocoa hiding in your cookies
- Beat Butter and Sugar Fluffy:
- Grab a big bowl and beat together butter plus sugar until it’s super airy—use a mixer three to five minutes for this. Toss in vanilla and blend again until smoothed out
- Prep Baking Sheets and Heat Oven:
- First, crank the oven up to 350 F (about 175 C). Line up two trays with parchment so your cookies pop off and you don’t have a mess later
 Save Pin
Toasting hazelnuts in my oven fills the air with that special smell I love and instantly reminds me of cozy kitchen days with Mom—just waiting for that golden nutty bite at the end
Keeping Them Fresh
Pop the cookies in a container with a good lid and keep them at room temp up to five days. For best results, slip parchment between cookies so fillings don’t get smeared. Want to stash them longer? Freeze the cookies in a single layer first, then layer between parchment in a freezer box. Thaw back on the counter when you’re ready so the centers turn creamy again
Switch These In
Going for nut free? Try chopped pumpkin seeds instead and pick up a chocolate spread without nuts. Need no gluten? Go for a one-to-one gluten-free flour mix. Looking for a twist? Use almond extract instead of vanilla for a different flavor kick
Ways to Serve
Pair with coffee or hot cocoa for a chilly day pick-me-up. Lay them out on a platter with other cookies for holidays—mix in sugar cookies, buttery shortbreads, or spicy biscotti. Gifting? Bundle a stack in parchment and tie it off with string for that sweet, homemade look
 Save Pin
Fun History and Culture
Lots of folks across Europe love thumbprints, often packing them with jam or chocolate in the middle. Hazelnut plus chocolate is huge in Italian-style treats (think Nutella), and when you mash both into one cookie, every bite is a happy celebration
Common Recipe Questions
- → How can I make sure they come out super soft?
If you whip that butter and sugar really well, you’ll get a fluffy dough. That’s what makes your cookies come out super tender.
- → What's an easy way to get hazelnuts to stick all over?
After you form each ball, roll it around in finely chopped hazelnuts, pressing a little so the nuts stay put and cover the whole thing.
- → Can I swap the nuts or filling for something else?
Of course! Try using pecans or almonds on the outside, and for the filling, any nut butter or a different chocolate spread will work fine.
- → How do you keep the thumbprints from puffing up in the middle?
Right when they’re out of the oven, grab a spoon and press those middles back down while they’re still hot. That’ll keep the dip in place.
- → Should you eat them warm or after they’re cool?
Let ‘em cool off so the filling firms up, but honestly, they taste awesome just a little bit warm too.