
 Save Pin
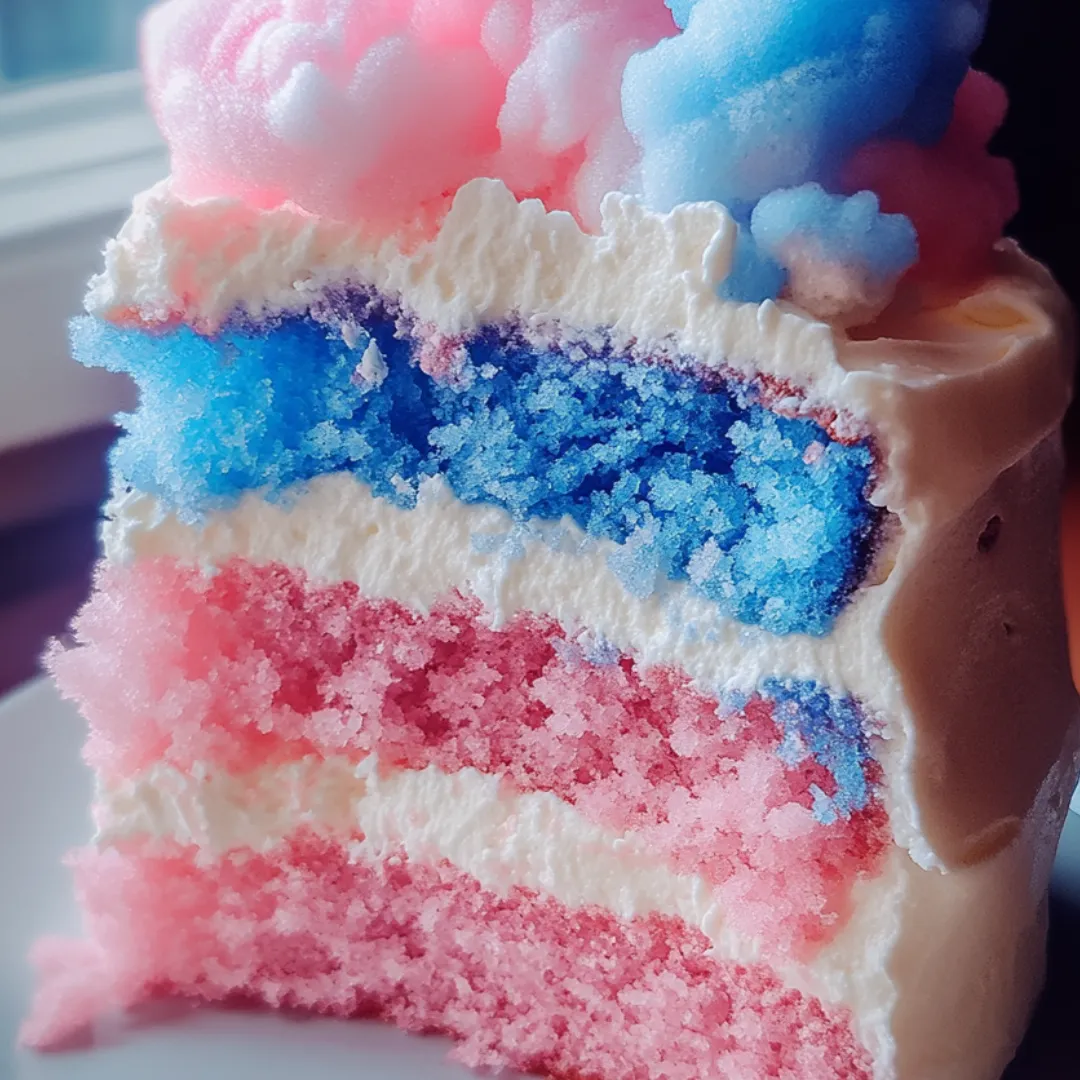
Nothing says pure happiness like a Cotton Candy Cake. Its tall, candy-colored layers and smooth, sweet frosting bring out everyone’s playful side. I love whipping this up for birthday bashes—it never fails to turn the vibe up and get everyone grinning.
One of my best memories is making this for my niece’s birthday. The way her face lit up after that first slice—priceless. So now it’s a family tradition. Someone wants this every year for their big day.
Tasty Ingredients
- Decorative cotton candy: for that eye-catching wow up top—pile it on right before you serve so it stays fluffy
- Sprinkles: totally optional but make everything look more festive
- Heavy cream or milk: softens up frosting—heavy cream is richer but use what you have
- Powdered sugar: keeps the frosting airy and light, sift it for cloud-like smoothness
- Food coloring: pink, blue, or any shades you like—it brings those dreamy colors, gel is best for pop
- Whole milk: makes your cake moist and rich—I always use full-fat for best texture
- Cotton candy extract: brings that unmistakable flavor—look for one that doesn’t taste fake
- Vanilla extract: a dash pumps up that classic sweet-shop scent, use the real stuff if you can
- Large eggs: help the cake hold together and make it rich
- Granulated sugar: sweetens and keeps your cake tender—fine sugar is best for creaming
- Unsalted butter: keeps the cake soft and flavorful—higher quality butters like Plugra or KerryGold make a difference
- Salt: just a pinch helps the sweet flavors shine
- Baking powder: gives you that fluffy rise, double check it’s fresh
- All-purpose flour: builds sturdy but tender layers—I’m partial to King Arthur for great results
Easy-Peasy Steps
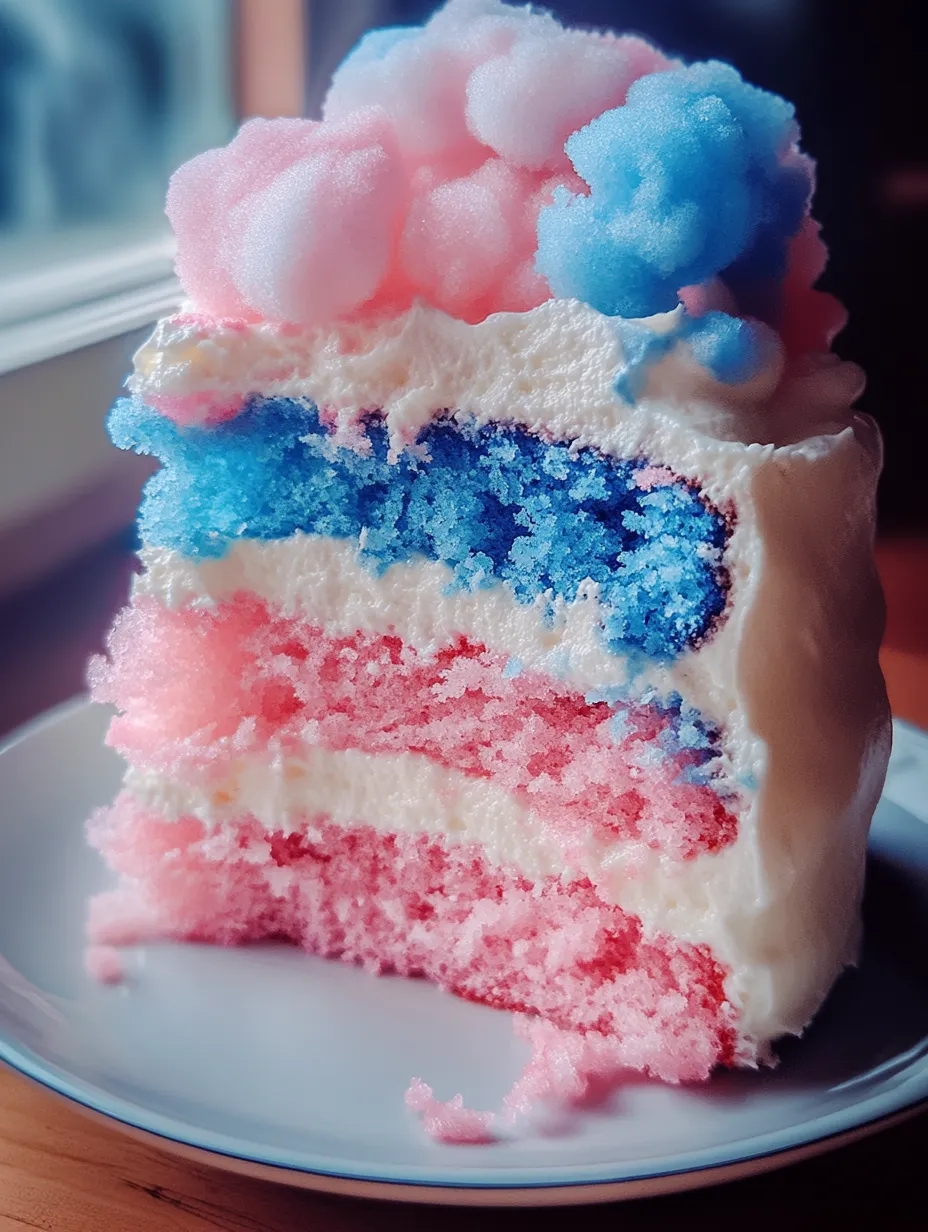
- Decorate:
- Finish off with fluffy cotton candy on top and a dash of sprinkles for big carnival vibes. Only do this right before serving so the cotton candy doesn’t melt.
- Stack and Frost:
- Layer up your cakes with frosting in between, then cover the whole thing with a good, thick swirl of more frosting.
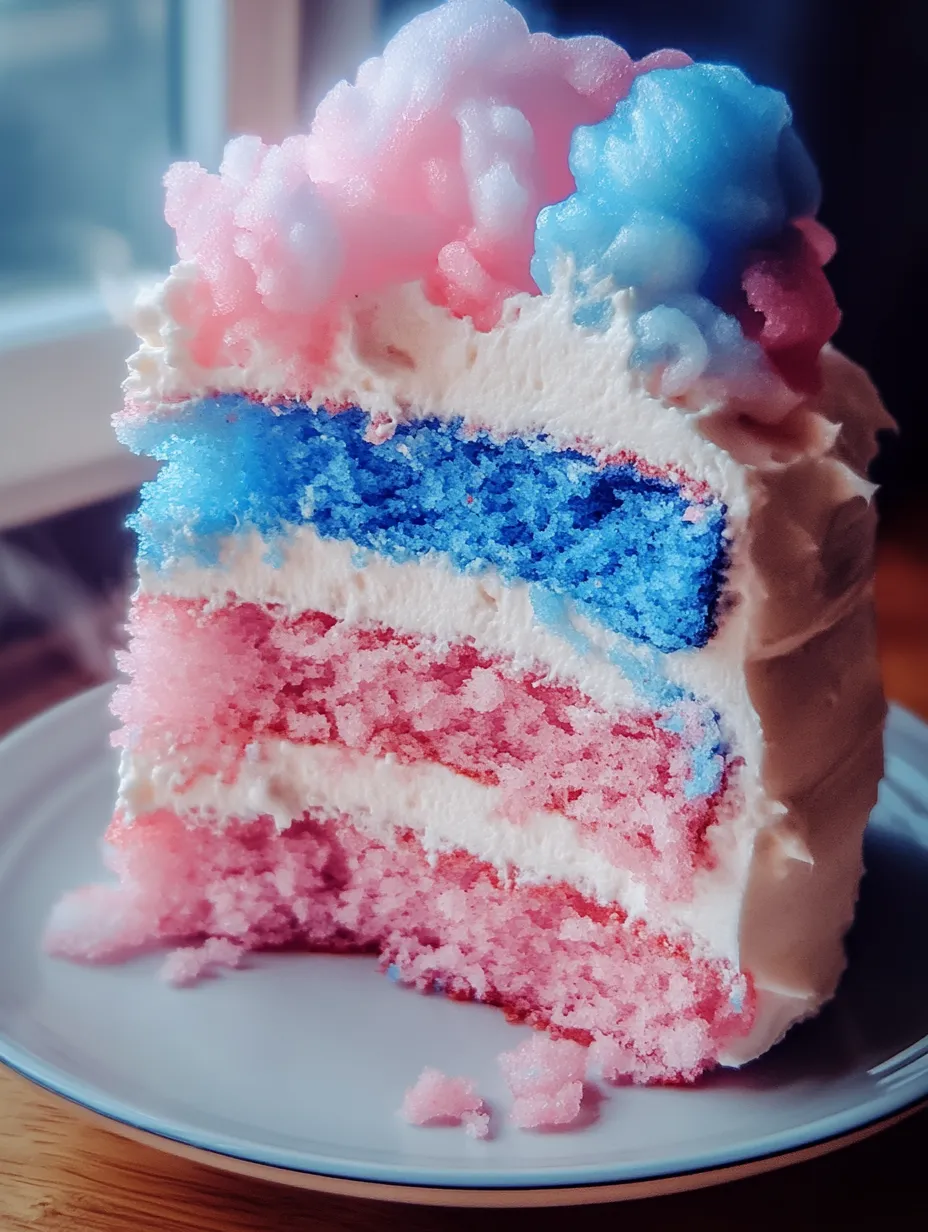
- Tint the Batter:
- Pour your cake mix into bowls, toss in food color, and gently swirl to your dream shades. Don’t stir too much; light hands make bright colors.
- Mix Wet and Dry Together:
- Add your flour mix and milk, swapping them back and forth in three goes, starting and ending with the dry stuff. Blend just until it all comes together—don’t overwork it.
- Add in Eggs and Flavors:
- Crack the eggs in one by one, mixing well. Drop in vanilla and cotton candy flavor and give it just a stir. That’s how you keep things tender.
- Beat Butter and Sugar:
- Whip up your butter and sugar on medium speed until fluffy and pale. Three minutes works wonders. The fluffier it gets, the lighter your cake.
- Mix Up the Dry Stuff:
- In a bowl, whisk salt, baking powder, and flour until matched up and even all the way through.
- Frosting Time:
- Blend butter until smooth, then add in powdered sugar slowly, plopping in cream here and there so it gets light and airy. Toss in vanilla and cotton candy flavors, then color up your frosting if you want even more fun.
- Cool Off the Cakes:
- Let pans sit for ten minutes, then flip out the cakes to chill on the rack completely. That way, your frosting won’t melt off.
- Bake Layers:
- Scoop each colored batter into the pans and smooth them out. Bake at 350°F for about 25–30 minutes, until a toothpick poked in comes out clean.
- Get Pans Ready:
- Grease up three 8-inch pans and line just the bottoms with parchment. It helps cakes pop out easily and gives you soft sides.
 Save Pin
Good-to-Know Stuff
- You can prep it the night before, and it still tastes amazing
- Its simple layers fit right in with any party color scheme
- Cotton candy from the store makes topping super easy
The smell from the cotton candy flavoring brings back the best memories. My favorite part is letting my niece go nuts with the colors and sprinkles every time we make it together. No two cakes have ever looked the same, and there’s always giggling involved.
How to Store
Keep your finished cake in a cake box or any airtight container at room temp for up to 2 days. If you want to make it way ahead, wrap the unfrosted cake layers super well and pop them in the freezer for up to 3 months. Hold off on putting the cotton candy on till the last minute since it melts fast when it gets damp.
 Save Pin
Swap Outs
If you run out of cotton candy flavor, try mixing vanilla with a smidge of raspberry or even almond for a twist. A drop of rose water gives you a gentle sweetness too. Two percent milk works in a pinch, but whole milk is best if you want the softest cake. Gel colors give you pops of color, but if you’re out, liquid dye works okay for swirling.
Fun Ways to Serve
I like spooning some extra frosting or a scoop of whipped cream on the side. Candle it up and toss on more sprinkles for a real party look. This cake is awesome with a big glass of cold milk or go for pink lemonade if you want to keep it playful.
Story Behind It
Did you know cotton candy was first called fairy floss when it showed up at the 1904 World’s Fair in St. Louis? This cake is my little shoutout to that playful history—it’s classic American cake meets a fun fair treat. The swirl of colors throws it back to those cool marbled birthday cakes everyone remembers as a kid.
Common Recipe Questions
- → How can I get bold, colorful layers?
Pick up some gel food colors—they’re super vibrant and easy to mix. Just split your cake batter up and color each one before you bake. That way, you’ll get those bright bands every time.
- → How do I stop cotton candy on top from disappearing?
Stick any cotton candy decorations on right before you’re ready to serve. If you leave it out in the air or near moisture, it'll just melt away.
- → What if I don’t have cotton candy flavoring?
If you can’t find cotton candy extract, try vanilla, almond, or even raspberry. Each one gives a new taste twist—it’s really up to what you like.
- → What’s the easiest way to keep the cake fresh?
Pop your cake into a tight sealing container and leave it at room temp for about two days. Wait to add the cotton candy on top until you’re actually about to serve it.
- → How can I get that cool marbled look inside?
After you’ve colored your batters, gently swirl them together in your baking pans before popping them in the oven. You’ll get awesome, marbled waves once it’s baked.
- → Can I make this ahead of my party?
Sure thing! Bake and frost the whole thing, then keep it undecorated. You can add the cotton candy and sprinkles later, right before everyone arrives.