
 Save Pin
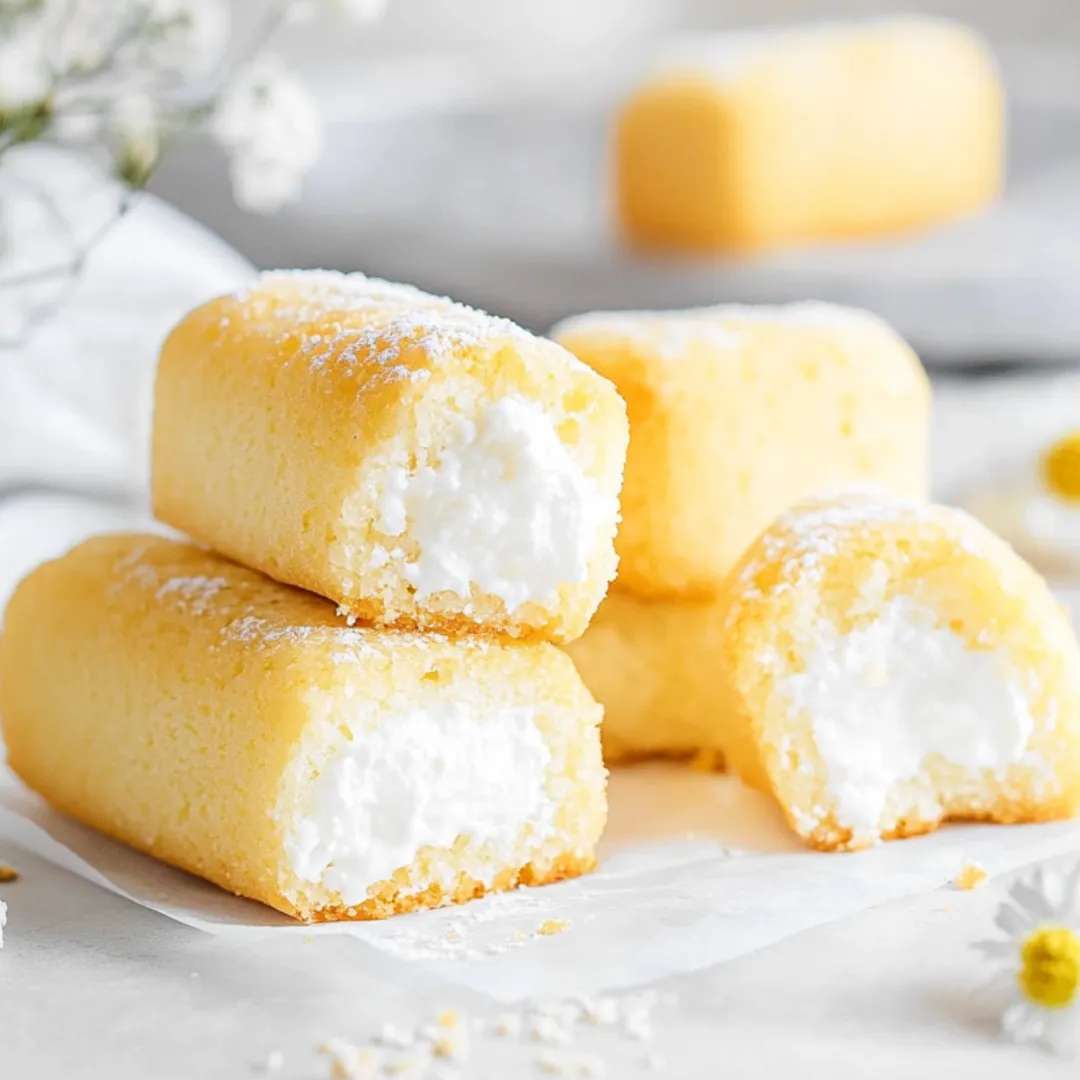
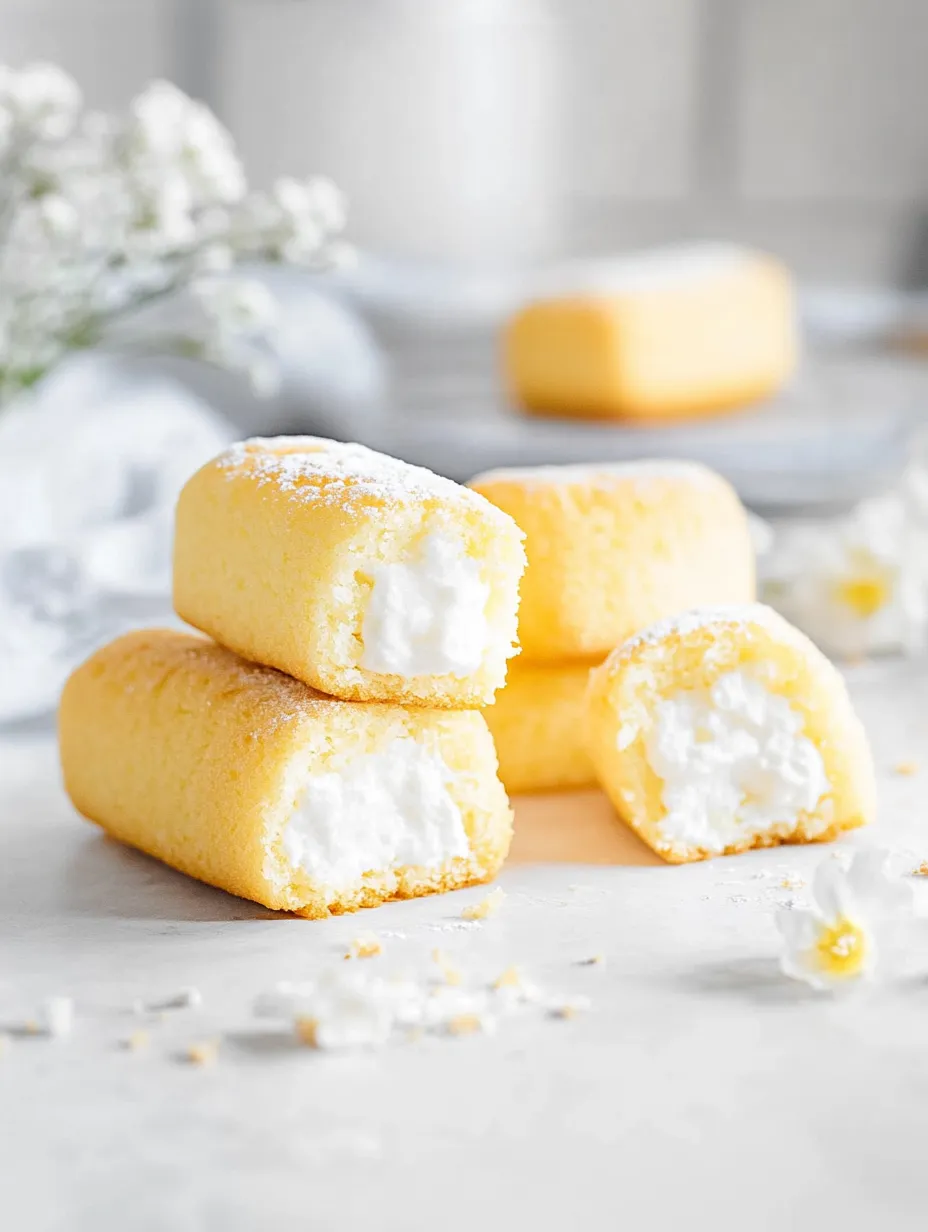
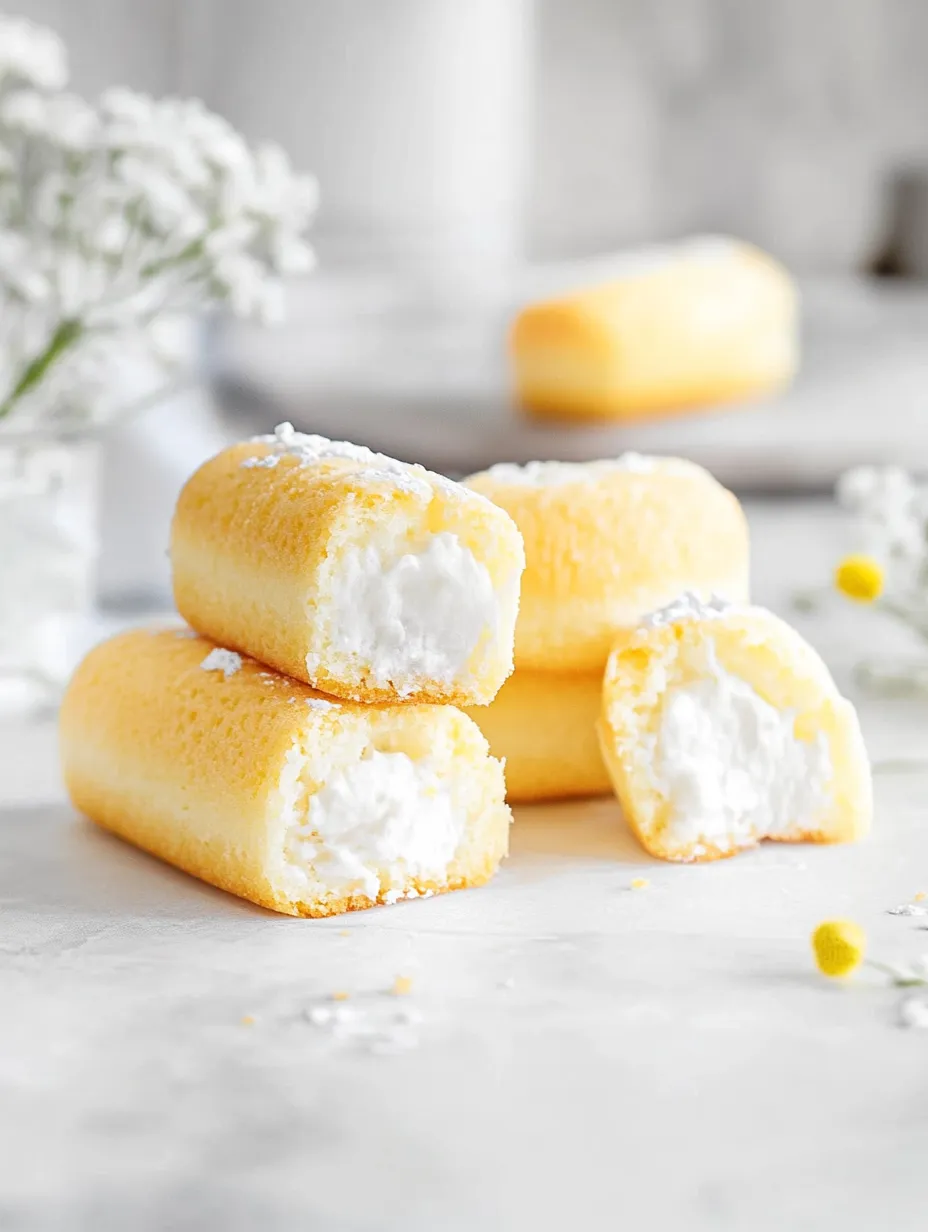
Baking your own Twinkies will transport you straight to those lunch breaks back in school. Homemade ones are soft and fresh, packing tons of that rich vanilla you remember. No weird additives here. They're always the first thing gone in my house—the cake is tender and the filling thick and dreamy, way better than anything from a box.
I tried these on a gray Saturday just for fun and my folks ate every single one. Now whenever friends come by or it’s movie night, that’s the first thing everyone asks for.
Tasty Ingredients
- Vanilla extract: That classic nostalgic taste—if you spring for the good stuff, the flavor is even better
- Vegetable oil: Guarantees a moist, delicate bite. Any mild oil—try canola or sunflower
- Whole milk: Adds softness and keeps each Twinkie lush. Go for full-fat for best results
- Large eggs: Room temperature is best for a smooth batter. Farm eggs? Even tastier if you’ve got them
- Salt: Rounds out the sweetness and brings up flavor. Fine or sea salt work, just not the chunky stuff
- Baking powder: Makes everything rise light and fluffy. Fresh powder brings the best outcome
- Granulated sugar: Adds structure and sweetness. Pick super-fine if you can for easy mixing
- Cake flour: Sift it for extra lightness. Out of cake flour? Blend all-purpose with cornstarch for a stand-in
Filling Details
- Water: Needed for syrup. If your tap is a bit rough, filter first
- Granulated sugar: The secret to that marshmallowy meringue hold. Use regular or baking sugar
- Egg whites: Make the filling super fluffy. Be careful—no yolk sneaks in or it just won’t whip right
Simple Step-by-Step
- Stuff Each Cake
- Flip each mini cake upside down, poke three holes in the base with a skewer or piping tip, and pipe the fluffy meringue inside—pack in as much as you can without it bursting out
- Get That Filling Ready
- Stick the finished filling in a piping bag or just snip the corner off a regular zip bag if you don’t have fancy gear
- Bring Syrup and Whites Together
- Turn your mixer up and pour hot syrup into the whipped egg whites, then beat everything until the bowl feels fully cool—don’t rush here, it takes a few minutes
- Cook Syrup
- Set sugar and water in a saucepan, stir gently over low until combined, then ramp the heat and cook (no more stirring) until you hit 246–250°F
- Get Filling Started
- Whip egg whites fast until you get big glossy peaks—if you spot any yolk, start over or it won’t fluff
- Cool Your Cakes
- Pop out the cakes and cool them upside down on a wire rack—this keeps the bottoms nice and soft, not soggy
- Bake Your Cakes
- Slide your pans into the hot oven and bake fifteen to twenty minutes. Test with a toothpick—just crumbs, not wet batter, and you’re good
- Fill Your Pans
- Spoon out batter two-thirds full into each mold so there’s space for the rise
- Get Your Batter Mixed
- Blend wet stuff into the dry with a gentle whisk until it’s totally lump-free—the smoother the better (sifting makes this step easy)
- Mix Wet Ingredients
- In a separate bowl, whisk up milk, eggs, oil, and vanilla until totally smooth
- Mix Dry Ingredients
- Add together cake flour, sugar, baking powder, and salt. Whisk it up so leavening and salt are everywhere
- Prep Your Pans
- Give Twinkie tins or little loaf pans a good spray with baking oil, covering all the corners to stop sticking
- Preheat the Oven
- Crank your oven to 350°F (177°C) at the start so it’s ready for baking later
 Save Pin
Seeing a friend bite into one of these just-made Twinkies is unbeatable. My top moment is piping in the meringue and feeling each cake get heavy with filling—absolutely satisfying and plush, just like the ones I remember. My sister always wanted hers double-filled, so it’s become our running joke at family get-togethers.
Storing Them
Once they cool and are stuffed with filling, toss Twinkies into a tight-sealed container and leave on the counter for up to two days. Want them to last? Fridge works for around five—bring to room temp again before munching. They freeze like a dream: wrap up in plastic then foil, and let thaw naturally before eating.
Swaps for Ingredients
No cake flour in your cupboard? Just mix regular all-purpose flour and a pinch of cornstarch—that combo keeps your cake fluffy. Store-bought marshmallow fluff is an easy switch for homemade meringue but the DIY version is next-level. You can use any light oil you like, or even melted coconut oil—just sub in the same amount.
 Save Pin
Serving Ideas
Level up your Twinkies with a dust of powdered sugar or zigzag of chocolate. Tuck one in a lunchbox for a fun surprise, or slice and stack with fruit and whipped cream for a killer easy dessert. They’re also hilarious as party gifts, wrapped up with a bow and tag.
Snacktime Icon Story
Twinkies kicked off as an American favorite back in the ‘30s. They started out with banana cream in the middle but swapped to vanilla when bananas were hard to find during wartime—and stuck with that ever since. Making a batch at home taps into that retro snack vibe—everyone knows the shape and taste, but yours will have that magic homemade edge.
Common Recipe Questions
- → What's a good swap for cake flour?
Sure thing. Grab 2 cups of all-purpose flour, pull out 4 tablespoons, and mix in 4 tablespoons of cornstarch. Sift it up so it’s airy.
- → Any tricks for fluffier filling?
Whip your egg whites until they really hold their shape, then slowly pour in hot sugar syrup as you keep mixing. That’ll make the lightest, most stable filling.
- → How do I check if the cakes are fully cooked?
Bake at 350°F for 15 to 20 minutes. Stick in a toothpick—if it pops out clean, they’re done. The tops should bounce back gently when touched.
- → Can I just buy the filling instead?
Yep! Marshmallow fluff from the store works great and tastes close to the from-scratch stuff.
- → How should I stuff them with filling?
After the cakes cool, turn them over and make three holes in the bottom. Use a piping bag or even a zip baggie and fill each space until squishy.
- → Why bother sifting the cake flour?
Sifting keeps lumps out and helps the cakes turn out soft and light. It’s worth the tiny extra step.