
 Save Pin
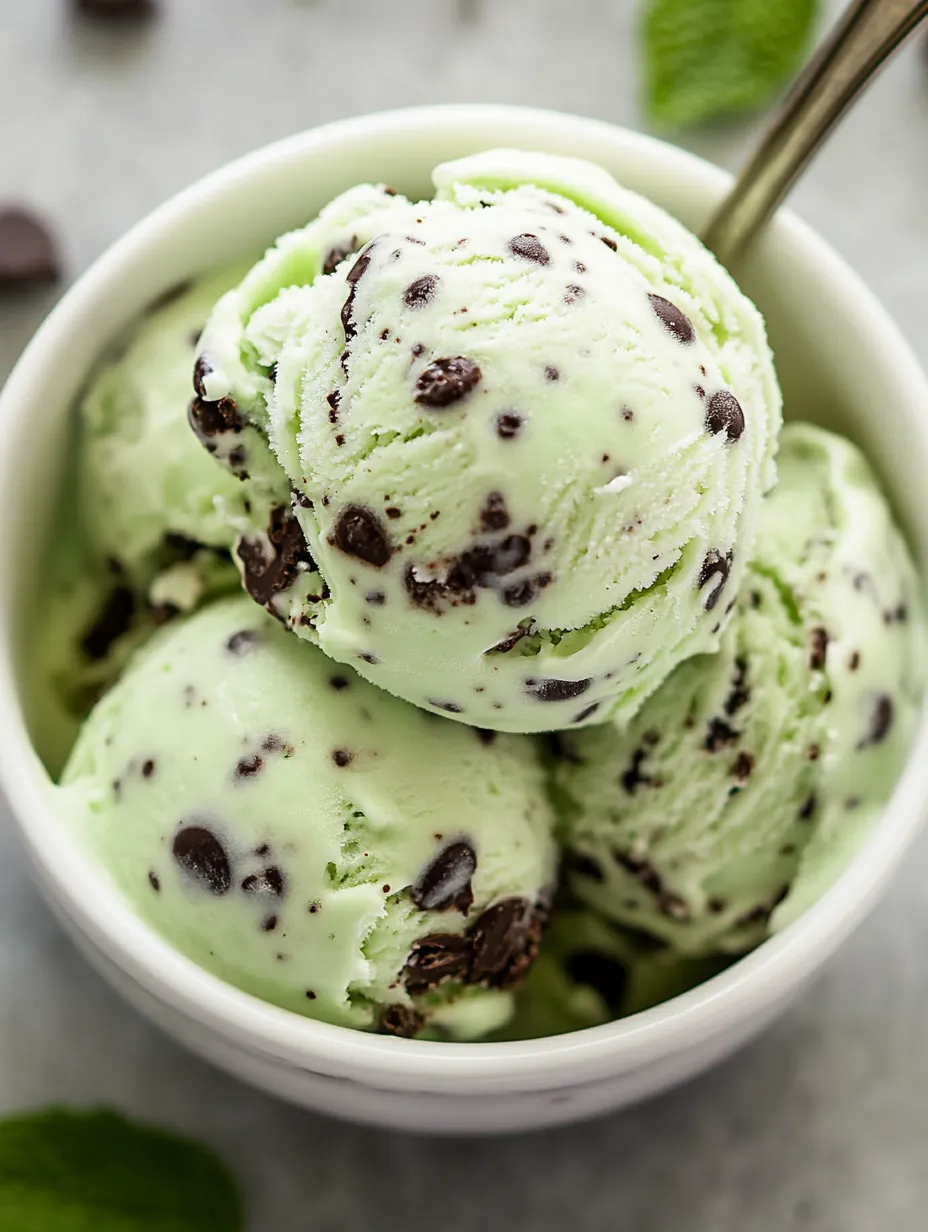
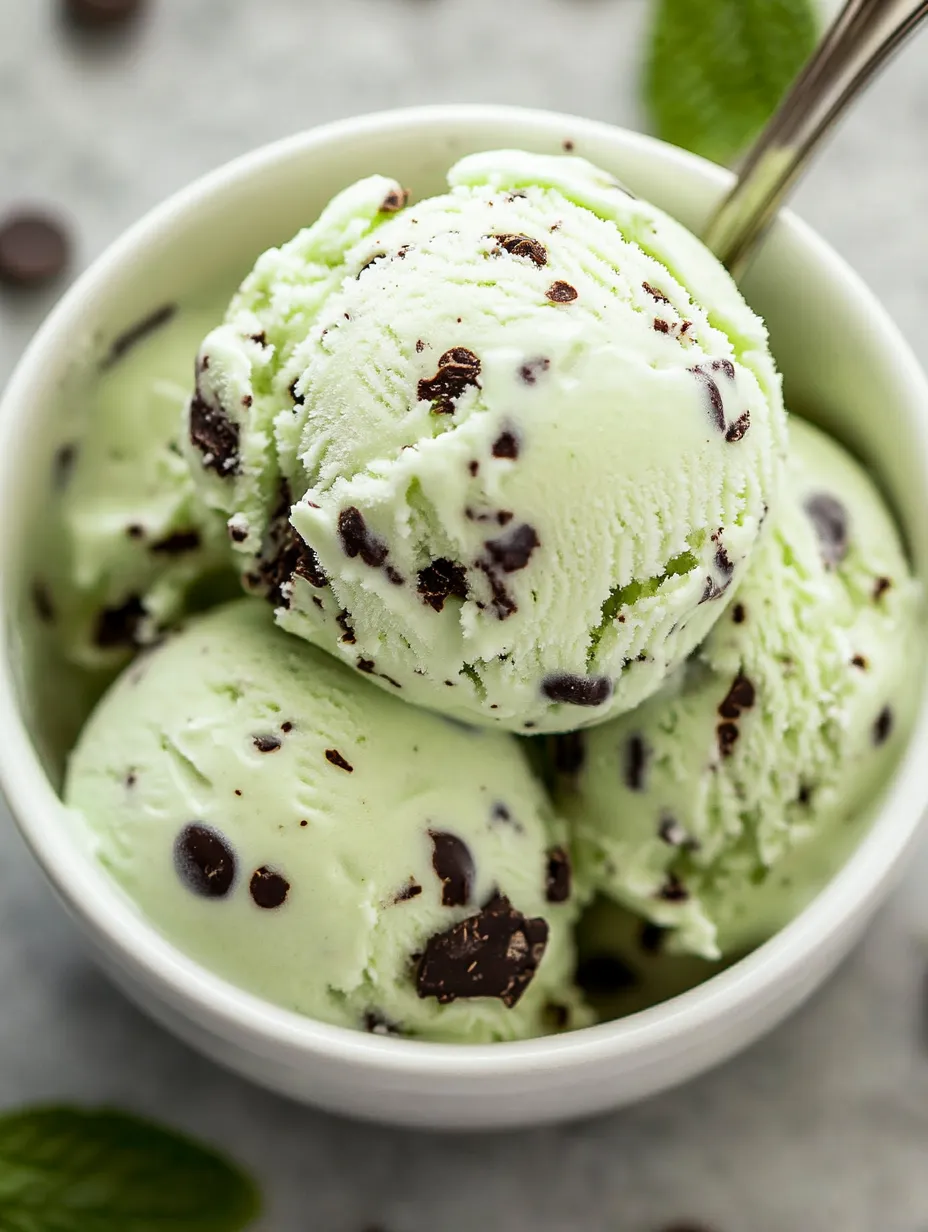
Smooth and dreamy, this Mint Chocolate Chip Ice Cream tastes just like summer fun on a hot afternoon. That familiar minty punch and creamy chill you crave? It's all here, studded with plenty of rich chocolate bits with every scoop. Homemade means you can play with how minty or green you want it—it's worth it for that frosty, throwback treat.
We always end up making extra batches of this ice cream because it disappears so quick. I made it for my kids and their friends once, and by morning, it was totally wiped out. Now we whip it up whenever we're planning a movie night.
Tasty Ingredients
- Chopped dark chocolate or mini chips: Toss in both big and small pieces for the best bites. Skip the pre-made stuff—chopping up a bar by hand gives great texture and real chocolate taste.
- Green food coloring: For that fun classic color, but leave it out if you want a more natural look.
- Pure mint extract: Packs all the minty zing. Brands taste different, so pick one you like—it makes a big difference.
- Vanilla extract: Levels out the mint and deepens the flavor. Go with pure vanilla for best results.
- Egg yolks: Bring that rich, custardy base. Make sure they're super fresh for the silkiest ice cream.
- Granulated sugar: Keeps things sweet and helps the ice cream scoop easily. Like it less sweet? Use less.
- Whole milk: Smooths out the cream while keeping things creamy. Freshness matters here, too.
- Heavy whipping cream: Makes everything rich and velvety. Look for at least 36% fat if you can.
Simple How-To
- Dig In and Enjoy:
- Let your ice cream hang out on the counter for a bit so it's easy to scoop. Grab a bowl or cone and dig right in!
- Freeze Until Ready:
- Move your churned ice cream into a lidded container, even out the top, cover right on the surface with plastic wrap, and chill for 4 to 6 hours until it's firm.
- Add the Chocolate:
- Drop in all your chopped chocolate pieces right at the end of churning for good distribution. Let it mix for those last five minutes.
- Get It Churning:
- Pour your chilled mixture into the ice cream maker, set it going, and churn for about 20 minutes. You're aiming for the texture of soft serve.
- Cool Off the Custard:
- Scrape everything into a big bowl or pitcher, cover the surface with plastic wrap, and cool it down fast in the freezer (stirring every 10 minutes) or slowly in the fridge for a few hours.
- Flavor Up:
- Take off the heat and mix in your mint and vanilla extracts. Taste it now and adjust if you want more mint kick.
- Heat and Thicken:
- Turn the stove to medium and stir the creamy base non-stop for about ten minutes. Once it thickens enough to coat your spatula, you're good to go.
- Mix Up the Base:
- Combine egg yolks, sugar, milk, and cream in a saucepan and keep whisking until super smooth. No lumps allowed!
- Ice Your Bowl:
- Start by making sure your ice cream maker bowl is solidly frozen—pop it in the freezer the night before and double-check your manual.
 Save Pin
Hand-chopped chocolate is my top pick because you get everything from tiny flecks to giant pieces. My crew always lines up to dump in the chocolate during the last spin—it’s a hit every single time.
Keep It Fresh
Once your ice cream is solid, press plastic wrap right on the top, then seal up your container tightly. Stash it deep in the freezer—skip the door, it’s too warm there. Your homemade batch tastes best if you eat it within three weeks. Always use clean scoops so you don’t get weird ice crystals or funky flavors.
Swapping Ingredients
Want extra richness? Sub out half the milk for extra cream. Prefer it a little lighter? Use more milk and less cream—just know it’ll get firmer when frozen. No mint extract handy? Steep plenty of fresh mint leaves in your hot base, then fish them out before cooling. Dairy-free? Go with coconut cream and almond milk, plus a dash of xanthan gum so it’s smooth.
 Save Pin
Fun Ways to Serve
This treat stands alone, but it’s also awesome sandwiched between chocolate chip cookies. Try it topped with chocolate sauce or a sprinkle of cookie crumbs. Fresh berries on the side? That’s a win, too.
Fun Facts
Mint chocolate chip is a fixture at most American scoop spots and keeps popping up at summer get-togethers. Some folks love the classic green color, but real fans are all about nailing the minty flavor. It’s a timeless classic for all ages.
Common Recipe Questions
- → Will the mint taste be strong?
It’s bright but not overpowering, since the mint extract is balanced out. Add less or more extract to suit your taste buds.
- → Can I swap in real mint leaves for extract?
Definitely! Let fresh mint leaves soak in your dairy mixture, then strain them out for a natural flavor twist.
- → How do I get that awesome green color?
Try a couple drops of green food dye for a classic look. Leave it out if you want it to look more natural.
- → What chocolate should I use?
Either tiny chocolate chips or a bar of good dark chocolate chopped up works great—they’ll give you tasty bits in every spoonful.
- → What keeps ice crystals from showing up?
Spin your mixture in the ice cream maker and lay plastic wrap right on top inside your storage container, keeping air out so ice bits don’t form.
- → Can I pull this off without an ice cream machine?
Yup! Just pop it in the freezer and stir every half hour or so until it firms up. It takes a bit longer, but totally works.