
 Save Pin
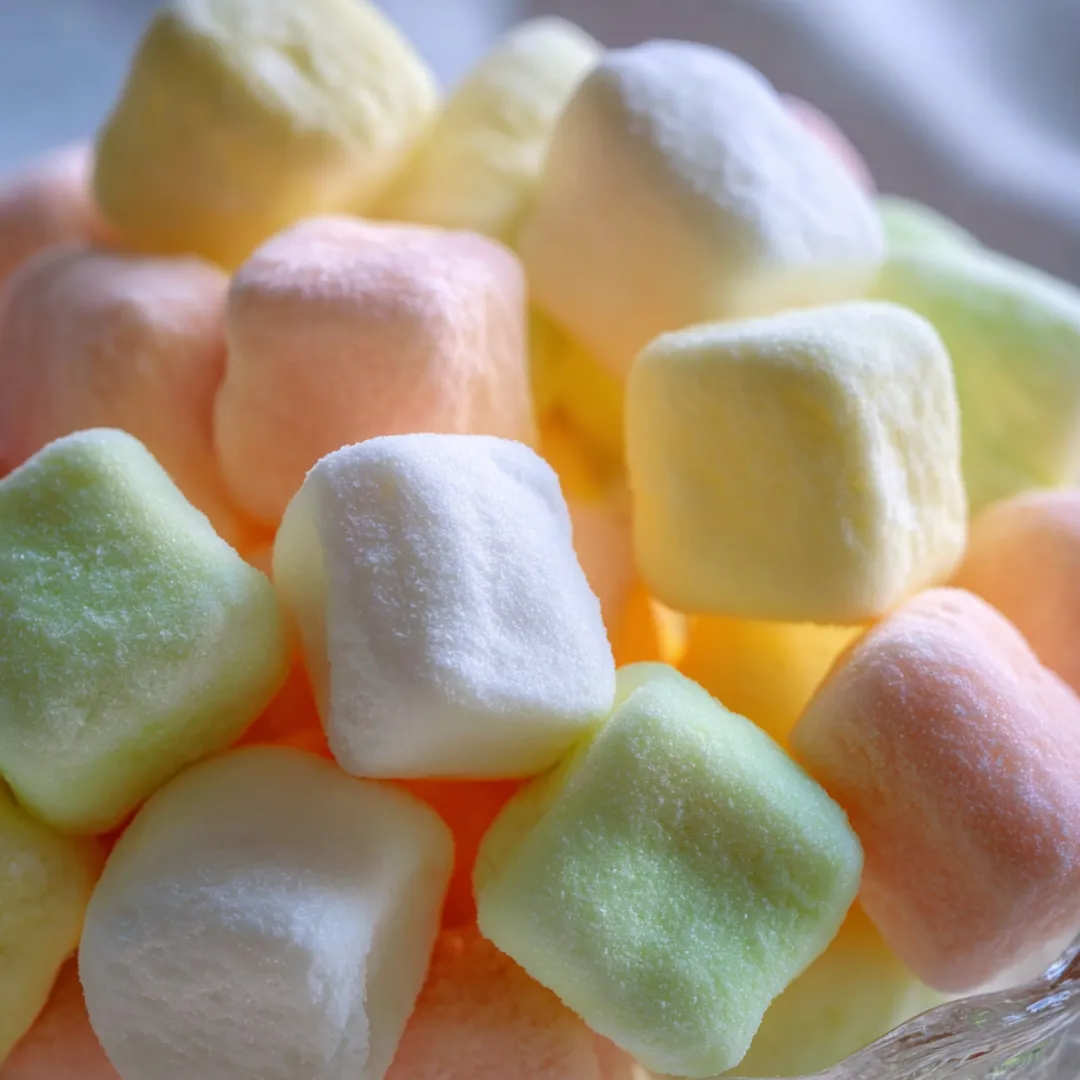
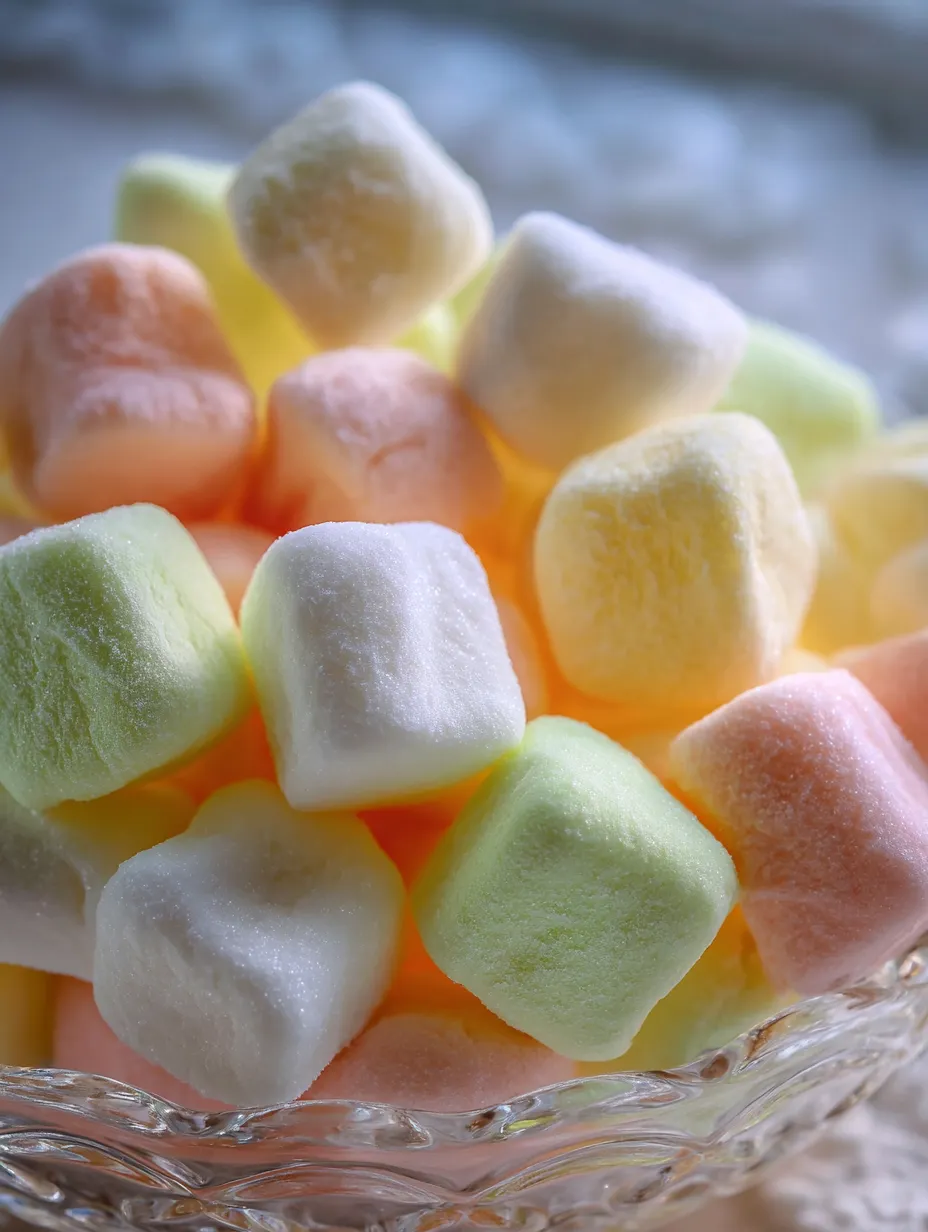
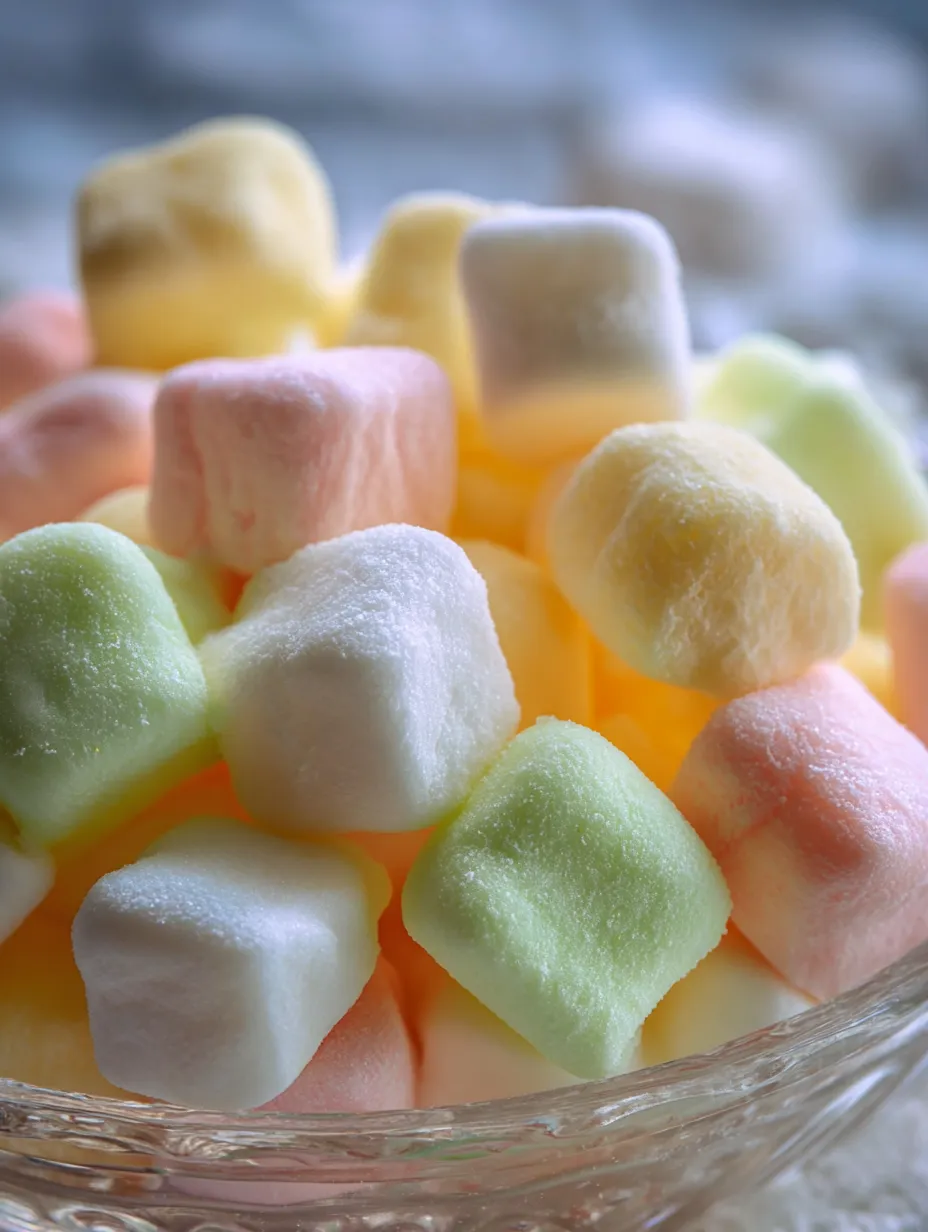
Old-school butter mints always make celebrations a little brighter at my place. Once you try their ultra-creamy feel and minty sweetness, you’ll get why I keep making them for everything from holiday parties to baby showers.
One wintry day, my kid and I made a whole rainbow’s worth of these little mints for our friend’s bridal shower. Now, they’re our go-to treat whenever our family hits another big milestone.
Dreamy Ingredients
- Food coloring: Pastel shades make these candies pop. Gel colors are great since they’re bright and don’t make things sticky.
- Vanilla: Smooths out the taste. Pure vanilla really makes a difference if you can get it.
- Extract like peppermint or lemon: Lends every piece a fun flavor twist—go for high-quality stuff so the taste stands out.
- Sweetened condensed milk: Gives the dough lots of richness and ties everything together. Best to grab a can made with just milk and sugar for clean flavor.
- Powdered sugar: Sweetens things up and holds it all together. Sifting first guarantees your dough turns out super silky.
- Softened butter: That creamy, dreamy melt comes from butter, so pick unsalted and as fresh as you can find.
Simple Steps
- Let the Mints Dry
- Lay out the little squares on a tray so they’re not touching. Leave them uncovered for about a day so they firm up and get that dreamy, soft texture.
- Roll and Slice
- Take your colored dough, roll it into ropes about half an inch wide, and lay them on a cutting board. Use a pizza cutter to chop them into bite-size pillows.
- Get the Color In
- Split your dough into as many bits as you want colors, add drops of food gel to each, and knead until you spot swirls. Gloves or your mixer’s paddle work if you want to skip colored hands.
- Make the Dough
- Pop your powdered sugar, extract, vanilla, and sweetened condensed milk into the butter bowl. Mix on medium until your dough is thick but not sticky. Add more sugar if it needs firming up and clean the bowl sides as you go.
- Beat the Butter
- Start by whipping soft butter with a mixer in a big bowl until it’s super smooth—about forty seconds will do the trick. That’s your base.
 Save Pin
Good to Know
- Makes ahead easily because you don’t need an oven
- The pretty pastel swirl happens naturally, so every batch is a little different
- Freeze extras for up to two months—just let them defrost before you eat
That bright peppermint smell always makes these mints feel so fresh. Just reminds me of standing in my grandma’s sunny kitchen, watching her form soft dough ropes for all the spring holidays.
Keeping Them Fresh
Store your finished candies in a container with a tight lid. Keep them in the fridge for up to three weeks or pop them in the freezer for two months. Let them warm up to room temperature before digging in so they’re soft and perfect.
Swaps and Variations
Try cinnamon or lemon extract for a different flavor vibe. You can use coconut condensed milk and a dairy free butter for a no-lactose batch, but the taste will change up a bit.
 Save Pin
Ways to Serve
Drop your mints in colorful cupcake wrappers or cute jars for baby showers, little parties, or weddings. They look extra sweet in a gift bag with some ribbon tied on top.
History and Story
Butter mints have roots in the American South, where hosts would put out little bowls to welcome folks. We still love them today for their homey style and simple sweetness.
Common Recipe Questions
- → Can I use different extracts for flavor?
For sure! Mix it up with almond, cinnamon, lemon, or stick with classic peppermint for lots of flavor options.
- → How do I prevent the dough from sticking?
If things start to get tacky, just work in some extra powdered sugar until it's smooth and stops clinging to everything.
- → What’s the best way to color the dough?
Squeeze in a couple drops of food coloring, then knead by hand or toss it in a mixer with the paddle, so you don't end up with stained hands.
- → How should I store these butter mints?
Pop the finished candies in a container with a tight lid and keep them in the fridge for weeks, or in your freezer and they'll last for months.
- → Can the mints be made ahead for events?
Definitely—make 'em early and keep them chilled or frozen till it's time to dish them out at your party.
- → What size should the mints be cut?
Shape ropes of dough, then chop into tiny, poppable pieces for that timeless look.