
 Save Pin
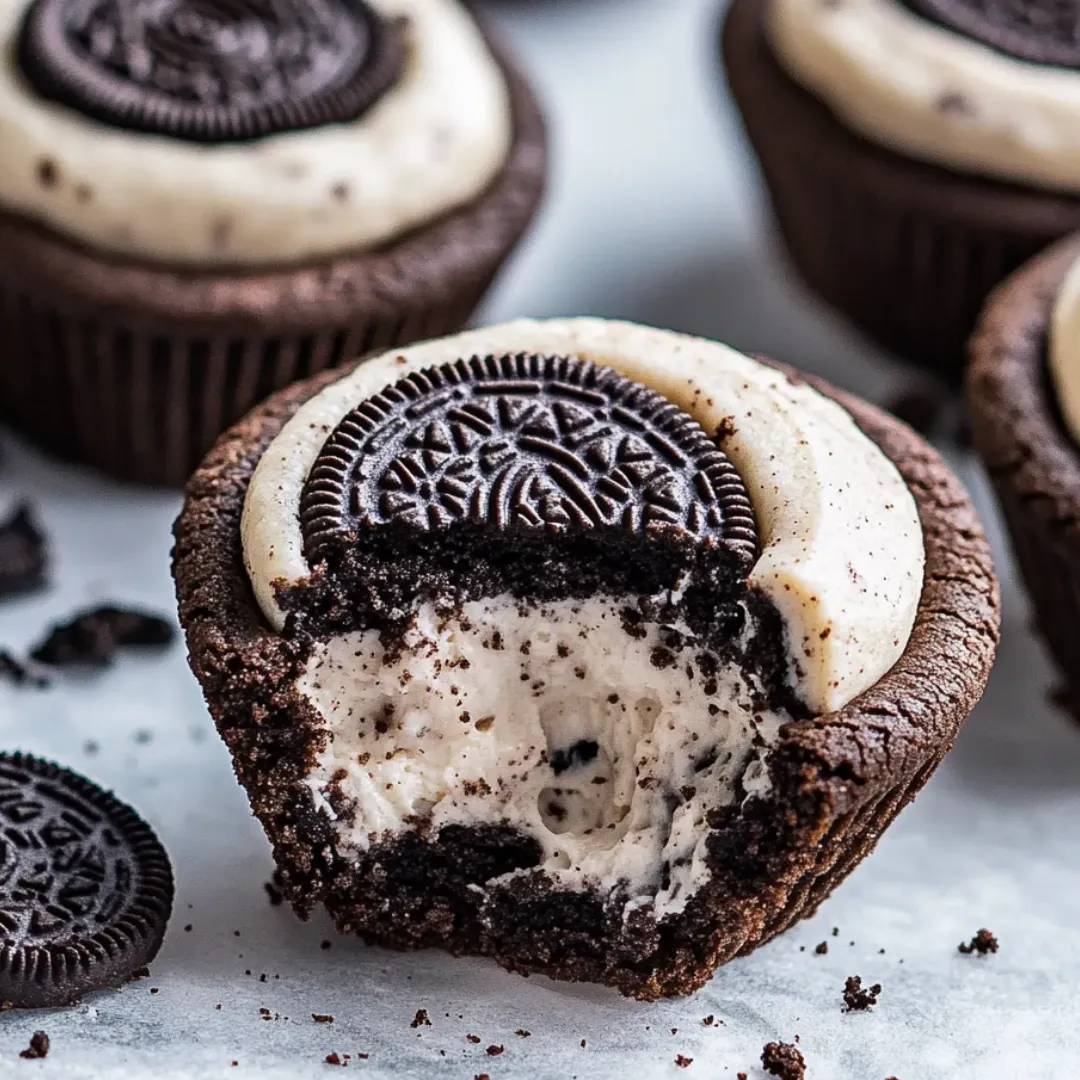
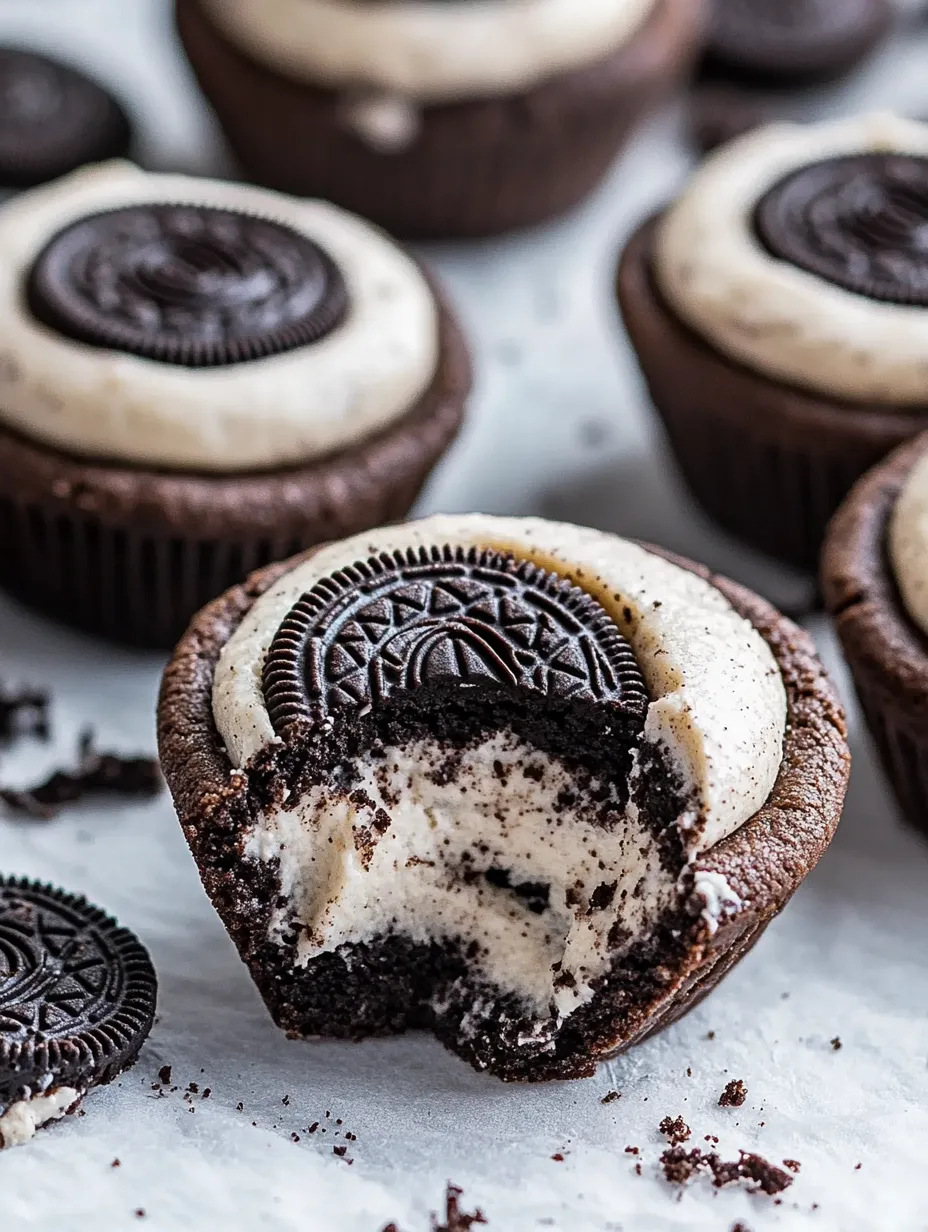
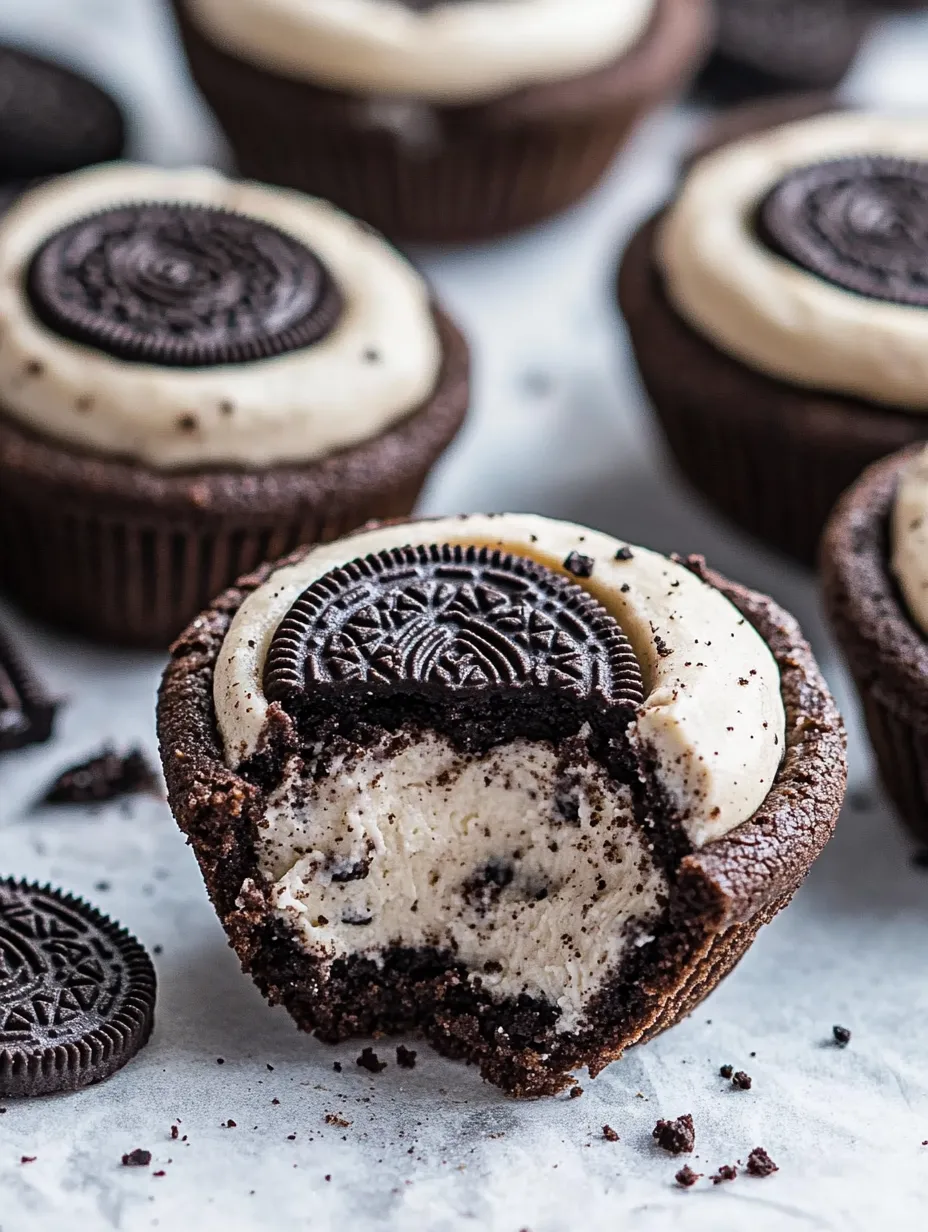
Sink your teeth into these rich Oreo cheesecake cookie cups. Picture a soft, chocolatey cookie cup holding a creamy Oreo cheesecake center. They’re a knockout for sharing at parties or just treating yourself late at night.
I whipped these up for my kid’s birthday, and they vanished faster than anything else. Now my family always asks for them—especially my nephew who’s wild about Oreos.
Dreamy Ingredients
- Oreo cookie crumbs: mixed right into the filling for that real-deal Oreo kick
- Full-fat cream cheese: this is where the smooth texture and classic cheesecake taste comes from
- Heavy whipping cream: gives the filling that fluffy, mousse-like feel
- Vanilla extract: brings out the chocolate flavors even more
- Large eggs: keeps everything held together and extra rich
- Light brown sugar: makes the cookies moist and adds a hint of caramel
- Granulated sugar: sweetens up the mix and makes crisp edges
- Unsalted butter: at room temp, it blends in better for that perfect texture
- Salt: brings out every flavor and cuts the sweetness
- Baking soda: helps the dough puff just the right amount before you squish in the centers
- Black cocoa powder: what gives you that deep, classic Oreo bite and the dark color
- Dutch-processed cocoa powder: adds a mellow, smooth chocolate layer
- All-purpose flour: holds everything together but keeps it tender
Easy How-To Guide
- Set Up for Baking:
- Turn your oven on to 350°F right away. Spritz your muffin pan with cooking spray, getting in all the nooks—that way, popping the cookie cups out later is a breeze. Forget the paper liners for this one—they don’t work as well.
- Whisk Up Dry Stuff:
- Grab a bowl and mix the flour, both cocoa powders, baking soda, and salt. Sift the cocoa to keep out bitter chunks—makes a big difference. Make sure it’s all blended evenly.
- Beat Butter and Sugars:
- Using your stand mixer or hand mixer, whip the butter with both sugars on medium-high for about 2-3 minutes. Stop when it looks pale and fluffy. That’s how you get that dreamy cookie texture—it foams up with air.
- Add Eggs and Vanilla:
- Turn it down to low, mix in an egg, let it blend, then the next one. Add the vanilla and give the sides of the bowl a scrape to catch any unmixed bits.
- Mix in Flour Combo:
- Dump in your dry ingredients little by little, mixing slow till you don’t see any dry spots. Don’t overdo it—stop the mixer when it just comes together, or the cookies will get tough.
- Shape Cookie Cups:
- Take a 3-tablespoon scoop, drop dough into the muffin pans, and flatten the tops just a bit. Trust me, it bakes up much neater this way.
- Bake and Press the Centers:
- Bake for 10 to 13 minutes—edges should set, middles still look soft. Take them out, then right away, push the center down using a small bottle or spice jar. They’re super soft now but will firm up as they cool.
- Let Them Cool:
- Cool the cookie cups in the pan 10 minutes, twist gently to make sure they’re loose. Wait another 5 minutes, then lift out to cool completely on a rack. Rushing risks cracks, so give it time.
- Make the Filling:
- Using a cold bowl and beaters, whip the cream until it’s thick enough to hold peaks. Grab another bowl, beat the cream cheese and sugar till smooth as can be. Add Oreo crumbs and blend them in.
- Put It All Together:
- Fold the whipped cream gently into the cream cheese mix. Don’t stir too hard or you’ll flatten it. Scoop into a piping bag with a big star tip and swirl into the cooled cookie cups.
- Chill and Garnish:
- Pop them in the fridge for an hour or two so the filling sets up. Sprinkle on a little more Oreo crumb before serving if you want a pretty finish—and an extra bite of flavor.
 Save Pin
The very first round I forgot to press the middles—so mine looked like cupcakes. Still tasted fantastic! Turns out, these are almost impossible to mess up, even if things don’t go just right.
 Save Pin
Make-Ahead Ideas
You can pop the unfilled cookie cups in the freezer for up to 3 months. Lay them out in layers with parchment between so they don’t stick. Let them thaw on the counter for about an hour, then fill.
Swap Options
If you can’t get black cocoa, just stick with Dutch-processed cocoa for all of it. Your cookies will be lighter and taste more like classic chocolate chip cookies, not exactly Oreos...
Best Tips
Common Recipe Questions
- → Is it possible to prep these cookie cups in advance?
Go ahead and fix these ahead—just stick them in the fridge for up to three days or freeze them for while (four weeks is great).
- → What if I can’t get black cocoa powder?
Dutch-processed cocoa will do the job too. Just know the taste and look might not match exactly.
- → How do I smash Oreos into crumbs?
Pop the cookies in a food processor, or throw them in a zip-top bag and give them a good whack with a rolling pin. Works like a charm.
- → Can I switch up the inside of the cookie cups?
Totally! Stuff them with vanilla cream, peanut butter, or even go fruity. It’s your call.
- → Is chilling the filling before piping really needed?
For the smoothest result, toss the filling in the fridge for an hour or two—makes piping way easier, promise.