
 Save Pin
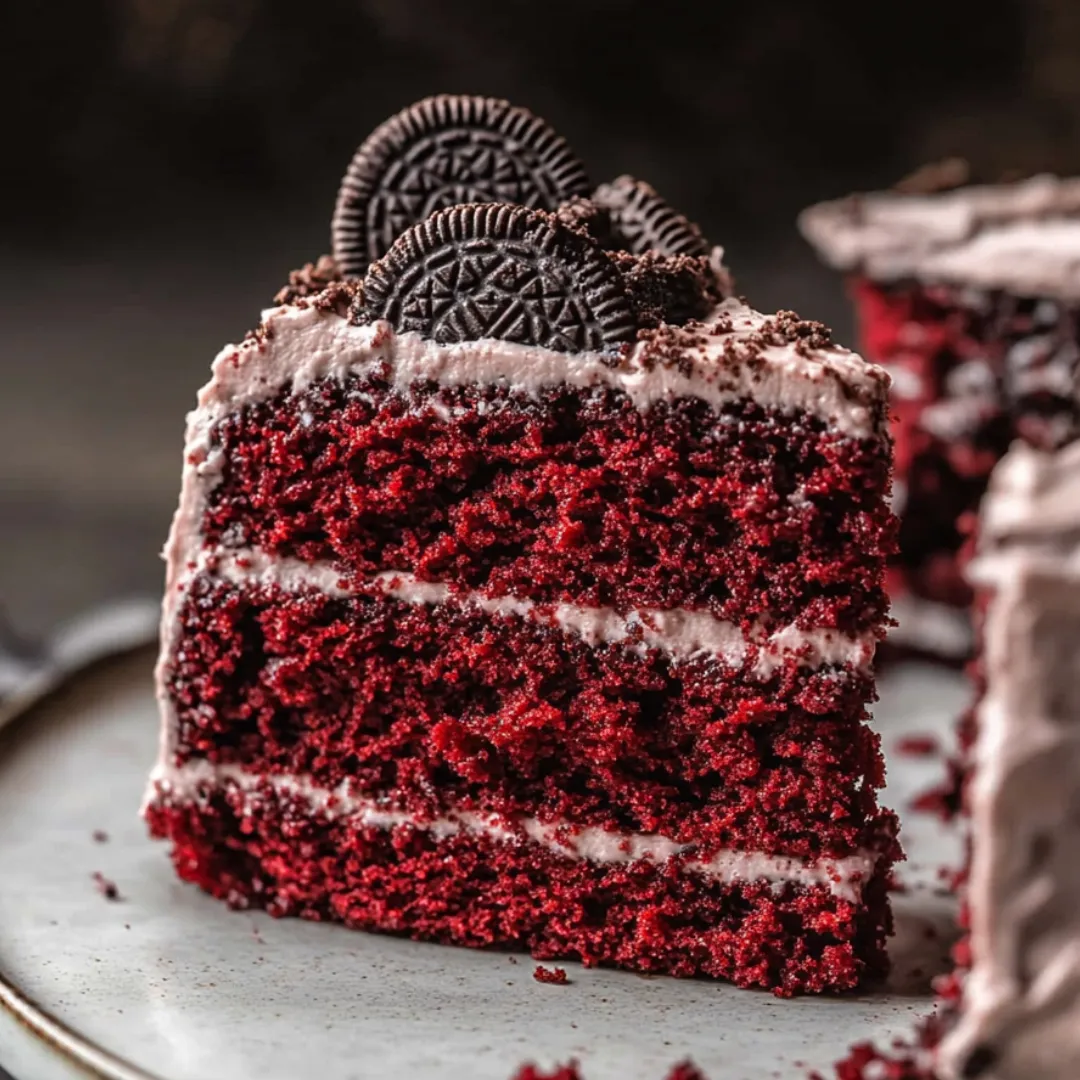
This red velvet Oreo dessert brings airy tangy cocoa cake together with everyone's favorite crunchy chocolate cookies, all finished with a whipped cookies and cream cheese frosting. Every bite is a win for anyone who loves chocolate and cookies, making it a hit for birthdays or any special day.
The first time I made this was for my niece’s grad bash and folks kept coming back for more. Tossing crushed Oreos right into the batter was a total game changer—now it’s my go-to for any celebration cake.
Dreamy Ingredients
- All purpose flour: Holds everything together and makes the crumb soft. Sifting gives you extra fluffiness.
- Granulated sugar: Not just for sweetness—it keeps things moist. Superfine sugar can make the cake even lighter.
- Cocoa powder: Adds delicious chocolate flavor. Go for Dutch process if you want a smoother taste.
- Baking powder: Gives the cake a nice rise, so it’s light, not dense.
- Baking soda: Helps everything get golden and puffy.
- Salt: Rounds out the sweetness and pops the other flavors.
- Buttermilk: Brings tang and helps the cake stay soft. Use full-fat, room temp buttermilk for best results.
- Sour cream: Makes things rich and adds that creamy texture, also room temperature.
- Oil: The reason the cake never dries out—neutral oils like canola work great.
- Large eggs: Hold your cake together and help it fluff up. Let them warm up before mixing in.
- White vinegar: This is what gives you that signature red velvet texture by working with baking soda.
- Vanilla extract: Adds warmth and a sweet scent. Real vanilla is always worth it.
- Red gel food coloring: Gives you that iconic bold color. Gel kind won’t mess with the texture by adding extra liquid.
- Crushed Oreos: For the best crunchy chocolate bits, use fresh cookies and scrape out the filling first so the batter stays fluffy.
- Full fat cream cheese: The key to lush frosting—let it get extra soft or you’ll get lumps.
- Salted butter: Boosts flavor and helps your frosting stay put. Make sure it’s super soft.
- Powdered sugar: Turns the frosting silky and sweet. Sift it or you’ll end up with clumps.
- Extra crushed Oreos: For even more cookie happiness mixed into the frosting. Crunchy chunks make every bite awesome.
Simple How-To
- Assemble and Decorate:
- Begin by placing one cake round onto your platter and spread about three-quarters cup of that fluffy frosting over it. Add the other layer upside down, smooth on a thin frosting layer to snag stray crumbs, and refrigerate for a chill. After about twenty minutes, frost thick and pipe extra for fun, then finish with plenty of Oreos on top for flare or crunch.
- Make the Oreo Frosting:
- To get the frosting ready, beat together your soft cream cheese and butter in a mixing bowl until totally smooth. Add in powdered sugar a cup at a time, beating on low and scraping down the sides. Once it’s all smooth, stir in crushed Oreos for that classic look and flavor.
- Cool and Frost the Layers:
- Once your cakes are out of the oven, cool them in their pans for about ten minutes. Move them to a wire rack and let them cool off completely—don’t rush this step or your frosting might melt everywhere.
- Bake the Cakes:
- Pour the finished batter into two lined eight-inch pans, smooth the tops, and tap them gently on your counter. Bake at three fifty Fahrenheit for about twenty-seven to thirty-two minutes. You’ll know they’re ready when poked with a toothpick and it comes out clean.
- Combine Batter and Add Oreos:
- Add the wet goods into the dry bowl, whisking in slowly so no lumps hang around—you're aiming for a thick, smooth mix. Gently fold in the Oreo pieces so they don’t break up too much or sink.
- Blend the Wet Ingredients:
- In a different bowl, whisk the buttermilk, sour cream, oil, eggs, vanilla, vinegar, and red food color. The buttermilk and vinegar give lift and tenderness when they hit the soda later.
- Mix the Dry Ingredients:
- In a big mixing bowl, whisk flour, sugar, cocoa, salt, baking soda, and baking powder together. Make sure it’s all totally mixed so you don’t stumble onto a bitter bite later.
 Save Pin
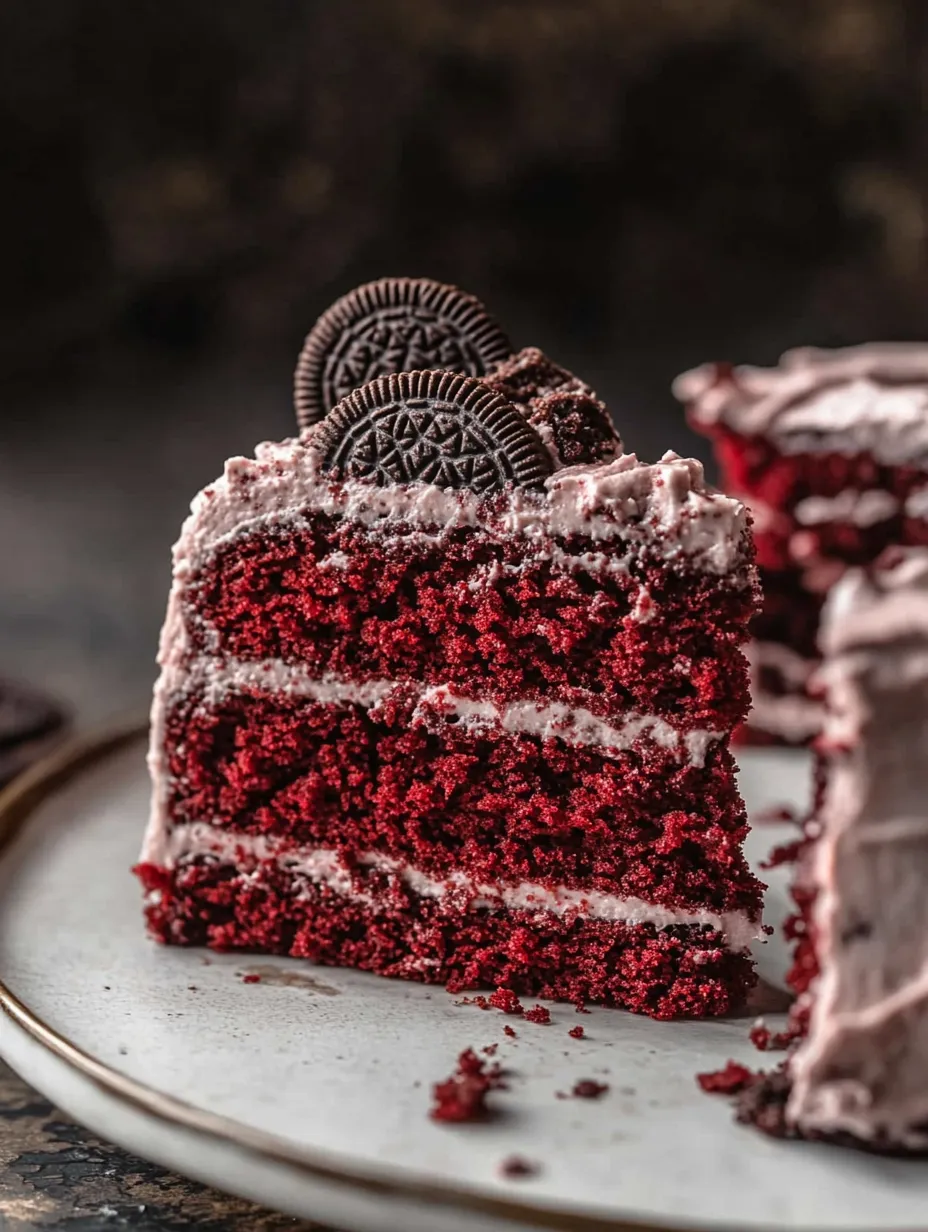
Honestly, my favorite part is whipping that cream cheese till it’s perfectly smooth. One year my cousin and I got competitive with our piping—now decorating this cake together is a goofy family must-do every holiday.
Storing Advice
Cover and chill leftovers for up to four days. If you want to stash some for later, slice it up and wrap each piece tight before freezing—good for up to two months. Let slices thaw at room temp, still wrapped, so everything stays soft and tasty.
Swaps and Substitutes
No buttermilk? Quick fix: regular milk mixed with a splash of white vinegar does the trick. Out of sour cream? Go for full-fat Greek yogurt if you’ve got it. For a deeper chocolate vibe, swap for dark cocoa powder—but it’ll look much darker.
Fun Ways to Serve
This cake looks gorgeous on its own, but try it with a scoop of vanilla ice cream or some chocolate sauce for extra oomph. Top with more Oreo minis or sprinkles if it’s a party. You can also bake it as cupcakes for easy party bites.
 Save Pin
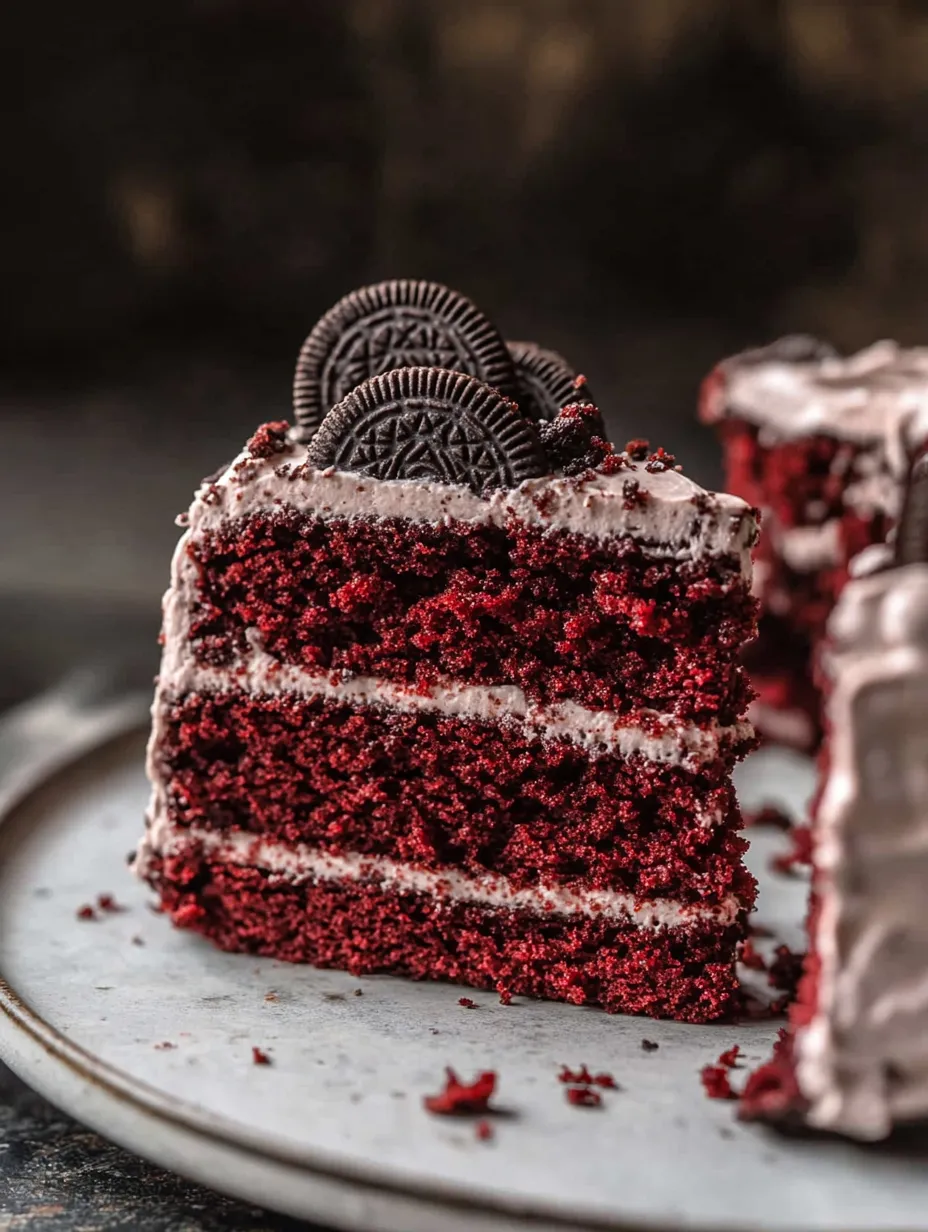
Red Velvet Oreo Cake Story
Classic red velvet’s roots are in the Southern US from way back in the early 1900s—known for a sweet-tangy crumb and a kick of cocoa. Swapping in Oreos is a recent twist, adding all the fun of cookies in every slice and a crunchy bite you never got before.
Common Recipe Questions
- → What's the best way to get a bold red color?
Gel food dye gives you bright color without messing with the texture. Make sure you stir it into the wet mix before adding the dry stuff.
- → Could I trade the Oreos for other types of cookies?
Other chocolate-filled cookies work, but feel free to toss in any you love for a new feel and taste.
- → How do I keep the cake fresh?
Pop the cake in the fridge inside a sealed container since it's got cream cheese icing. Set it out for a bit before digging in so it's nice and soft.
- → Why's this cake so moist?
It stays super soft thanks to a mix of oil, sour cream, and buttermilk, which keeps the cake fluffy without falling apart.
- → Can I prep this sweet ahead of time?
Definitely! You can bake the layers and make the frosting one or two days early. Put it all together right before serving to keep it fresh.
- → Does this cake work for special events?
Oh yes! That eye-popping color, creamy layers, and cookie finish make it perfect for birthdays and parties or any day you need to celebrate.