
 Save Pin
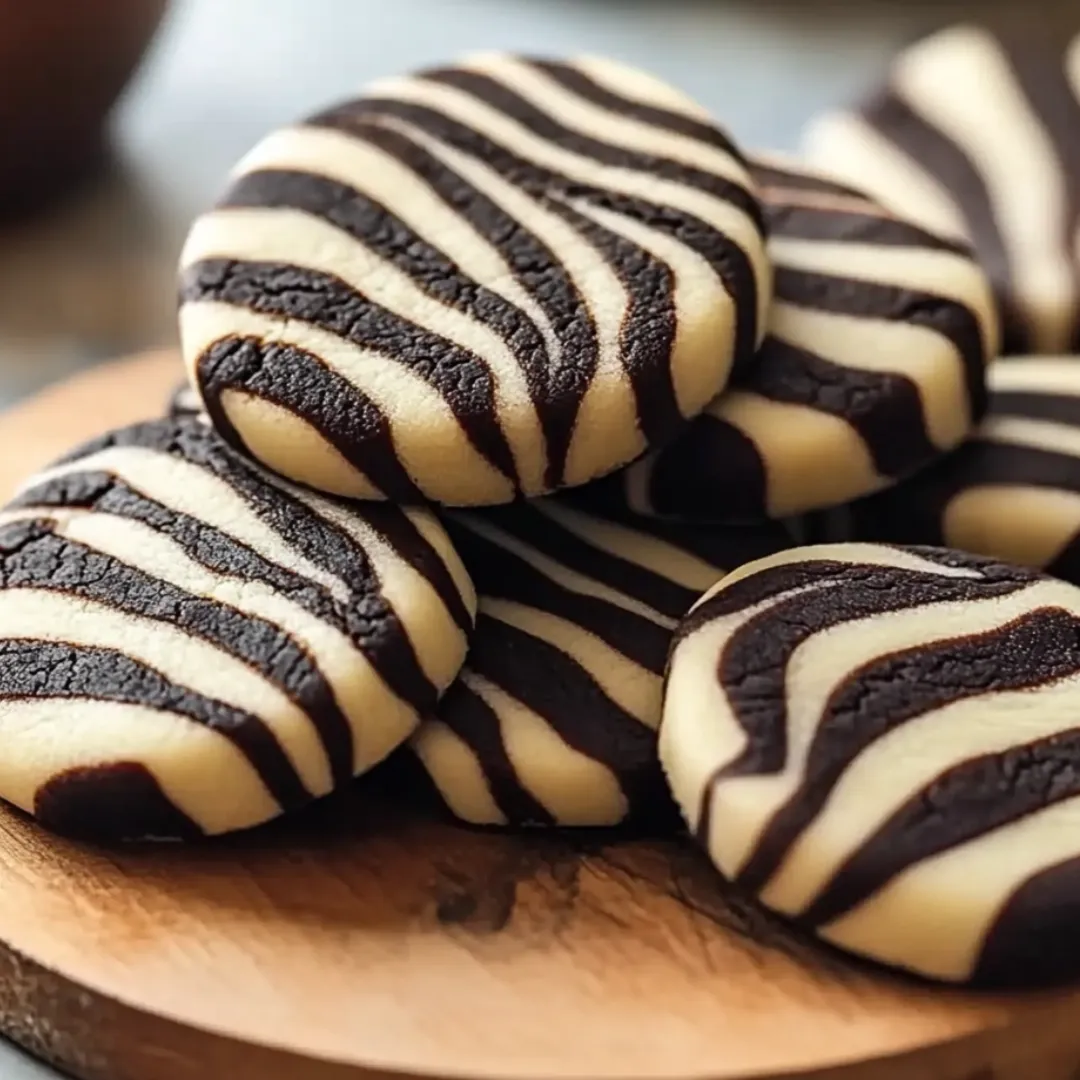
If you want a treat that stands out at a holiday party or bake sale, you can't go wrong with these swirly Zebra Cookies. They look awesome—think chocolate and vanilla all tangled together—and they're a breeze to throw together with stuff you probably already have at home.
My kids love smushing the different dough layers and making wacky stripes. The very first time we tried them, we finished the whole tray in one go. Guess we were more interested in eating than admiring!
Vibrant Ingredients
- Baking powder: makes sure your cookies puff up a bit, so grab a fresh tin for the best results
- Salt: makes everything pop and keeps them from tasting too sugary—fine or kosher salt blends in best
- Unsweetened cocoa powder: gives the chocolate side its deep flavor, Dutch-process is awesome here
- Vanilla extract: makes them smell amazing, so real vanilla is worth it if you can
- Large eggs: hold everything together—room temp is best for smooth batter
- Granulated sugar: sweetens and helps keep the cookies light
- Unsalted butter: creates richness and needs to be soft so it mixes easily
- All-purpose flour: makes the cookies tender and holds everything in place—fresh is best
Playful Step-by-Step
- Shape and Bake:
- Push the dough balls down using your hand or a cup to get the shape you want. Bake at 350 F for about 10-12 minutes. Watch for edges that look set while the middle still looks a smidge soft. Let cool on racks so they finish setting up nicely.
- Create the Zebra Swirls:
- Grab a knife tip, skewer, or toothpick and swirl through the dough blobs to make those funky stripes. Don't go too wild or the colors will just blend together.
- Layer the Doughs:
- Drop scoops of vanilla and chocolate dough next to each other—alternate them on your tray. Let them just touch, but try not to mix them too much.
- Divide and Flavor:
- Split that dough in half. One part stays plain (vanilla), the other gets cocoa powder mixed in until it's nice and chocolatey. Now you're ready to swirl.
- Mix in Dry Ingredients:
- Stir together flour, salt, and baking powder in another bowl. Slowly add these as you mix on low or by hand. Stop when the dough comes together so your cookies don't get tough.
- Add Wet Ingredients:
- Add eggs one by one, mixing in between, then pour in the vanilla. Beat till smooth and creamy before moving to the dry stuff.
- Make the Base Dough:
- Whip the sugar and butter with a mixer for about three minutes until it's fluffy and light. Scrape down the bowl here and there so it blends evenly. You want that melt-in-your-mouth bite.
 Save Pin
I get excited for the cocoa part—it instantly fills my kitchen with that classic baking smell. One year, my kiddo wanted to do all the swirling solo and we ended up with the most wild stripes ever. Didn’t matter—for taste, they were spot on.
Storage Ideas
You can keep these cookies at room temp in a closed tin for up to four days. For longer, freeze them flat first, then toss them in a bag. They'll thaw quick and taste just as fresh as when you baked 'em. Skip the fridge or they'll dry out.
Switch Things Up
Try almond extract in place of vanilla for something new. Swap in vegan butter and flaxseed eggs for a dairy-free, egg-free version. Craving color? Matcha or red velvet powder instead of some cocoa makes for cheery cookies.
Fun Ways to Serve
Enjoy them with a mug of hot chocolate, or let them dress up your holiday cookie plate. They're a hit at swaps and pile up neatly if you're packing up treats for someone.
 Save Pin
Origins and Inspiration
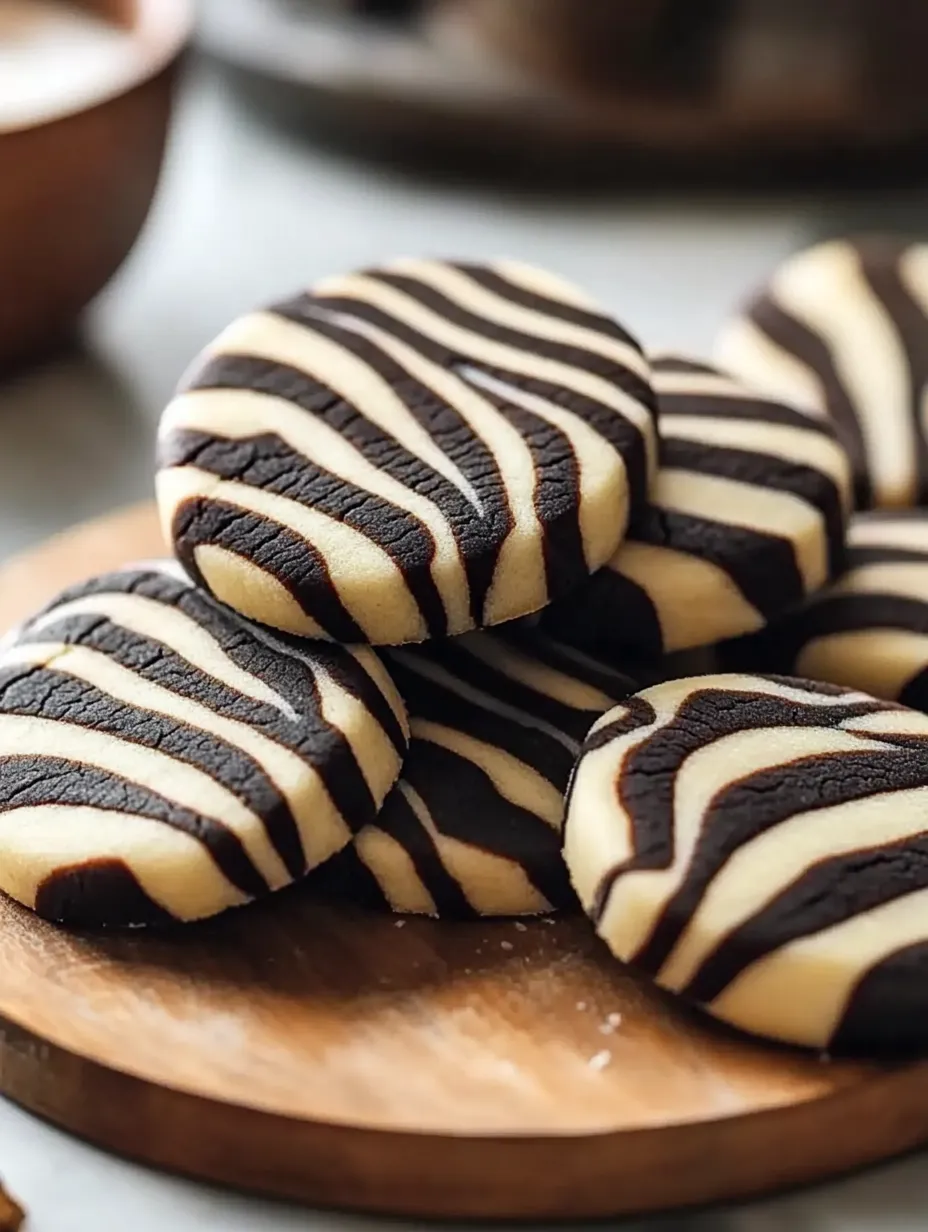
The zebra look comes from the big trend of swirling colors in baking, which started with cakes and muffins. Here, it's a fun spin on a classic American butter cookie—but with an animal print vibe that always gets a smile.
Common Recipe Questions
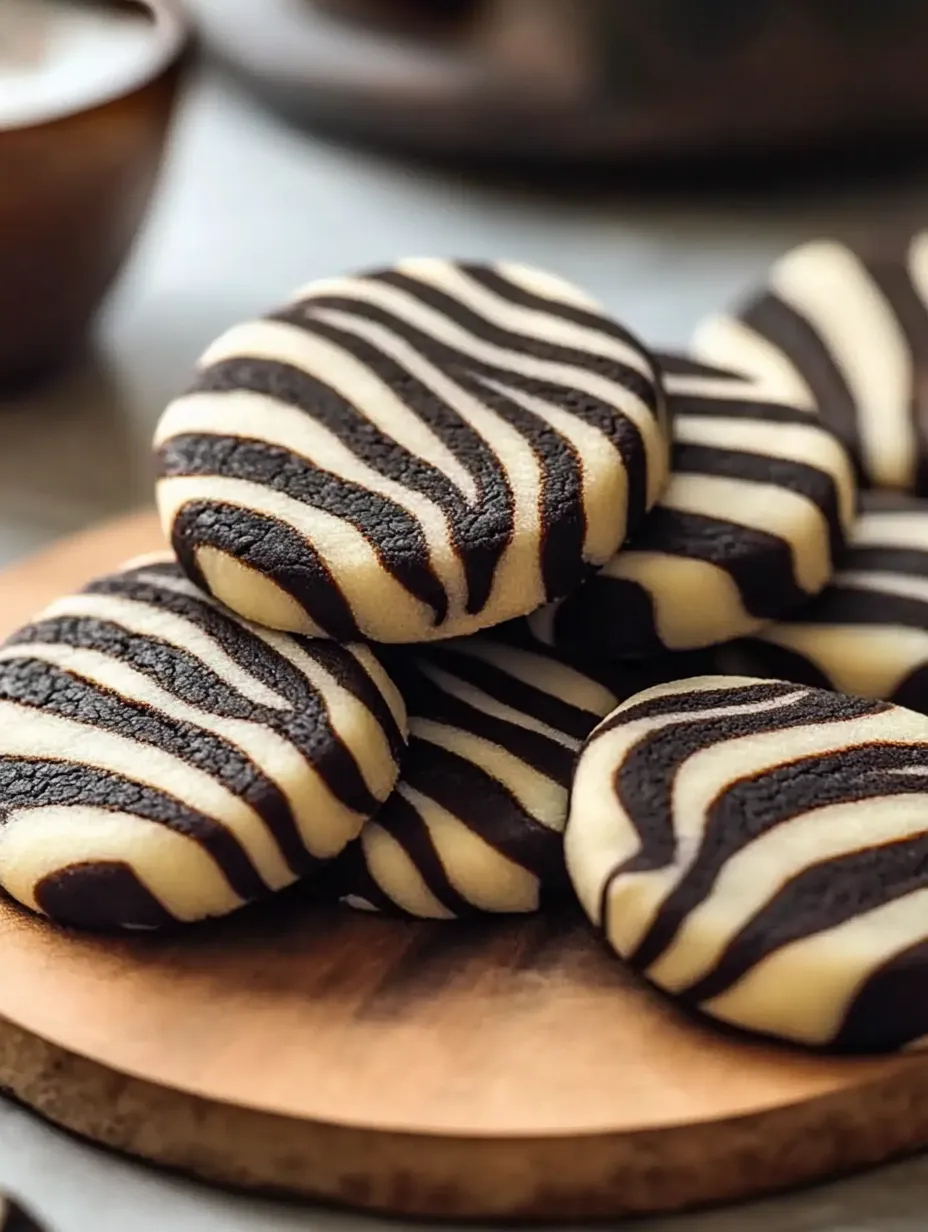
- → What's the trick to get that zebra look?
Spoon the vanilla and chocolate doughs back and forth, then gently swirl with a toothpick to make those awesome stripes.
- → Is it okay to bake with salted butter instead of unsalted?
Totally fine to use salted! Just skip adding extra salt so they don't turn out too salty.
- → How should the dough feel before baking?
It needs to be squishy but not sticky, so it's easy to swirl and shape without falling apart.
- → What's the best way to keep them soft after baking?
Don't bake them too long! As soon as the edges are firm and the centers look a bit underbaked, pull them out—they'll set up perfectly as they cool.
- → Can I make and freeze the dough ahead of time?
Definitely. Wrap both doughs tightly and keep them in the freezer. When you want cookies, just thaw them in the fridge before shaping and baking.