
 Save Pin
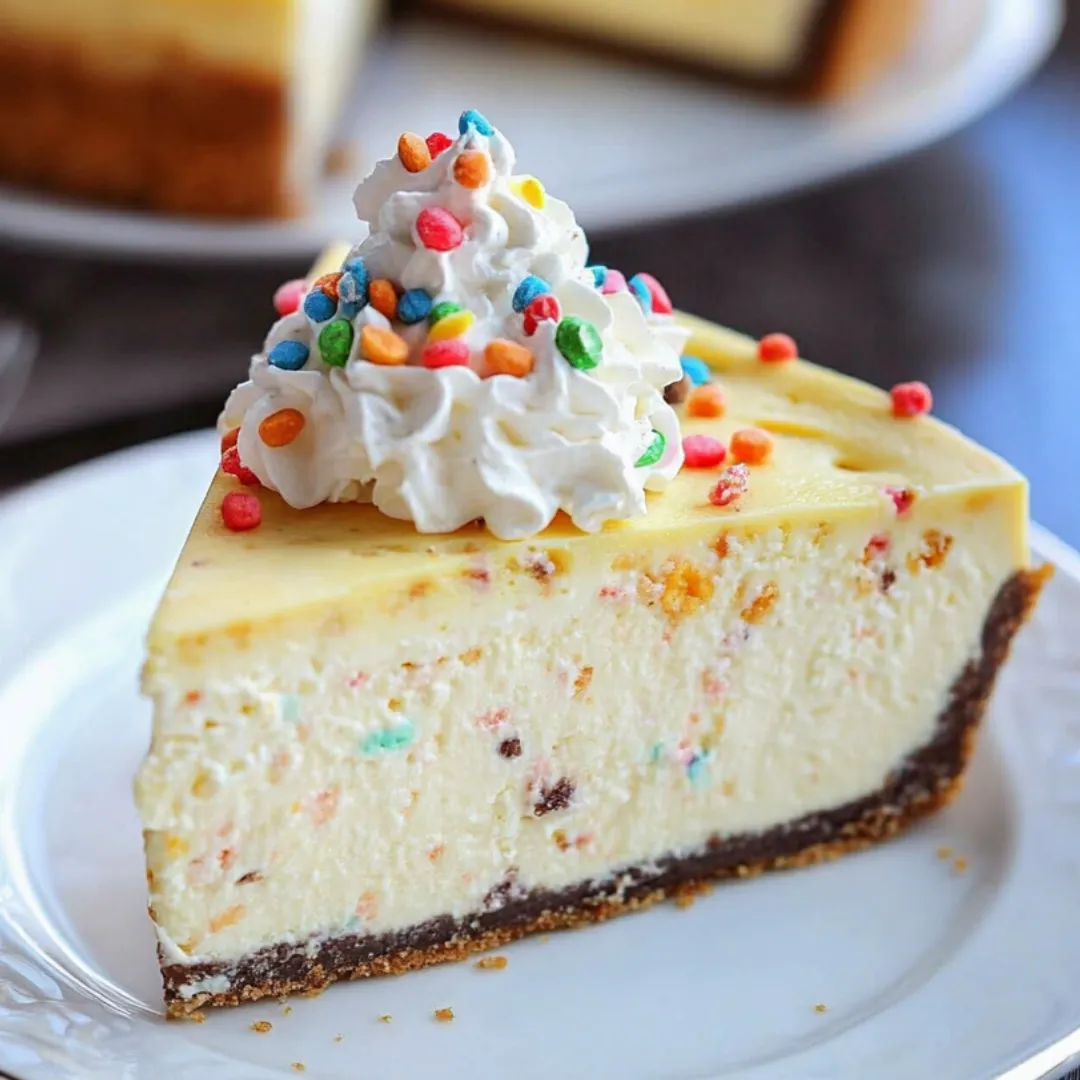
This delicious fusion dessert brings together creamy cheesecake and fun cake batter flavors. Sitting on a buttery sugar cookie base, it's a grown-up twist on childhood birthday treats that'll make your taste buds dance with joy.
I came up with this treat when my daughter couldn't pick between cookies or cheesecake for her birthday. Now it shows up at practically every family get-together we have because everyone goes crazy for it.
Ingredients
For the Sugar Cookie Crust
- Butter: Let it soften to room temp for that melt-in-your-mouth base
- White Sugar: Gives the cookie foundation its classic sweetness and crumbly texture
- Egg: Keeps everything together and adds needed moisture
- Vanilla extract: Boosts the overall sweet flavor
- Baking Soda: Creates a slight puff in the cookie layer
- Salt: Cuts through sweetness and makes flavors pop
- Flour: Builds the foundation of your cookie base
- Rainbow Sprinkles: Toss in these colorful bits for fun and festivity
For the Cheesecake
- Cream Cheese: Grab the full-fat stuff for the smoothest, creamiest results
- Granulated Sugar: Adds just the right amount of sweetness
- Yellow Cake Mix: This magical ingredient brings that birthday cake vibe
- Vanilla extract: Pumps up the nostalgic cake batter taste
- Eggs: Give your cheesecake that dreamy, velvety smoothness
Step-by-Step Instructions
- Prepare the Oven:
- Get your oven warming up to 325°F. This lower temp helps your cheesecake bake gently without getting too brown. Let it heat fully for about 15 minutes so you'll get even baking.
- Prepare the Pan:
- Get your springform pan ready with parchment paper. Push it down on the bottom and a bit up the sides. This'll make getting your finished cheesecake out a breeze when it's time to eat.
- Make the Cookie Crust:
- Mix butter and sugar until it gets fluffy and turns lighter in color. You'll need about 3 minutes of beating. This adds air pockets that'll make your cookie base extra tender.
- Add Wet Ingredients to Crust:
- Mix in egg, vanilla, baking soda, and salt until everything's combined. Don't worry if it looks a bit weird at first - it'll come together as you stir.
- Complete the Cookie Base:
- Add flour bit by bit, mixing gently just until it's combined. Don't go crazy with the mixing or you'll end up with a tough crust. Gently fold in those colorful sprinkles without crushing them.
- Form the Crust:
- Push the cookie dough across the bottom of your pan. A measuring cup works great to flatten it all out evenly so your cheesecake layer has a solid foundation.
- Prepare the Cheesecake Filling:
- In a big bowl, mix cream cheese and sugar until it's totally smooth. Take your time here - nobody wants lumpy cheesecake!
- Complete the Filling:
- Add cake mix, vanilla, and eggs, stirring just until they're mixed in. Don't overdo it once the eggs join the party or you might get cracks in your finished cheesecake.
- Assemble and Bake:
- Pour your filling over the cookie base and smooth the top. Pop it in the oven for 55-60 minutes. It's done when the middle still jiggles slightly when you give the pan a gentle shake.
- Chill and Serve:
- Let it cool completely, then stick it in the fridge for at least 4 hours or better yet, overnight. This resting time lets all the flavors get friendly and helps you get clean slices.
 Save Pin
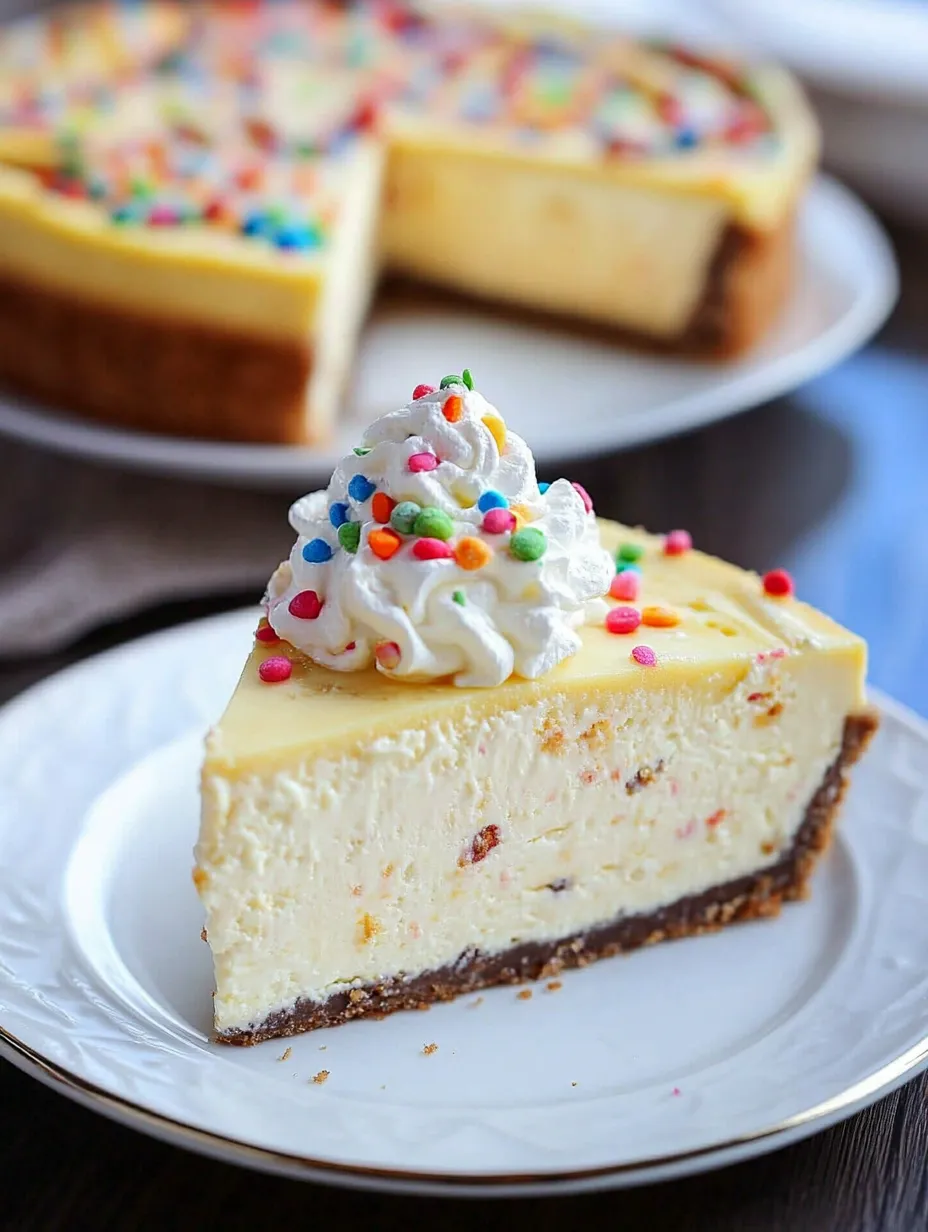
The best thing about this dessert is how the soft cookie bottom plays against the smooth, creamy filling. It takes me back to when my daughter first tried it on her birthday and told me it beat any store-bought cheesecake hands down. That memory always warms my heart when I make this special treat.
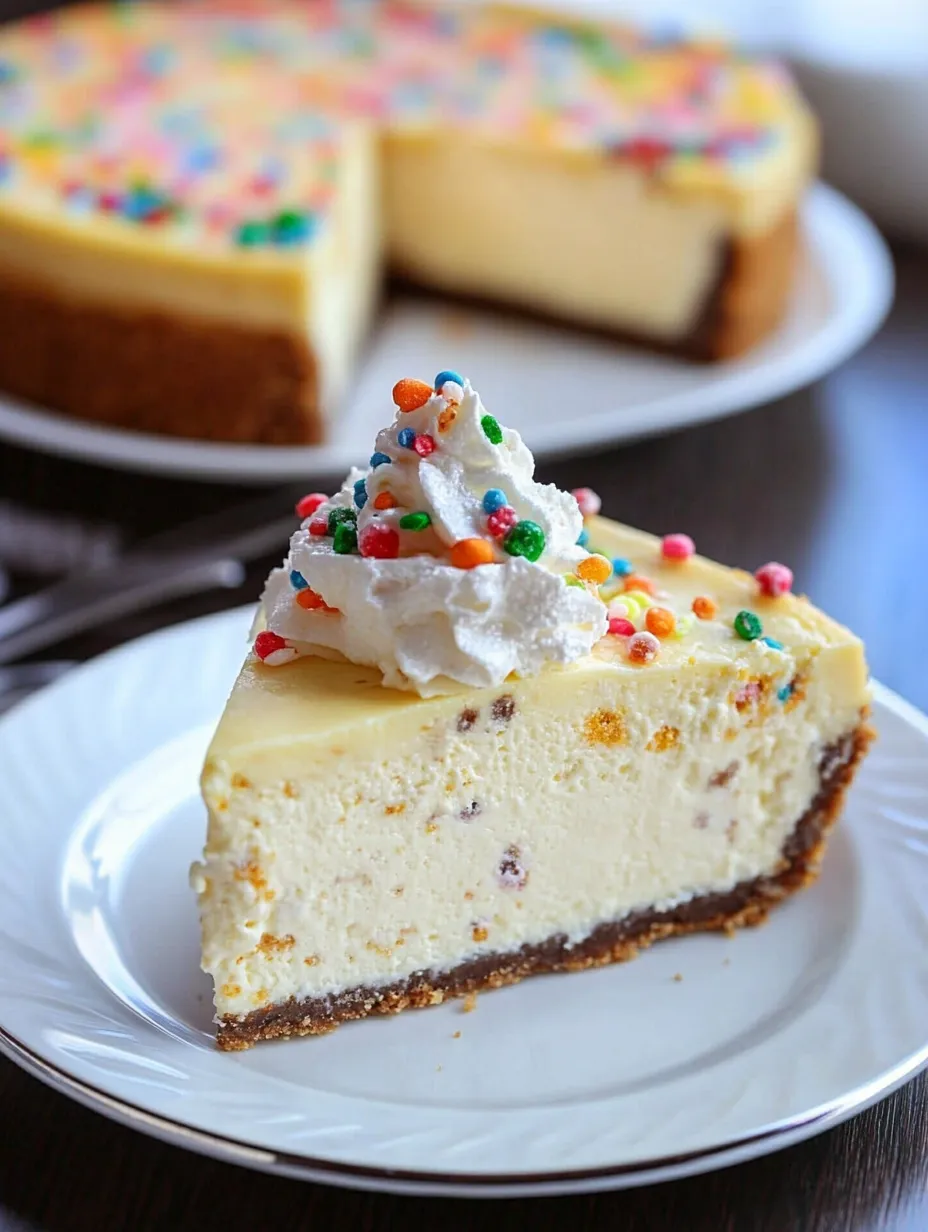
Stunning Slice Secrets
Want picture-perfect slices? Dip your knife in hot water, wipe it dry, then cut. Do this again for each new slice. A warm, clean knife slides through without tearing your beautiful cheesecake. My grandma taught me this little trick and always said that food should look as good as it tastes when you're feeding folks you care about.
Storage Information
You can keep this cheesecake in the fridge for up to 5 days if you store it in something airtight. It actually tastes even better on day two after the flavors have had time to get cozy together. Need to store it longer? Wrap individual slices in plastic wrap followed by foil and freeze them for up to 2 months. Just let them thaw in your fridge overnight before serving.
Flavor Variations
The classic yellow cake version rocks, but don't stop there! Try chocolate cake mix if you're a chocoholic, or go with strawberry mix for something fruity and fresh. Red velvet cake mix creates a gorgeous dessert that's perfect around Christmas or Valentine's Day. I love switching things up based on the season or who I'm baking for, which makes this recipe one I turn to again and again.
 Save Pin
Common Recipe Questions
- → How do I make the sugar cookie crust?
For the crust, beat the butter and sugar together, add in egg, vanilla, baking soda, and salt. Slowly mix in flour and stir in sprinkles before pushing the mixture into your pan.
- → Can I use boxed mix for the cake batter flavor?
You bet, this recipe calls for yellow cake mix to give your cheesecake that yummy cake batter taste.
- → How do I know when the cheesecake is baked?
Your cheesecake is ready when the middle wobbles a bit but looks mostly set. It'll get firmer as it cools down.
- → What can I top the cheesecake with?
You can finish this cheesecake with a dollop of whipped cream, a handful of sprinkles, or some crumbled cookies to make it extra festive.
- → How long should the cheesecake cool?
Cool your cheesecake in the fridge for at least 4-6 hours to get it just right.