
 Save Pin
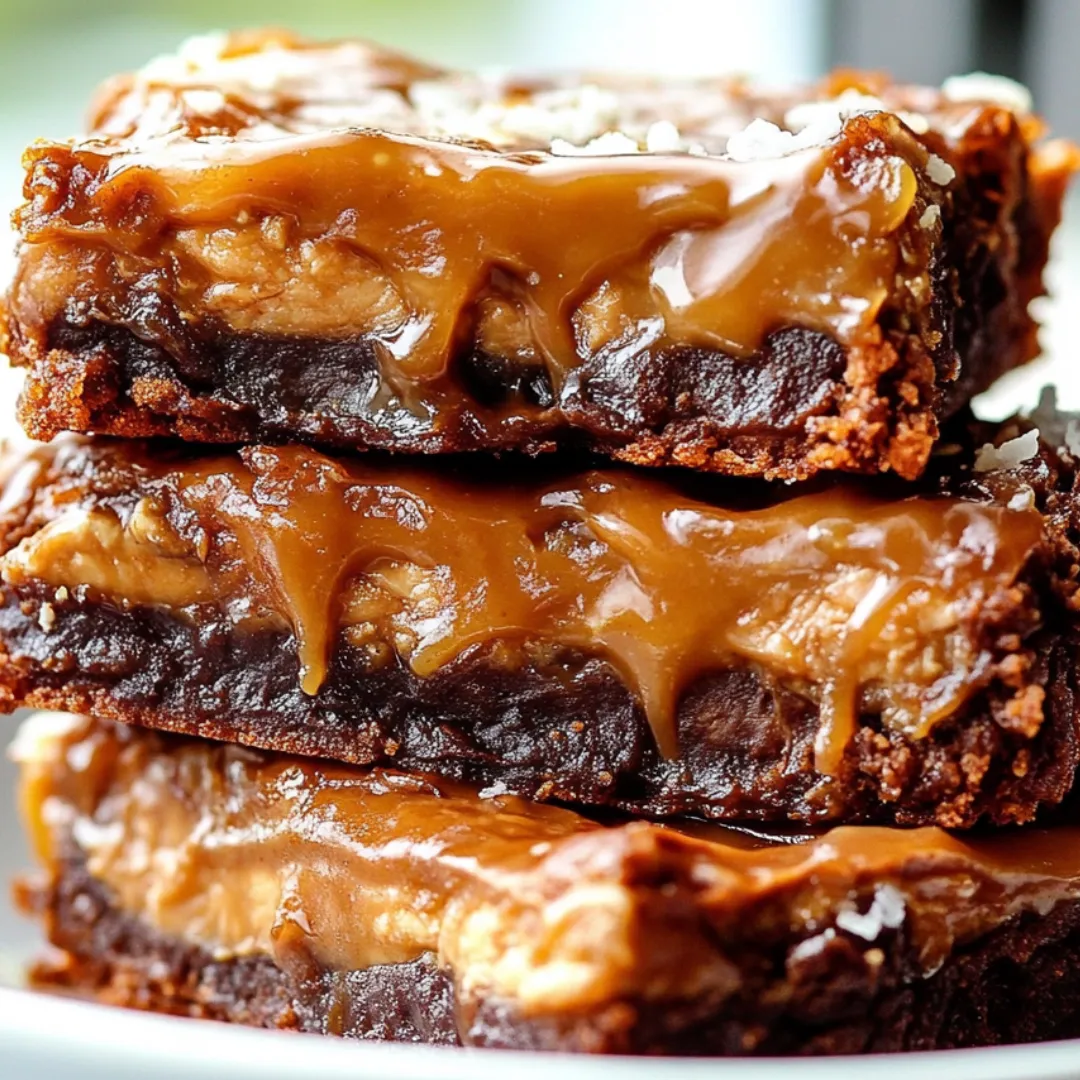
These gooey caramel brownies hit that sweet spot between fudgy chocolate and melty caramel center. They've become my go-to treat when I need to wow people at family get-togethers or potlucks without breaking a sweat.
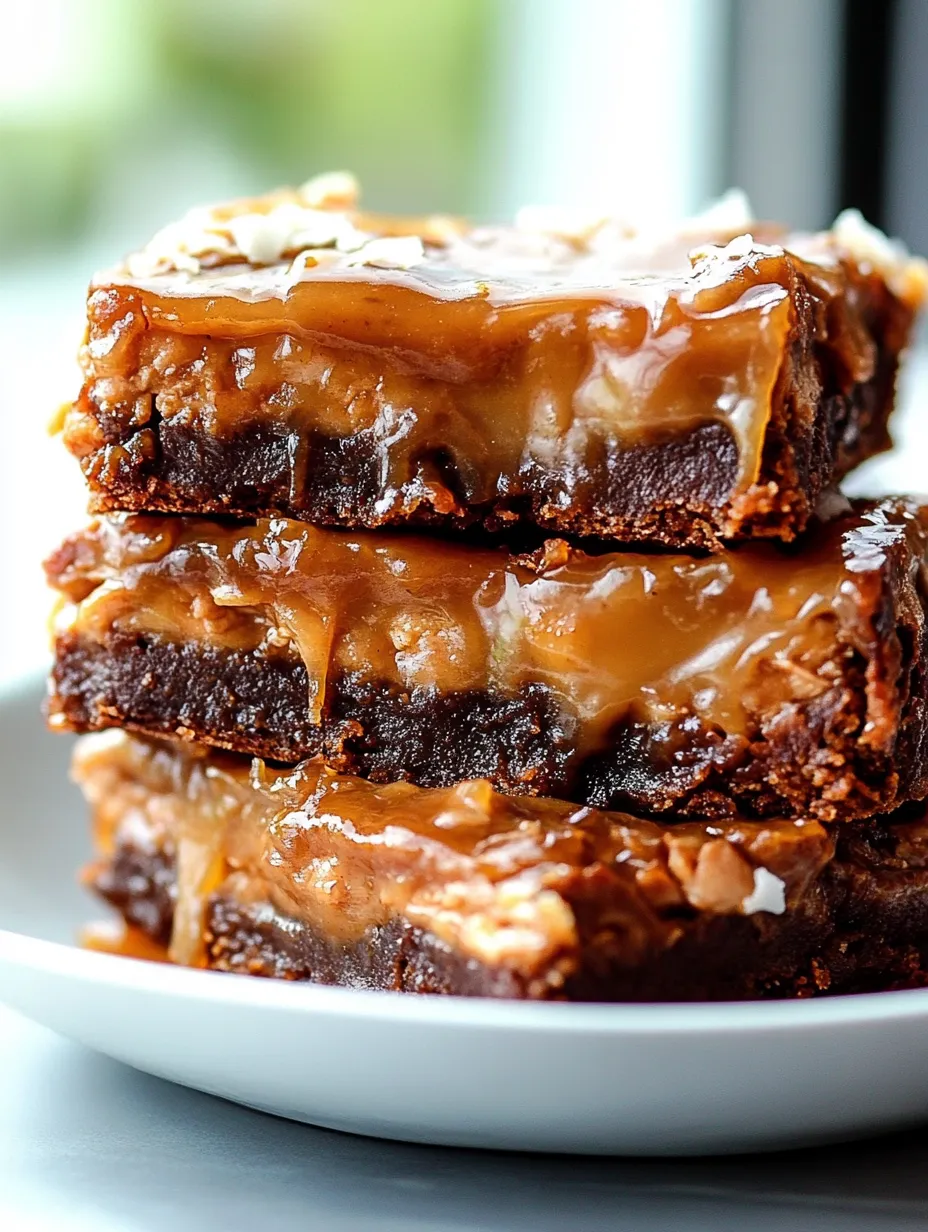
I whipped these up for the first time when my daughter wanted "something with chocolate and caramel" instead of cake for her birthday. They were such a massive hit that they've turned into our family's go-to celebration treat - even the fussiest dessert fans ask for seconds.
What You'll Need
- Butter: Makes everything moist and rich while boosting that chocolate taste
- Semisweet chocolate: Gives that perfect not-too-sweet depth. Try finding good quality bars around 60% cocoa
- Sugar: Adds sweetness and helps create that fudgy feel
- Eggs: Hold everything together while keeping your brownies tender
- Vanilla extract: Brings out all the other flavors. Grab real extract instead of the fake stuff
- Flour: Gives structure but won't make things cakey. Regular all-purpose works great
- Salt: Cuts the sweetness and makes the chocolate pop
- Chocolate chips: Create awesome little melty spots throughout
- Caramels: The store-bought ones in bags work perfectly and save time
- Heavy cream: Thins out the caramel so it pours nicely without losing flavor
Making Your Brownies
- Set Everything Up:
- Get your oven going at 350°F with the rack in the middle. Put nonstick foil in your 9x13 pan with extra hanging over the sides. This'll make pulling them out super easy later.
- Mix The Foundation:
- Throw your butter and chopped chocolate in a big microwave-safe bowl. Warm it up in 30-second bursts, giving it a stir each time until it's all smooth. Mix in the sugar while everything's still warm. This helps create that crackly top everyone loves.
- Add The Wet Stuff:
- Beat in the eggs one by one, making sure each one's totally mixed in before adding another. Stir in the vanilla until it's all blended together nicely.
- Mix In Dry Ingredients:
- Gently fold in the flour and salt just until you can't see any dry parts. Don't go crazy with mixing or you'll end up with tough brownies.
- First Cooking Round:
- Spread half the batter into your pan, making it nice and smooth. This layer needs to cook a bit to handle the caramel. Bake it for 20 minutes until it feels set on top but isn't fully done.
- Let It Rest:
- Cool that first layer for 20 minutes. You can't skip this part or the hot caramel will just sink right through.
- Get The Caramel Ready:
- Unwrap all your caramels and put them in a bowl with the heavy cream. Microwave in 30-second bursts, stirring between, until it's smooth and you can pour it. It should flow easily but not be crazy hot.
- Pour The Good Stuff:
- Pour your caramel over the cooled brownie layer and spread it evenly. Work fast since it'll start to firm up as it cools.
- Cover With More Brownie:
- Warm up your leftover brownie batter for about 10-15 seconds in the microwave just so it's easier to spread. Drop spoonfuls over the caramel and carefully spread it to cover everything. The warmer batter won't mess up your caramel layer.
- Sprinkle Chocolate:
- Scatter chocolate chips all over the top. They'll get all melty and amazing during baking.
- Finish Baking:
- Put it back in the oven for another 20 minutes. You'll know it's done when the edges look set but the middle still jiggles a tiny bit when you shake the pan.
- Cooling Time:
- Let everything cool completely at room temperature then stick it in the fridge for at least two hours. You can't rush this step if you want clean slices.
 Save Pin
The caramel really steals the show in these brownies. I've tried both homemade caramel and the store-bought candies, and weirdly enough, the easy store-bought ones give you that perfect chewy bite that cuts beautifully. My nephew once told me these were "way better than store brownies" - pretty big words from a twelve-year-old who knows his chocolate!
Keeping Them Fresh
These caramel treats actually get better after chilling overnight, so they're perfect for making ahead. Keep them in a sealed container with some parchment between layers so they don't stick together. They'll stay awesome in the fridge for about five days. If you want to save them longer, wrap each piece in plastic then foil and freeze for up to three months. Let them thaw in the fridge overnight for the best texture.
Fixing Common Problems
Most folks struggle with getting clean cuts. For picture-perfect squares, make sure they're really cold, then use a big sharp knife dipped in hot water and wiped dry between slices. If your caramel's too hard, you probably cooked it too long in the microwave. Try shorter heating times next round. Got super runny caramel? You might've added too much cream or didn't let them cool long enough before serving.
Ways To Enjoy
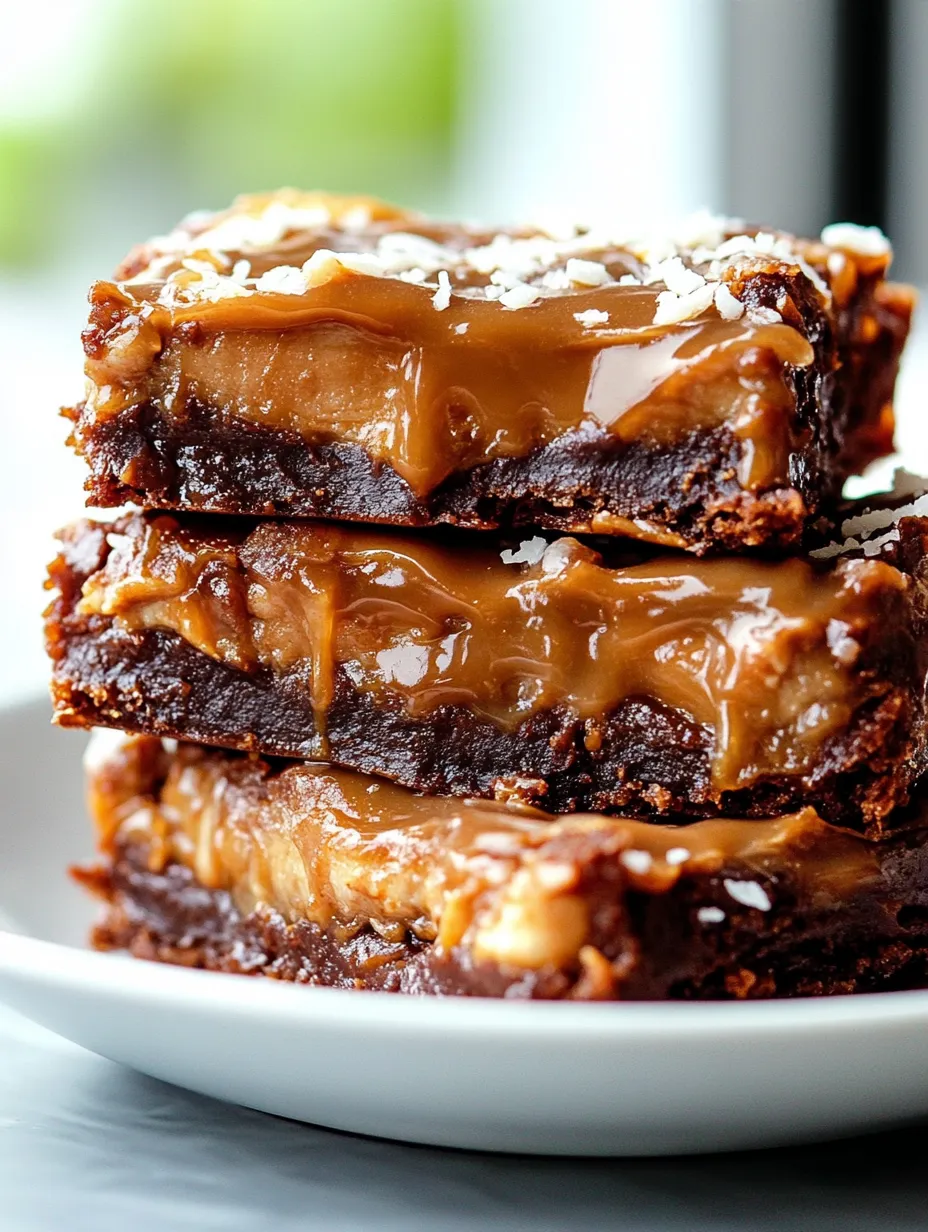
These brownies taste amazing just as they are, but they're out of this world when warmed slightly with a scoop of vanilla ice cream on top. For a fancy dessert, put a brownie square on a plate, add some ice cream, drizzle with extra warm caramel, and sprinkle a little sea salt on top. During Christmas, I add a tiny bit of gold edible sparkles to make them look extra special for guests.
 Save Pin
Common Recipe Questions
- → Can I use dark chocolate instead of semi-sweet?
Absolutely. Dark chocolate works great for a deeper flavor with less sweetness. You might want to add a bit more sugar to balance things out.
- → How do I store caramel brownies?
Keep them in a sealed container at room temp for up to 3 days. They'll last a week in the fridge. Just warm them up a bit before eating.
- → Can I use store-bought caramel sauce?
Sure thing. A good quality pre-made caramel sauce saves time instead of melting caramels and cream yourself.
- → How do I cut brownies cleanly?
Make sure they're completely cool or even cold first. Use a really sharp knife and wipe it clean between cuts for neat edges.
- → Can I freeze caramel brownies?
You bet. Wrap them in plastic and foil, then freeze them flat for up to 3 months. Let them thaw in your fridge overnight when you want some.