
 Save Pin
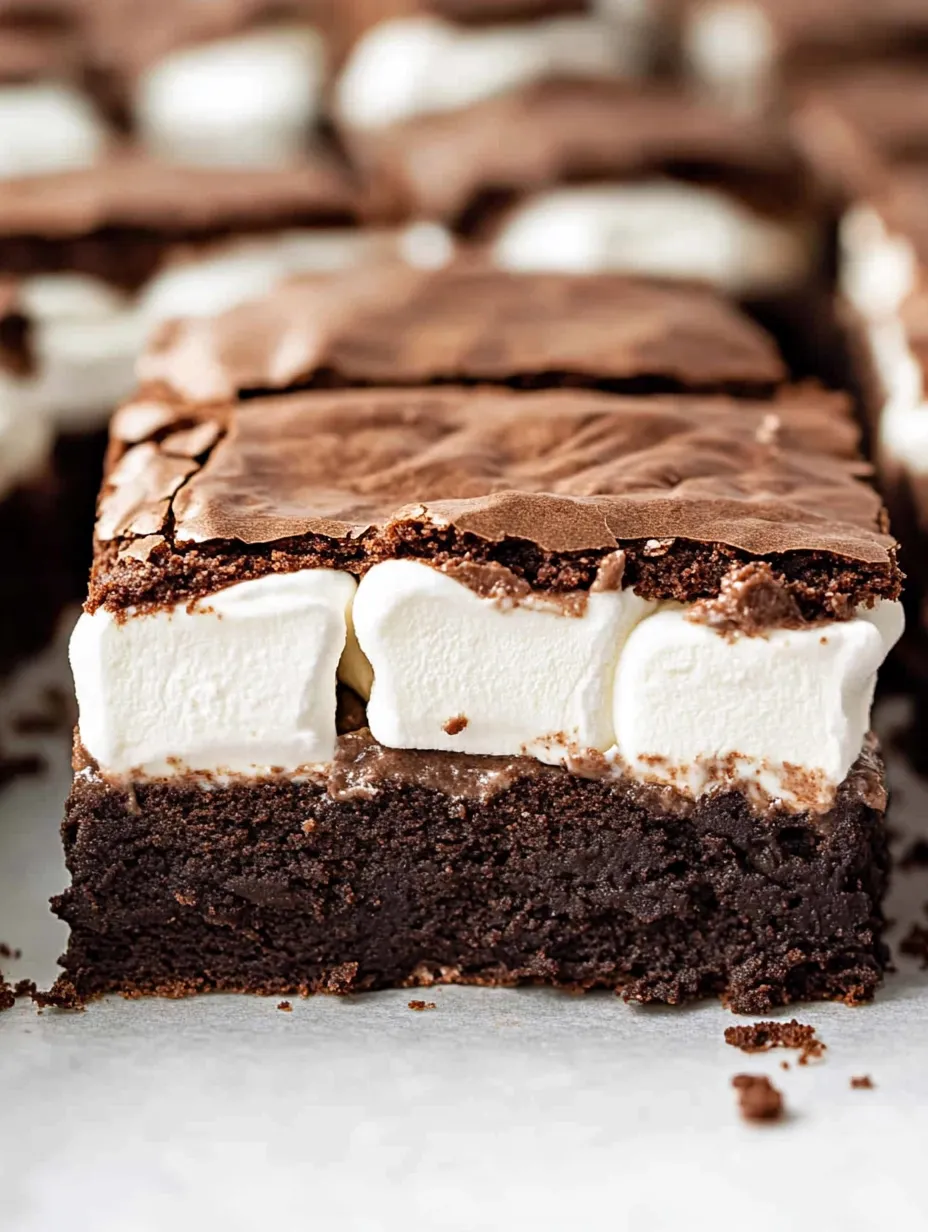
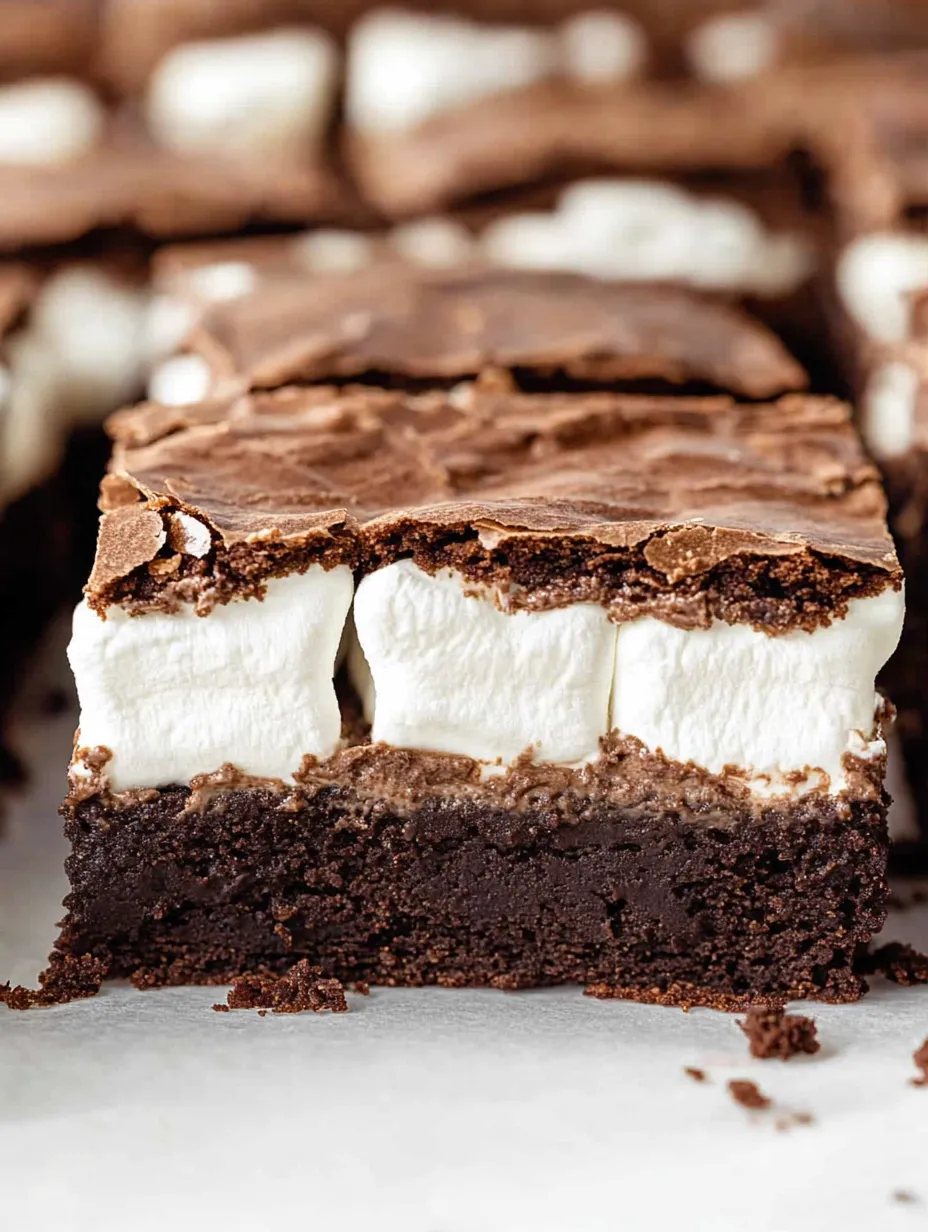
This boxed mix brownie gets a major upgrade with a gummy marshmallow center and chocolate topping. You'll end up with an irresistible sweet treat that's so good folks will be fighting to grab the last piece. That soft, stretchy marshmallow middle gives you the perfect chewy bite while the chocolate coating on top pulls everything together into something truly special.
I whipped these up for the first time when my kid had friends sleeping over and they vanished in seconds. Now my family won't let me show up to any get-together without them, and I always come home with nothing but crumbs.
Ingredients
- Brownie mix with box ingredients: Makes a foolproof fudgy foundation and cuts down your prep work while giving you reliable results every time
- Mini marshmallows: Create that sticky, melty middle that puffs up with slightly crisp edges for an amazing texture difference
- Salted butter: Adds a rich taste to the topping that cuts through all the sweetness
- Unsweetened cocoa powder: Brings intense chocolate flavor to the frosting without making it too sugary
- Vanilla extract: Boosts all those chocolate tastes with its sweet, cozy flavor
Step-by-Step Instructions
- Prepare the Pan:
- Pick your baking dish depending on how thick you want your treats. Go with a 9x9 inch pan for chunky, tall brownies or a 9x13 inch pan for thinner ones that feed more people. Make sure they won't stick by coating with cooking spray or putting down parchment paper with extra hanging over the sides so you can lift them out easily.
- Mix the Brownies:
- Stick to what the box says for oil, water and eggs. Stir about 50 times until everything's mixed but don't go crazy or they'll turn out tough. Your mix should look shiny with no dry spots. Pour it into your pan and spread it out to all the corners.
- Bake the Base:
- Put in a 350°F oven right in the middle where the heat works best. Cook for 30 minutes until they're almost done. You'll know they're ready when the edges start to pull away but the middle's still a bit soft when you poke it. This keeps them fudgy instead of dry at the end.
- Add Marshmallow Layer:
- Take the hot brownies out and right away cover the whole top with mini marshmallows. Make sure you get them all the way to the edges. Pop back in the oven for just 3 minutes so they puff up but don't turn brown or melt away completely.
- Create the Frosting:
- In a big bowl mix soft butter, powdered sugar, cocoa powder, milk and vanilla. Your butter should be soft but not melty for the right texture. Beat everything with a mixer starting slow then going faster until it's smooth with no lumps. Add tiny bits of milk or sugar until it's easy to spread but not runny.
- Apply the Topping:
- Let the marshmallow layer cool fully before you frost it or you'll just make a mess. Drop spoonfuls of frosting across the top then carefully spread it with a flat knife working from the middle out. Don't press too hard or you'll tear up the marshmallows underneath.
 Save Pin
I found out by accident that using a plastic knife works wonders when cutting these treats. After ruining a whole batch with a regular knife, I switched to plastic and the marshmallow just glides off instead of sticking, giving you picture-perfect squares every time.
Storage Tips
Keep these treats fresh in an airtight container at room temp for up to 3 days. The marshmallow layer soaks up moisture from the air so good storage keeps them from getting soggy. If you need them to last longer, stick them in the fridge for up to a week, though the marshmallows will get a bit firm when cold. Let them warm up before eating for the best texture.
Creative Variations
Turn these into rocky road brownies by tossing 1 cup of chopped walnuts or pecans into the batter before baking. The nuts give a nice crunch against the soft marshmallow. For peanut butter fans, mix 1/4 cup of warm peanut butter into the frosting before spreading it on. Another tasty idea is sprinkling 1/2 cup of shredded coconut over the marshmallows just before the final bake for a beachy flavor twist.
 Save Pin
Serving Suggestions
These brownies taste amazing when slightly warmed up and topped with a scoop of vanilla ice cream. The hot and cold combo feels like something you'd get at a fancy restaurant. For special events, arrange them on a plate with some caramel drizzled on top and a tiny sprinkle of sea salt. They also travel well in lunch boxes or picnic baskets for treats away from home.
Common Recipe Questions
- → Can I use homemade brownie batter instead of boxed mix?
For sure. Any homemade brownie recipe works great as a substitute. Just make sure you make enough to match what an 18-ounce box would give you for the best outcome.
- → How do I prevent overbaking the brownies?
Watch them carefully during the first bake time. Take them out when they're barely set and don't jiggle anymore. Remember they'll keep cooking a bit from the leftover heat.
- → Can I double the frosting recipe?
You bet! If you love extra frosting, just double up on all the frosting ingredients. This works really well if you've made thinner brownies in a bigger 9x13 pan.
- → How should I store the brownies?
Keep them in a sealed container at room temp for about 3 days. If you want them to last longer, put them in the fridge for up to a week to keep them fresh.
- → Can I add extra toppings?
Go for it! Try adding some nuts, colorful sprinkles, or even drizzle some caramel or melted chocolate on top to make them your own.