
 Save Pin
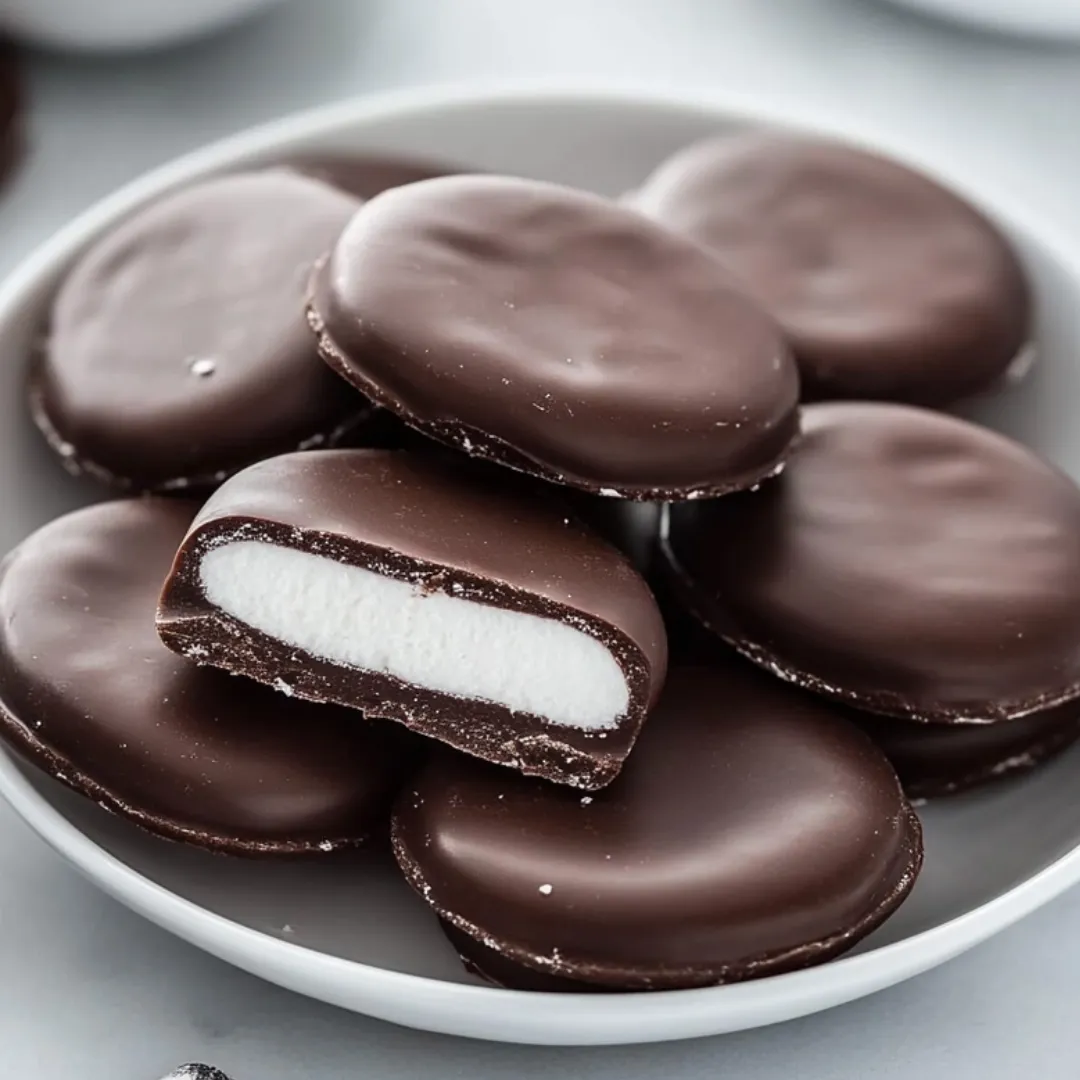
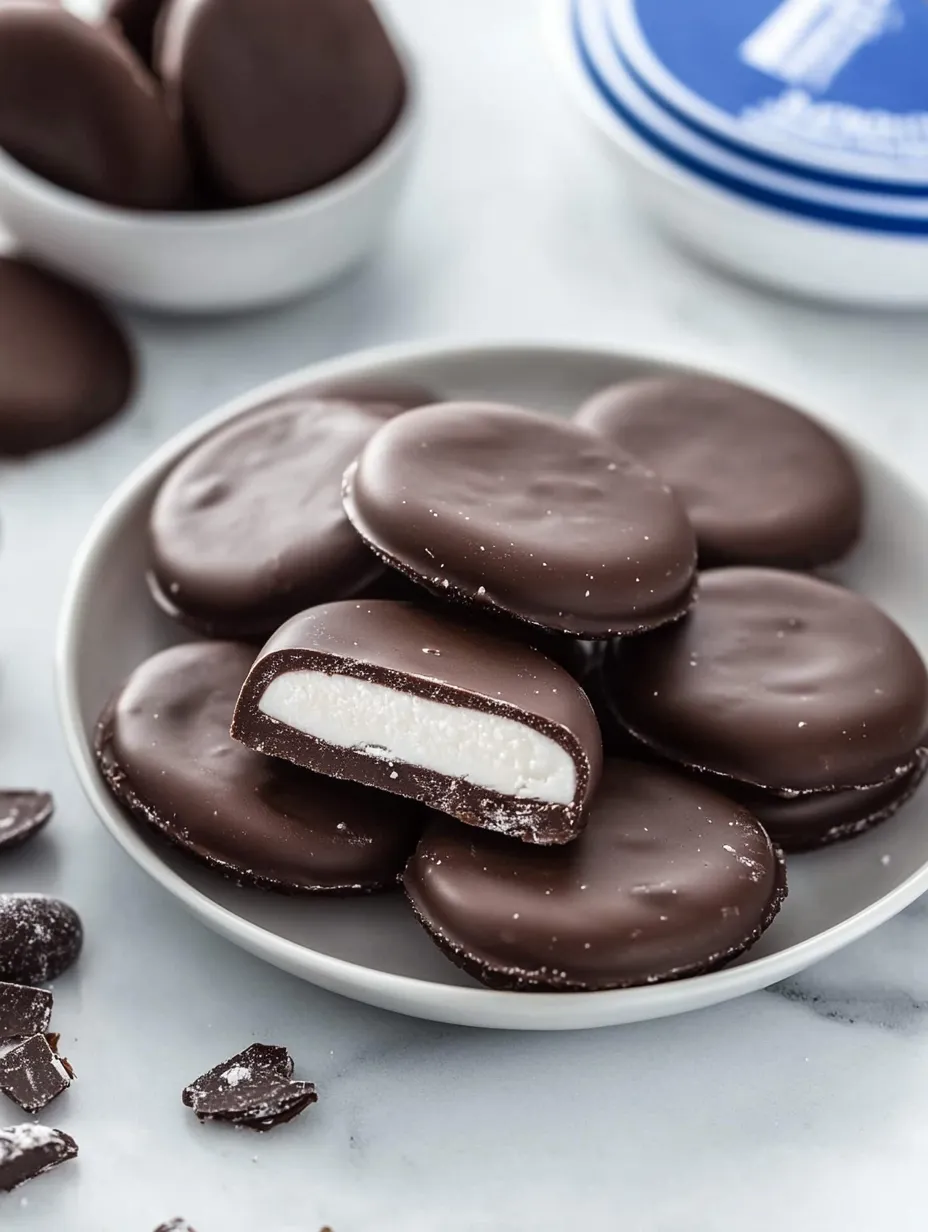
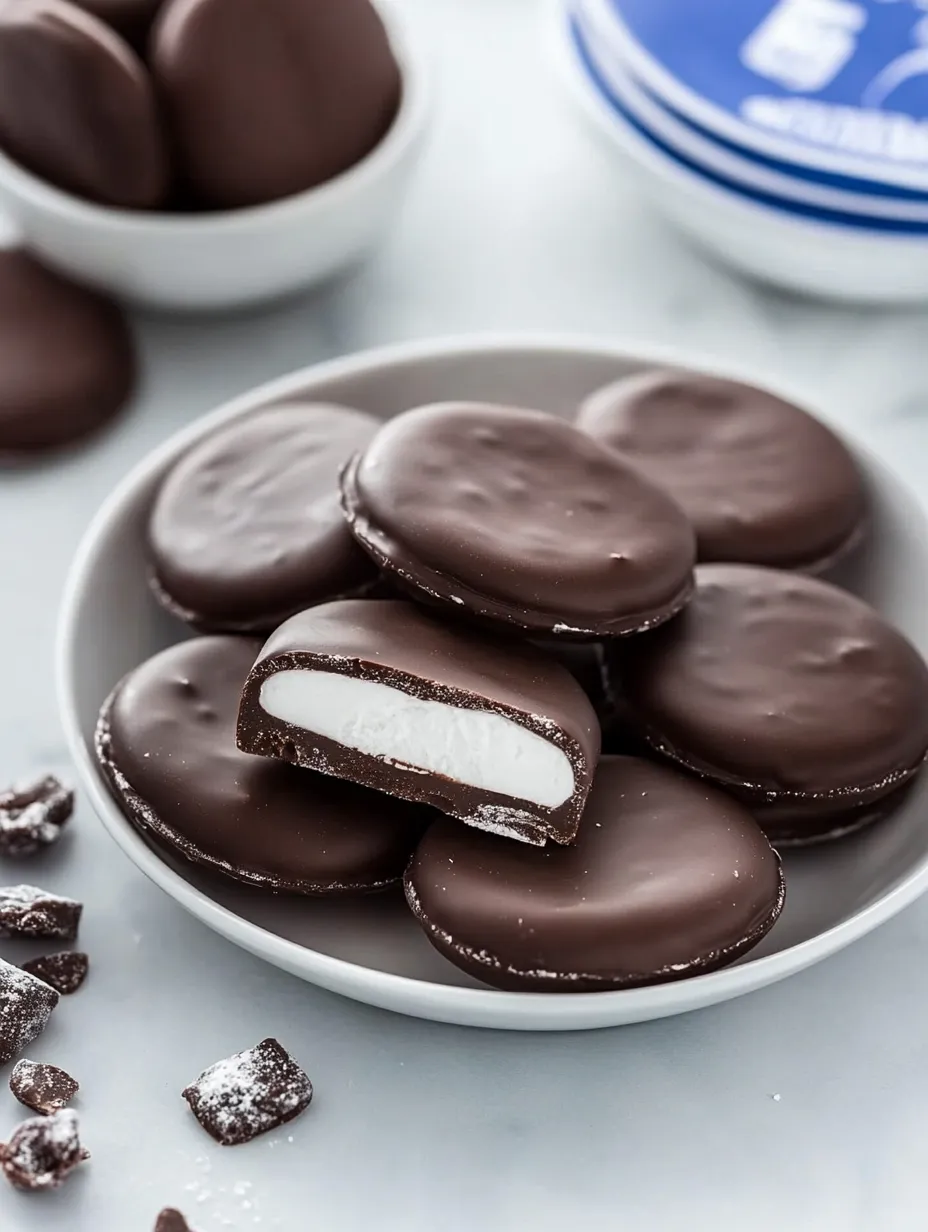
These DIY mint chocolate discs take basic ingredients and turn them into an amazing snack that's better than what you'd buy at the store. Making these cool minty treats yourself lets you tweak how sweet and minty they are, plus you'll feel good about creating something wonderful from basic ingredients.
I started making these mint chocolates when I wanted to surprise my nephew who loves anything mint-flavored. These days they've turned into our go-to holiday present for our neighbors and my kid's teachers who always want to know how to make them.
Ingredients
- Sweetened condensed milk: this makes the inside wonderfully smooth and creamy
- Peppermint extract: brings that refreshing mint kick try to get real extract for the best taste
- Powdered sugar: helps create that soft, melt-in-your-mouth filling we all love
- Chocolate almond bark: melts nicely and hardens with a good crack grab good quality for better flavor
- Sprinkles: totally up to you but they make things look fun especially around Christmas time
Step-by-Step Instructions
- Mix the Base:
- Stir together sweetened condensed milk and peppermint extract in a big bowl. This sets up your flavor base. Go easy on the peppermint as it can get really strong fast.
- Add Powdered Sugar:
- With an electric mixer slowly add powdered sugar until you get a firm dough that doesn't stick to the bowl sides. It should feel like soft modeling clay that keeps its shape without being sticky. You might need to tweak the sugar amount if it's humid.
- Shape the Patties:
- Form small balls with the dough then press them flat into circles about 2 inches across and 1/4 inch thick. Put them on a tray lined with parchment making sure they don't touch. Work fast since the dough gets harder the longer it sits.
- Freeze Time:
- Stick the whole tray in the freezer for about an hour. This important step helps the patties stay shaped during dipping and makes the chocolate harden quicker. They should be firm but not totally frozen.
- Melt the Chocolate:
- Put chocolate almond bark in the microwave and heat for 30 seconds at a time, stirring between each round until it's totally smooth. Don't overheat or it'll get thick and clumpy. You want it flowing smoothly.
- Dip the Patties:
- Take a few patties out at a time keeping the rest cold and dunk each one in the melted chocolate. Use a fork to turn and coat them completely then lift them up letting extra chocolate drip off. Gently tap the fork against the bowl to help get rid of excess.
- Finishing Touch:
- Put your chocolate-covered patties back on the parchment paper and quickly add sprinkles if you want before the chocolate hardens. Move fast since the cold patties will make the chocolate start setting right away.
 Save Pin
What I love most about making these mint chocolates is seeing people's reactions when they first taste them. That mix of cool mint inside with smooth chocolate outside brings back childhood memories but with that homemade touch that makes them extra special.
Getting the Mint Just Right
Peppermint extract really makes these shine and you don't need much. Begin with what the recipe says but feel free to add or reduce by 1/4 teaspoon based on how strong you want the mint taste. For something different try using half peppermint and half vanilla extract to make a milder creamy mint flavor that's great for folks who think full peppermint is too strong.
Storage Secrets
These homemade mint chocolates actually taste better after sitting for a day or two as the flavors mix together. Keep them in a sealed container with parchment paper between each layer so they don't stick together. They'll stay good at room temperature for about a week or in the fridge for up to three weeks. Want to save them longer? Freeze them for up to three months but let them thaw in the fridge before eating so water doesn't form on the chocolate.
 Save Pin
Chocolate Options Explained
This recipe uses chocolate almond bark because it melts and sets well but you can try other options too. Good quality chocolate chips mixed with a spoonful of shortening give a richer taste. For something fancy tempered dark chocolate gives a professional look and satisfying snap though it's trickier to work with. Milk chocolate makes them sweeter and more like the classic store-bought version many of us grew up with.
Gifting Ideas
These mint chocolates make awesome homemade presents. Stack them in a pretty tin with parchment paper between layers or put them in small paper candy cups inside a clear bag tied with ribbon. For an extra nice gift pair them with some fancy coffee or hot chocolate mix for a complete treat package. I always throw in a handwritten recipe card since people always ask how to make them.
Common Recipe Questions
- → Can I use a different chocolate for coating?
Absolutely, try milk chocolate, dark chocolate, or even white chocolate instead. Just make sure it melts nicely for good dipping results.
- → How should I store peppermint patties?
Keep them in a sealed container in your fridge for up to two weeks. You can stick them in the freezer if you want them to last longer.
- → Can I make these without almond bark?
Sure thing, swap out almond bark with regular chocolate chips or candy melts. Add a bit of oil to help them melt smoothly.
- → What can I use instead of powdered sugar?
You really need powdered sugar for the right feel and sweetness. Other stuff just won't work the same way.
- → How do I make the dough less sticky?
When your mix gets too sticky, just toss in more powdered sugar bit by bit until it feels right for shaping.
- → Can I add food coloring to the filling?
For sure, drop in some gel or powder food coloring to make them look fun. Mix it well so the color spreads evenly.