
 Save Pin
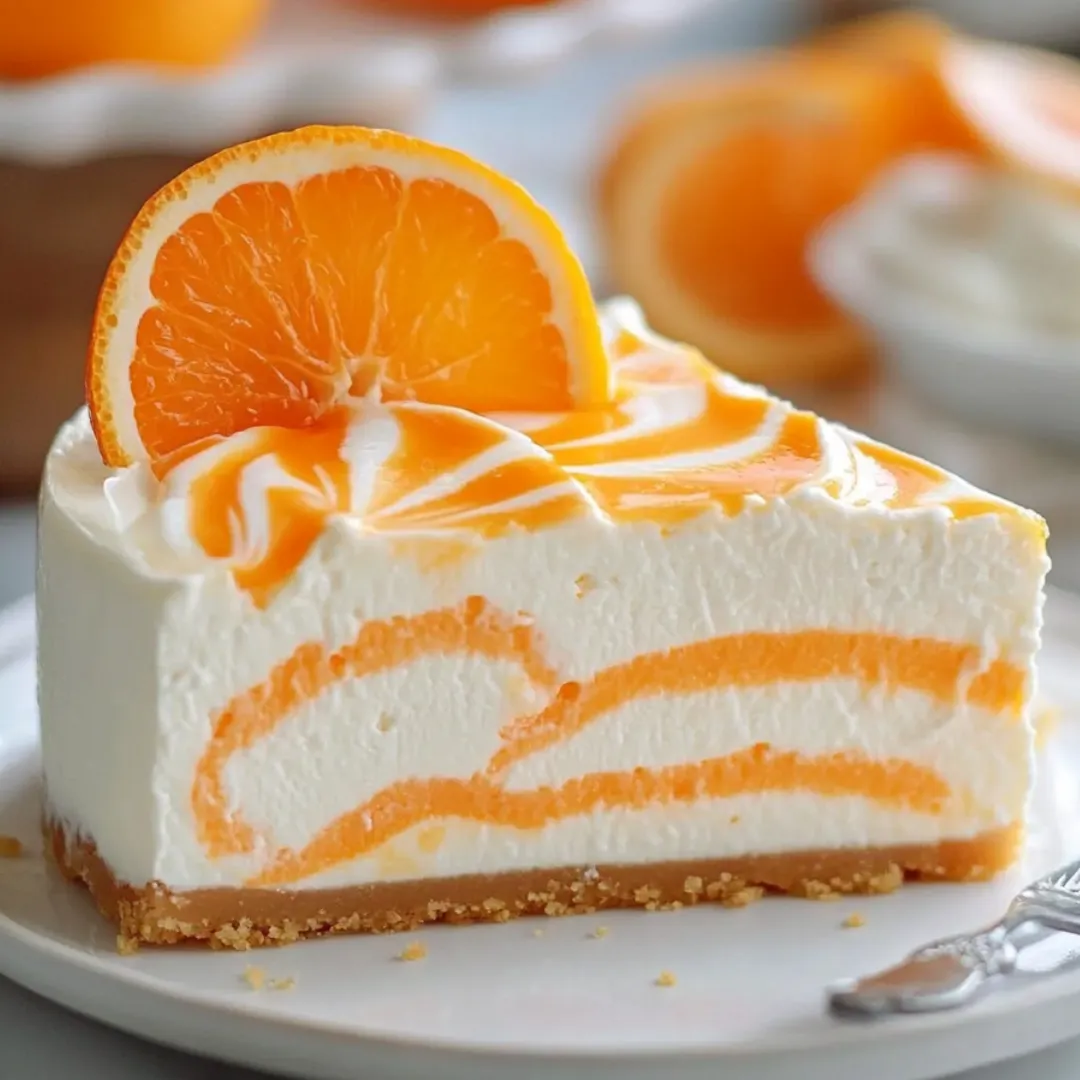
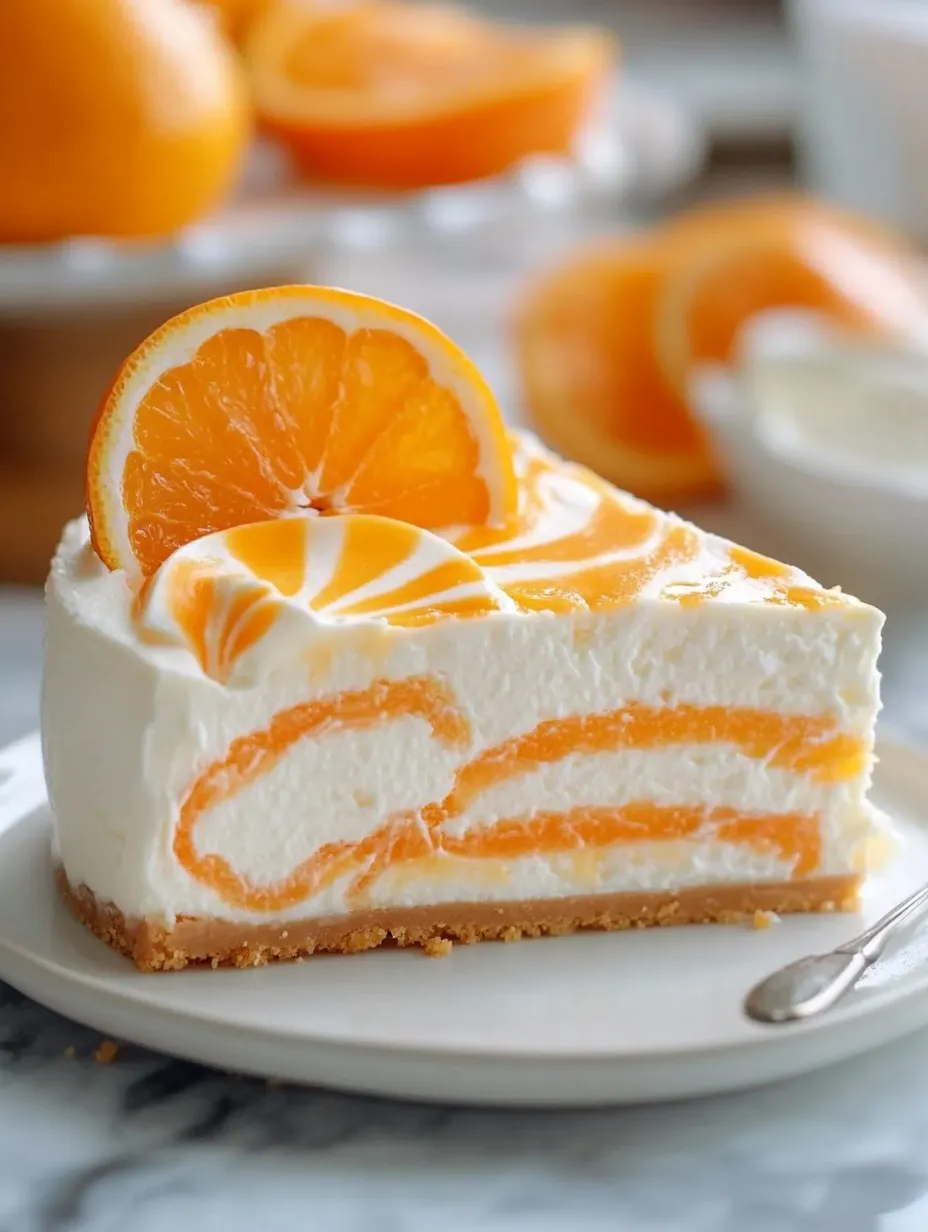
This cold-prep orange creamsicle cheesecake brings together childhood orange popsicle memories with a silky cream cheese base. The zesty citrus perfectly cuts through the smooth, rich texture, creating a showstopping sweet treat without ever touching your oven.
I whipped up this cheesecake during a scorching summer party when cooking wasn't an option. The bright orange color and nostalgic popsicle taste took everyone straight back to their younger days, and now it's the dessert friends ask for whenever they stop by.
Ingredients
- Graham cracker crumbs: form the tasty crunchy base that holds everything together
- Unsalted butter: binds the crust ingredients while letting you add salt to your liking
- Cream cheese: gives that classic tangy flavor - make sure it's properly softened for the smoothest mix
- Powdered sugar: blends in completely for a velvety finish with no sugar grains
- Heavy whipping cream: creates that dreamy texture and helps everything set up nicely
- Fresh orange juice: adds real zingy flavor that bottled just can't match
- Orange zest: packs tiny flavor bombs of citrus oil throughout each bite
- Vanilla extract: adds warm undertones that make the true creamsicle magic happen
- Unflavored gelatin: makes sure your slices stand tall without baking - grab a good brand
- Cold water: wakes up the gelatin so it works its setting magic
Step-by-Step Instructions
- Prepare the Crust:
- Mix the graham crumbs with melted butter until everything looks like damp sand. Give it a squeeze - it should stick together nicely. Pack it down firmly into your springform pan with a measuring cup to make a solid base that won't fall apart when cut.
- Soften the Cream Cheese:
- Whip room temp cream cheese for about 3 minutes until it's totally smooth. Don't rush this step! Wipe down the bowl sides a few times to catch any sneaky lumps hiding there.
- Add Powdered Sugar:
- Slowly add sugar while mixing at medium speed so you don't create a sugar cloud in your kitchen. Keep beating for 2 more minutes until everything looks lighter and feels smooth between your fingers.
- Incorporate Cream and Flavors:
- Add your cream, orange juice, zest and vanilla. Beat for 3-4 minutes until the mix gets fluffy and forms gentle peaks. You want it airy and cloud-like but not stiff.
- Prepare Gelatin:
- Sprinkle gelatin over cold water in a small bowl you can microwave. Let it sit for 5 minutes until it looks kind of like applesauce. Heat it for just 10 seconds and stir well until it's fully melted but not too hot.
- Combine Gelatin with Mixture:
- Pour the melted gelatin into your cream cheese mix while constantly stirring. Keep a steady hand to avoid clumps. Mix for a full minute to spread the gelatin evenly throughout.
- Pour Filling into the Crust:
- Gently spoon your mixture onto the crust to keep all that lovely air you whipped in. Use a flat spatula to smooth the top, making sure to push out any air bubbles hiding underneath.
- Chill Thoroughly:
- Cover with plastic wrap but don't let it touch the filling or you'll mess up the pretty surface. Pop it in the fridge for at least 4 hours, but leaving it overnight works even better.
- Remove from Pan:
- Slide a thin knife around the edges before opening the springform clasp. Take it slow so the crust doesn't stick. Use a wide spatula to lift it onto your serving plate.
- Garnish and Serve:
- Top with fresh orange slices or candied zest right before bringing it to the table. Cut slices with a knife dipped in warm water for clean edges, wiping it between cuts.
 Save Pin
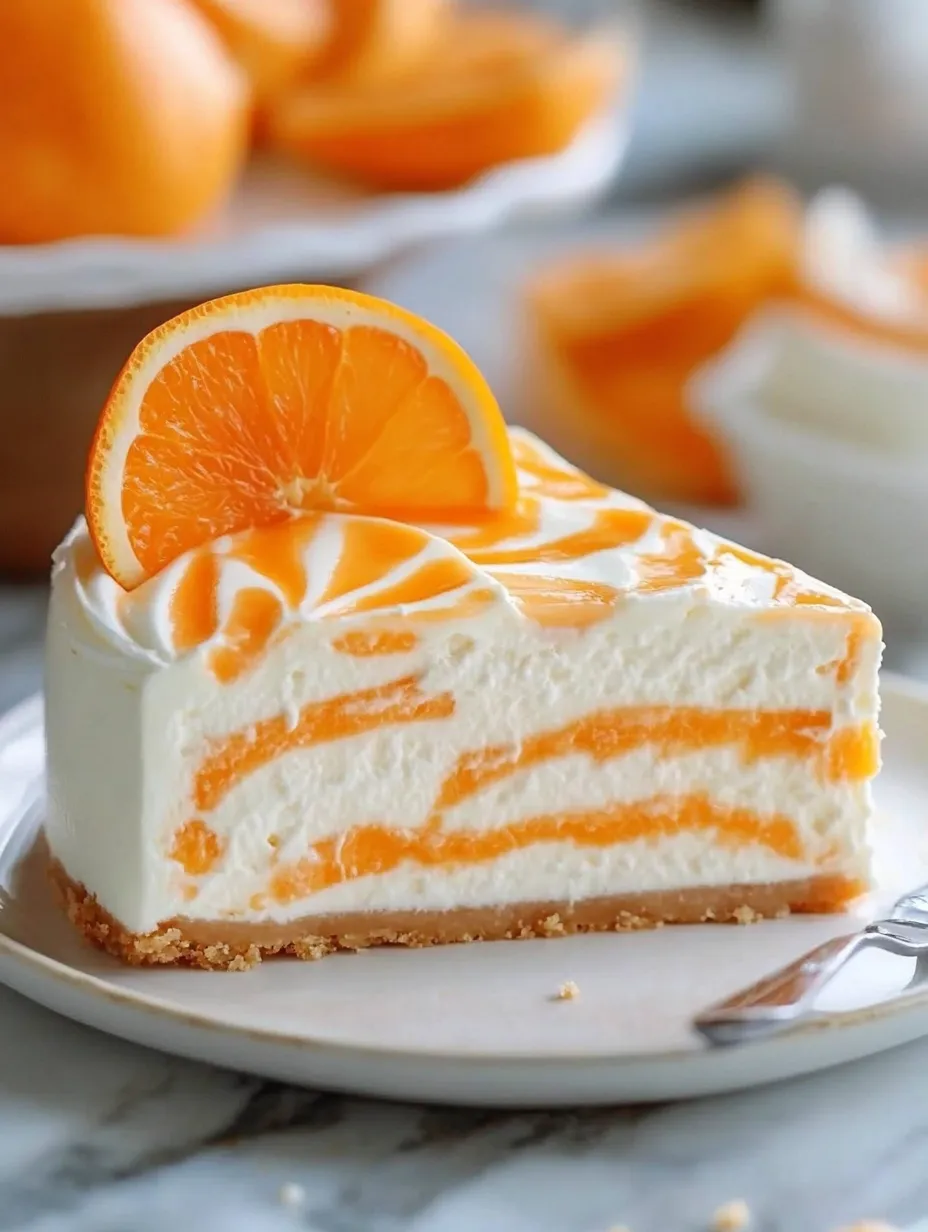
The best thing about serving this cheesecake is watching people try to guess how I got that real creamsicle taste. It's all about getting the right mix of orange and vanilla flavors. Last summer my niece said it was better than actual creamsicles, and I couldn't have asked for a better compliment.
Make Ahead Tips
This treat actually tastes better after sitting in the fridge as all the flavors get friendly with each other. You can make it two full days before your party, which is super handy when you're busy. It gets even silkier after about 24 hours. Just keep it covered so it doesn't pick up weird fridge smells or dry out on top. Save the fresh toppings for right before serving so they look their best.
Perfect Orange Selection
The oranges you pick will really change how your cheesecake tastes. Valencia oranges give you that bright, bold flavor, while navels are a bit sweeter and less tangy. Always grab the zest before you juice your oranges since that's where all the intense flavor oils hide. Before juicing, roll your oranges firmly on the counter to break up the inside bits - you'll get way more juice with less squeezing.
Troubleshooting Texture
If your cheesecake isn't firming up properly after chilling, a few things might be going wrong. Make sure your cream cheese was room temp but not beaten too much or it'll get too airy. Your heavy cream should start cold for the best whipping results. The gelatin needs to fully soak in cold water before warming it, and mix it in while it's still warm but not hot. Want a firmer cheesecake? Just add another teaspoon of gelatin and the flavor will stay the same.
 Save Pin
Common Recipe Questions
- → Can I swap orange for a different fruit?
Sure thing! Try other citrus fruits like lemon or lime to create a whole new taste experience.
- → How long should I keep it in the fridge?
You'll need at least 4 hours of chilling time, but leaving it overnight works even better.
- → What can I use if I don't have graham crackers?
No problem! Crushed digestive cookies or vanilla wafers work great as substitutes for the base.
- → Is there something I can use instead of gelatin?
Agar-agar works as a veggie-friendly option. Just check the package for how much to use when replacing gelatin.
- → What's the best way to keep leftover slices?
Pop any extra cheesecake in a sealed container and keep it in your fridge for up to 3-4 days. Don't leave it sitting out too long.