
 Save Pin
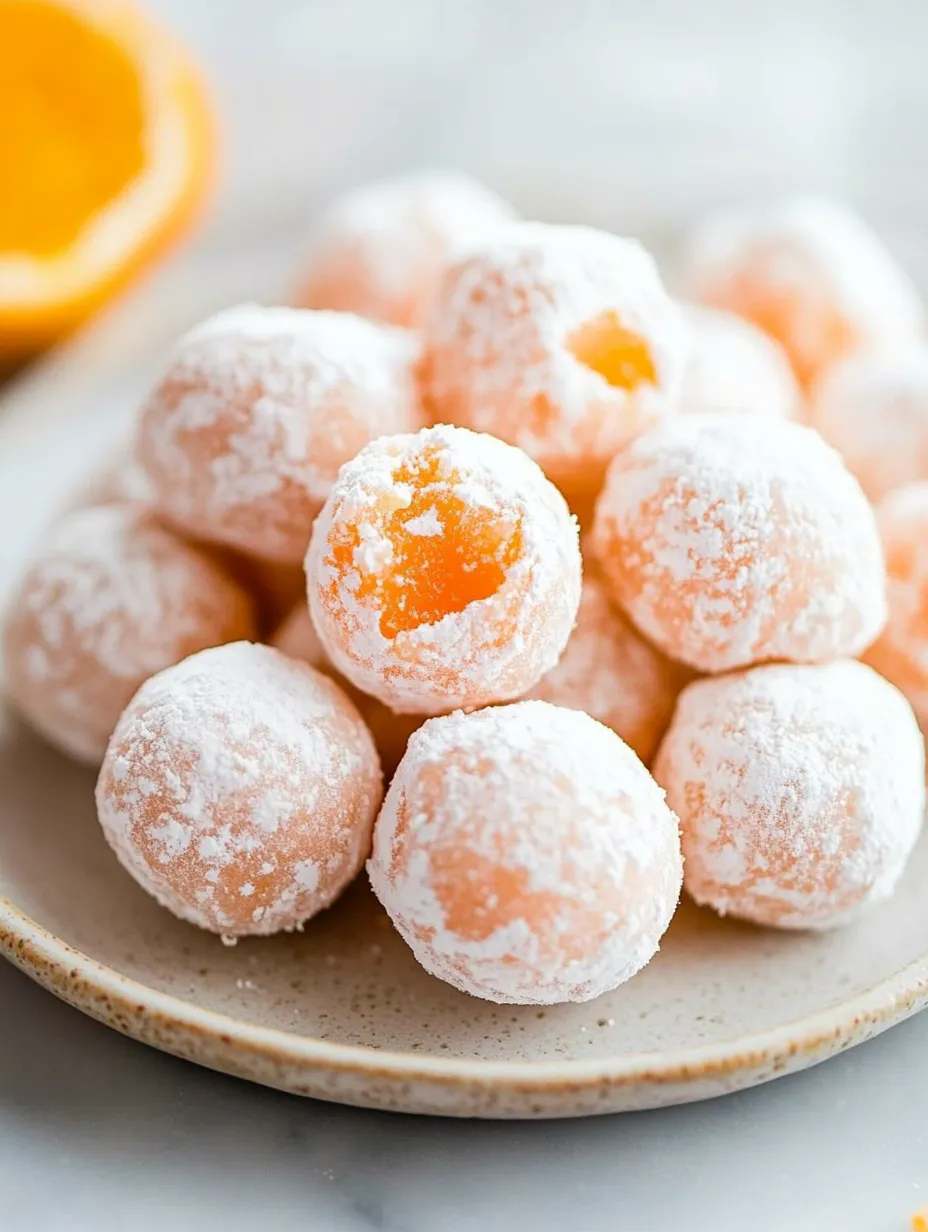
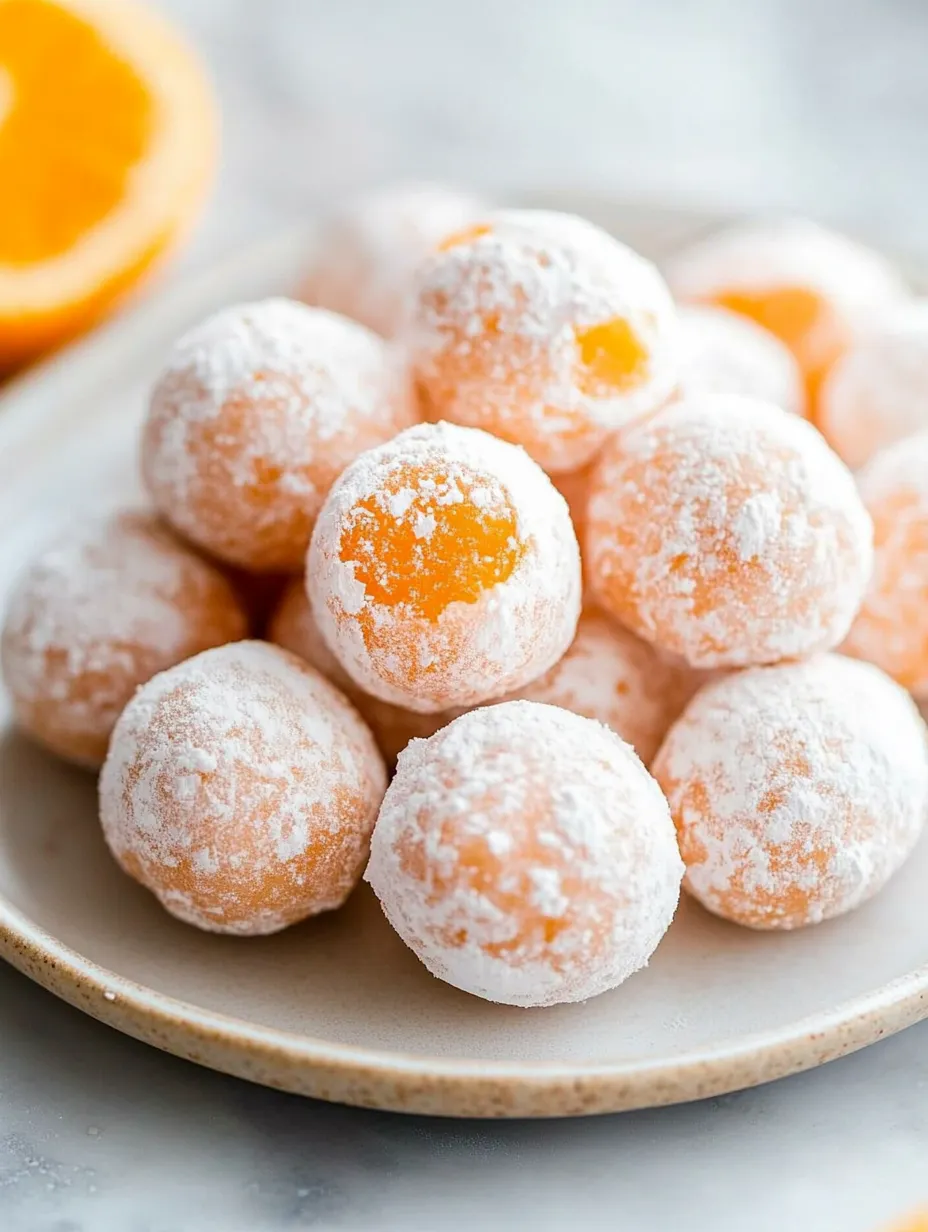
These no-bake orange creamsicle truffles turn basic ingredients into fancy treats that bring back summer memories in every bite. When creamy white chocolate meets zesty orange, you get that beloved creamsicle taste in an elegant little package that's as good-looking as it is tasty.
I whipped these truffles up for my sister's baby shower and they vanished quicker than everything else on the dessert table. Now I make them whenever I need something fancy but don't have tons of kitchen time.
Ingredients
- White chocolate chips: Grab good quality ones for the silkiest, smoothest result
- Heavy cream: This makes the rich ganache base - don't try to use low-fat here
- Unsalted butter: Gives extra decadence and helps them keep their shape
- Orange zest: The key player that adds fresh citrus kick and tiny orange flecks
- Orange extract: Boosts the orange flavor - go for natural instead of artificial for better taste
- Vanilla extract: Works with the citrus and adds flavor complexity
- Salt: A tiny amount makes all other flavors pop
- Powdered sugar: Creates that dreamy outer coating and stops stickiness
Step-by-Step Instructions
- Melt the White Chocolate:
- Put white chocolate chips in a medium bowl that can handle heat. Warm heavy cream and butter in a small pot until tiny bubbles appear at the edges. Pour it over the chocolate and wait exactly one minute before you stir. Gently mix until it's totally smooth and shiny. If you see small chunks, pop it in the microwave for 10 seconds at a time, stirring between, until perfectly smooth. It should look silky and flow off your spoon like a ribbon.
- Add the Flavor Elements:
- While still warm, mix in orange zest, making sure it spreads throughout. Add orange extract, vanilla extract, and salt. You'll notice the amazing smell right away as the heat releases oils from the zest. Take a second to enjoy this wonderful aroma. Cover the bowl with plastic wrap, pushing it right onto the chocolate mixture to stop a skin from forming.
- Chill the Mixture:
- Put in the fridge for at least 2 hours until it's firm enough to scoop and hold shape. It should feel like soft clay when you press it. If it's too mushy after 2 hours, keep chilling in 30-minute chunks until it feels right. You want it firm enough to roll but not so cold that it breaks.
- Form the Truffles:
- Take from the fridge and let sit for 5 minutes to soften slightly. With a small cookie scoop or melon baller, scoop mixture into 1-inch balls. Work fast to roll each piece between your hands, using gentle but steady pressure until round and smooth. Place rolled truffles on a parchment-lined baking sheet. If the mixture gets too soft while you're working, stick it back in the fridge for 15 minutes before continuing.
- Coat and Finish:
- Fill a shallow bowl with powdered sugar. Roll each truffle in sugar until fully covered. Lightly tap off extra sugar. For a thicker coating, roll them again after the first layer sets. Arrange your finished truffles in one layer on a clean parchment-lined plate or container.
 Save Pin
The orange zest really makes this treat special. My grandma taught me that taking time to finely grate the orange, staying away from the bitter white part, totally transforms the final taste. Those tiny orange bits throughout remind me of eating creamsicles with her on her porch swing during hot summer days.
Storage Tips
These truffles stay great in the fridge for up to two weeks when kept in a sealed container with parchment paper between each layer. For longer keeping, you can freeze them up to three months. To freeze properly, put truffles on a baking sheet spaced apart until hard, then move them to a freezer container. Let them thaw in the fridge overnight before you serve them.
 Save Pin
Creative Variations
Though powdered sugar makes a classic coating, these treats work with lots of options. Try them rolled in smashed graham crackers for a pie crust feel, toasted coconut for a beachy twist, or finely chopped white chocolate for extra luxury. For fancy events, dip them halfway in melted dark chocolate and sprinkle fresh orange zest on top while still wet for a stunning look.
Serving Suggestions
Serve these truffles a bit cold since they get soft quickly in warm rooms. For a fancy display, arrange them on a white plate with fresh orange slices and mint leaves. They taste amazing with coffee, especially a strong espresso that balances their sweetness. For really special moments, enjoy them with glasses of bubbly champagne or prosecco.
Common Recipe Questions
- → Can I use milk chocolate instead of white chocolate?
You can, but it'll change how they look and taste. White chocolate works better with the orange flavor, while milk chocolate makes them taste richer.
- → How long do the truffles last?
Pop them in an airtight box in your fridge for a week max or freeze them for up to two months.
- → Can I skip the orange extract?
You can leave out the orange extract, but your treats won't be as citrusy. Try adding more zest to make up for it.
- → How can I make the truffles vegan?
Go for vegan white chocolate, swap heavy cream with coconut cream, and use plant butter instead of dairy butter.
- → Why is my mixture too sticky to roll?
Your mix probably needs more time to chill. Stick it back in the fridge until it feels firm enough to roll into balls.