
 Save Pin
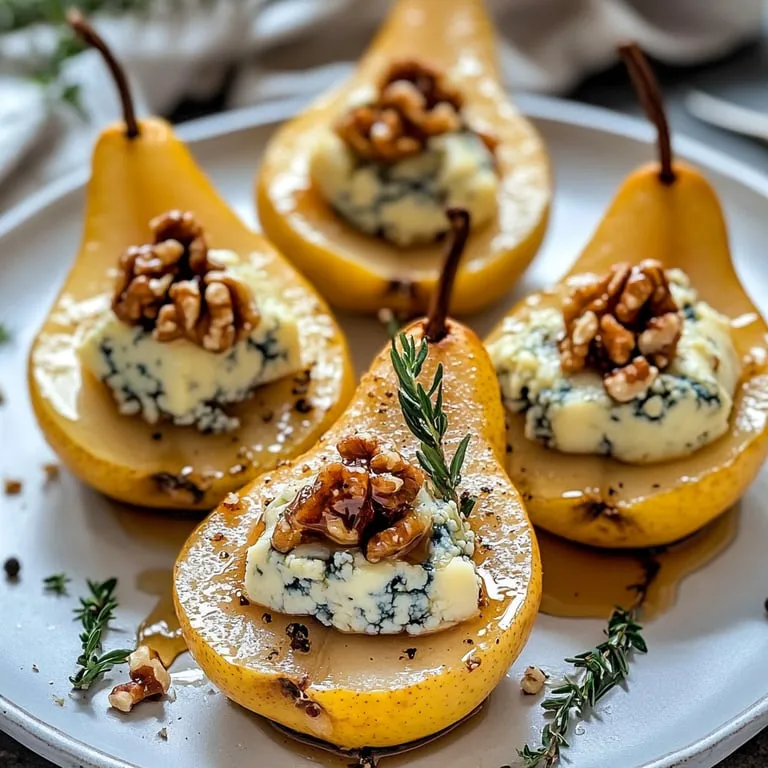
Sweet juicy pears and sharp blue cheese come together with crunchy walnuts, fragrant thyme, and honey in this simple but impressive party bite. One batch of these blue cheese pears will make you look like a pro, turning everyday fruit into a real hit. They’ll make your table look instantly fancier, too.
I’ve made all sorts of snacks for friends over the years, but this one always vanishes first. At book club, folks kept saying it was the classiest thing they’d tasted all night.
Delicious Ingredients
- Fresh thyme: Snip green and springy sprigs to finish the dish with color and freshness
- Ground black pepper: A little goes a long way for a little punch. Use your pepper grinder for top aroma
- Balsamic vinegar: Thick, syrupy versions add bright tang to cut the richness. Use a nice one if you can
- Honey: For a lovely floral sweetness, go for local types like wildflower or acacia if available
- Toasted walnuts: Buy raw and warm gently in a skillet for a toasty punch. They add crunch and flavor
- Blue cheese: Crumbles melt in for strong, creamy flavor. Danish or Roquefort are mellow choices
- Ripe pears: Stick with fruit that’s firm so it doesn’t fall apart baking. Skip any that feel mushy
Easy Instructions
- Finish and Serve
- Take the tray out of the oven, then spoon a touch more honey over each pear. Pop on fresh thyme sprigs, let them cool down a bit, and dig in while the cheese is melty.
- Season and Bake
- Drizzle thick balsamic over each stuffed pear, then give them a sprinkle of black pepper. Oven time: bake about twenty to twenty-five minutes, until the fruit is soft but not soggy and the cheese is nice and bubbly.
- Stuff the Pears
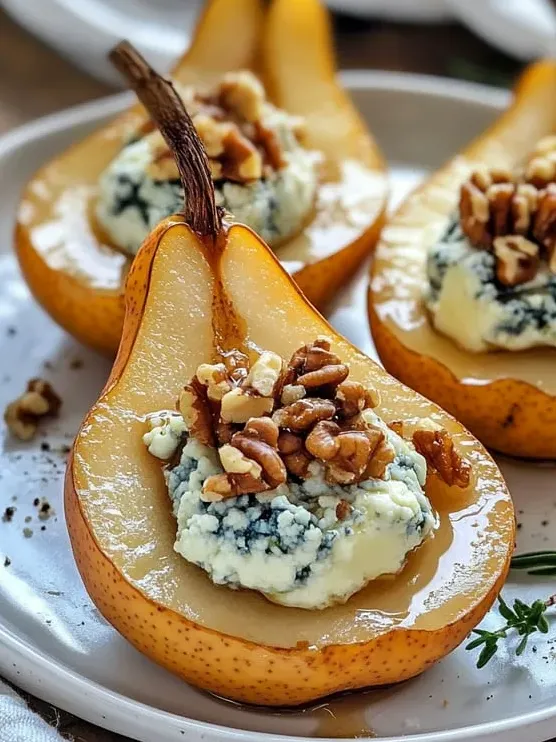
- Generously fill the hollowed centers with your cheese and nut mix. Press it down gently so it stays put while baking.
- Mix the Filling
- Stir together honey, blue cheese, and walnuts in a small bowl. Go easy—just mix enough to coat everything without turning it to mush.
- Core the Pears
- Scoop out the seeds and center from each pear half using a spoon or melon baller. Lay them flat side up on your baking sheet so they don’t tip.
- Prepare the Oven
- Switch your oven on to one hundred ninety Celsius. Grab a strong baking tray—it makes putting things together super simple.
 Save Pin
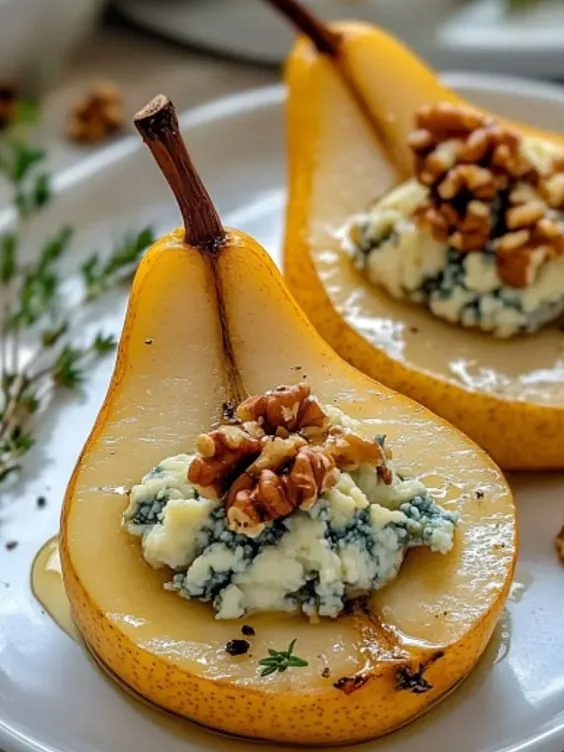
Roquefort is my top pick here for its creamy bite. Paired with still-warm pears and garden thyme, it always takes me back to those cozy holidays at my aunt’s house—her herbs made the whole table smell amazing.
Keeping Leftovers
You can stash extra pears in the fridge for up to two days. Pop them in one layer in a sealed container. To get them warm and gooey again, put them back in a low oven without covering—they’ll taste just as good.
Swap Suggestions
If blue cheeses aren’t your thing, reach for goat cheese or feta instead for a milder flavor. Out of walnuts? Toasted pecans or almonds do the trick. Vegan folks can grab plant-based blue cheese and use maple syrup in place of honey.
Fun Ways to Serve
Set these out as a fancy starter for cold weather get-togethers, or slice them small for your next holiday spread. They shine on dark dishes, and are especially nice with sparkling wine or a sweet chilled glass on the side.
 Save Pin
Classic Food Tradition
Pears, nuts, cheese, and honey have been a favorite mix on European tables for ages—especially in French and Italian homes to celebrate autumn. This creation puts that old-school elegance into a few easy bites.
Common Recipe Questions
- → What type of pear should I use?
Look for Bosc or Anjou pears that are sweet but still a bit firm. They'll hold up well and give you a nice, juicy base.
- → Can I swap out the blue cheese?
Totally! Goat cheese or gorgonzola both work if you want something a little milder or creamier. Go with what you like best.
- → Can I prep these ahead of time?
Yup, you can stuff the pears and stick them in the fridge. Just bake right before serving so everything's fresh and tasty.
- → How could I make them vegan?
Swap in your favorite plant-based cheese and use agave instead of honey. Easy as that!
- → Do these need to be served hot?
They're best warm straight from the oven, but letting them cool a bit works if that's easier for you.